Nail art has a reputation for being complicated, but most of that fear comes from looking at finished photos without knowing the steps behind them. The truth is that a lot of the designs you see on social media are far simpler than they appear — and they absolutely can be done at your kitchen table with a steady hand and a few basic supplies.
If you’ve ever tried painting your nails and ended up with smears, blobs, or something that looked nothing like the inspiration photo, you’re not alone. Most women start there. The difference between a messy result and a clean one usually comes down to prep work, patience, and starting with the right designs — not artistic talent.
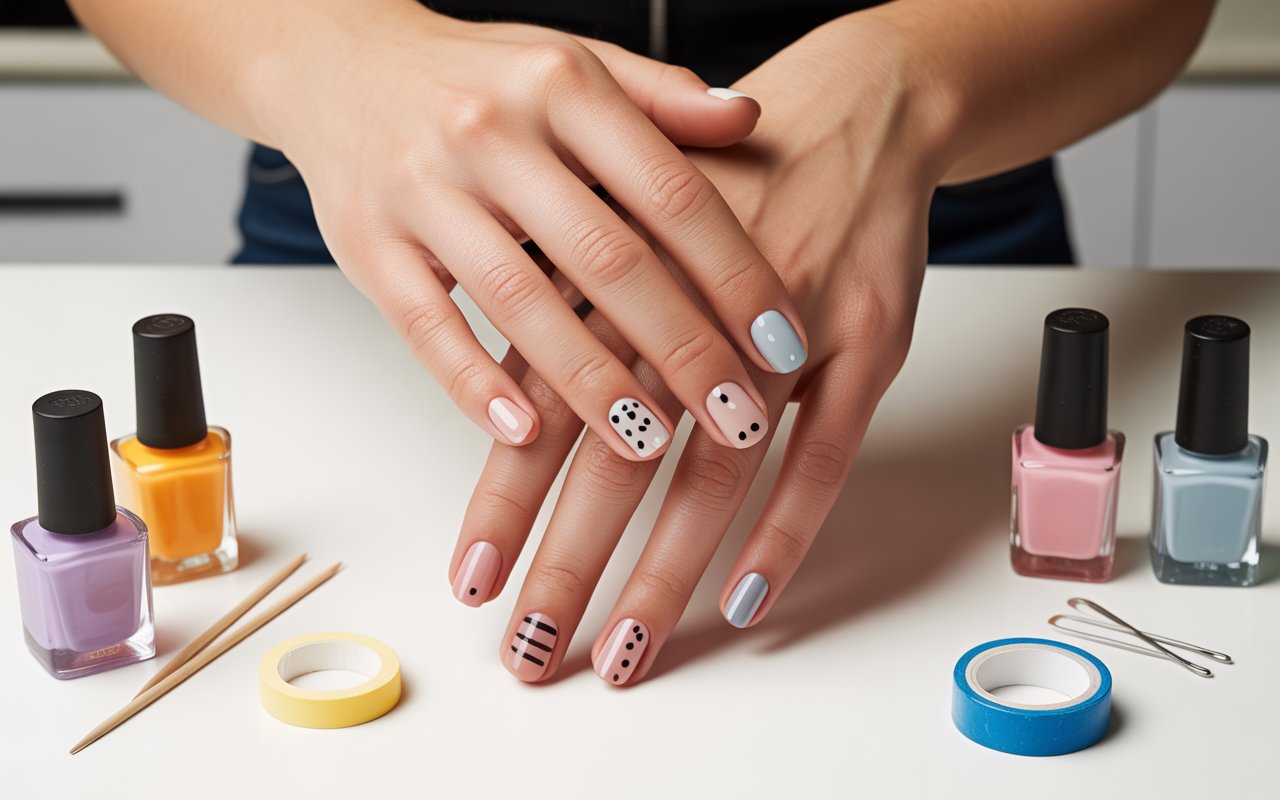
What follows is a list of nine designs that are genuinely achievable for beginners. No fancy equipment, no expensive kits, and no prior nail art experience required. Some need nothing more than a toothpick. Others use tape or a bobby pin. All of them look polished when you’re done.
Before You Start: A Few Things That Actually Matter
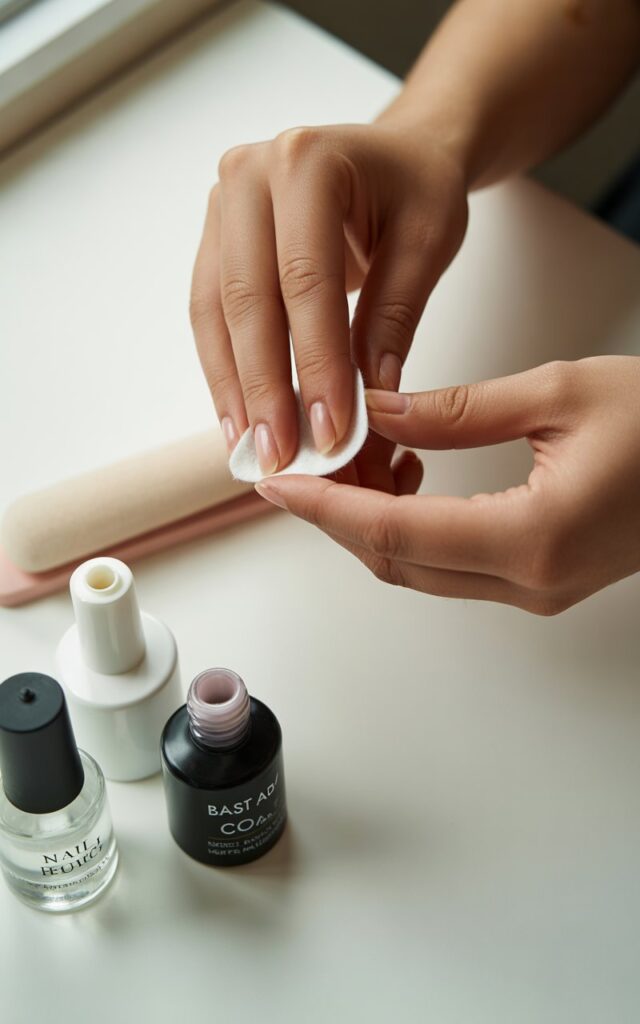
Good nail art starts before the polish even touches your nail. Clean, dry nails hold color better and chip less quickly. Wipe each nail with a cotton pad dipped in polish remover to get rid of any oils or lotion — even if your nails are bare. Then buff lightly to smooth out any ridges.
Always apply a base coat first. It protects your natural nail and gives the polish something to grip. And when you’re done with your design, seal everything with a clear top coat. That single step can add days to your manicure.
One more thing: work in thin layers. Thick coats take longer to dry, bubble up, and smear more easily. Two thin coats beat one thick one every time.
1. Classic French Tips
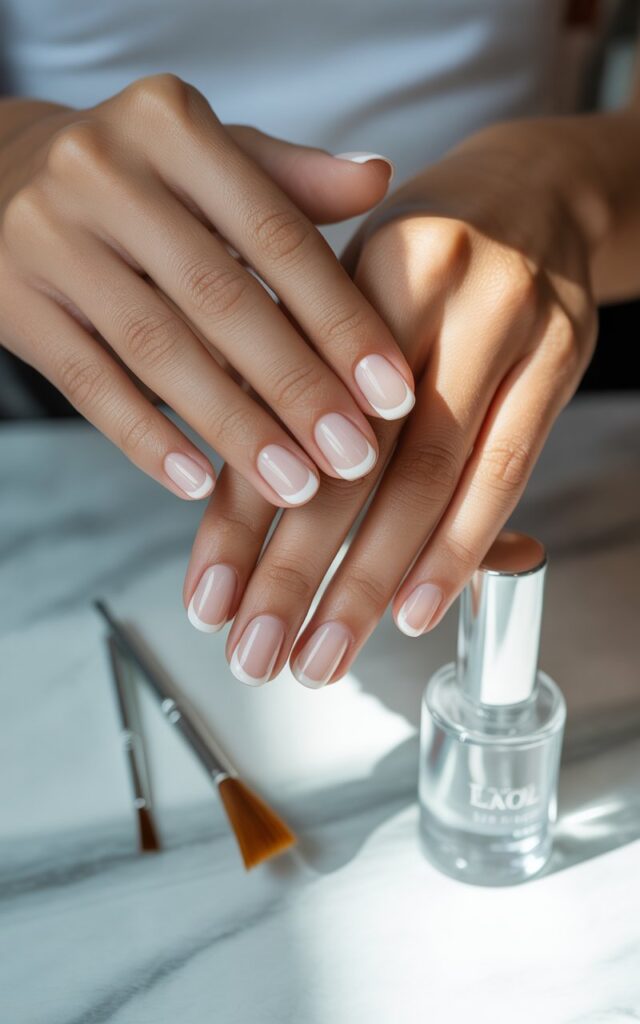
The French manicure never really goes out of style. It’s clean, versatile, and looks professional even on short nails. To do it at home, apply a nude or sheer pink base coat and let it dry completely. Then, place a small piece of tape across the nail just below where the white tip should start. Paint the exposed tip with white polish, remove the tape while the polish is still slightly wet, and clean up any edges with a toothpick. Finish with a top coat.
If the line looks a little uneven, that’s okay — the top coat smooths out a lot of small imperfections.
2. Polka Dots
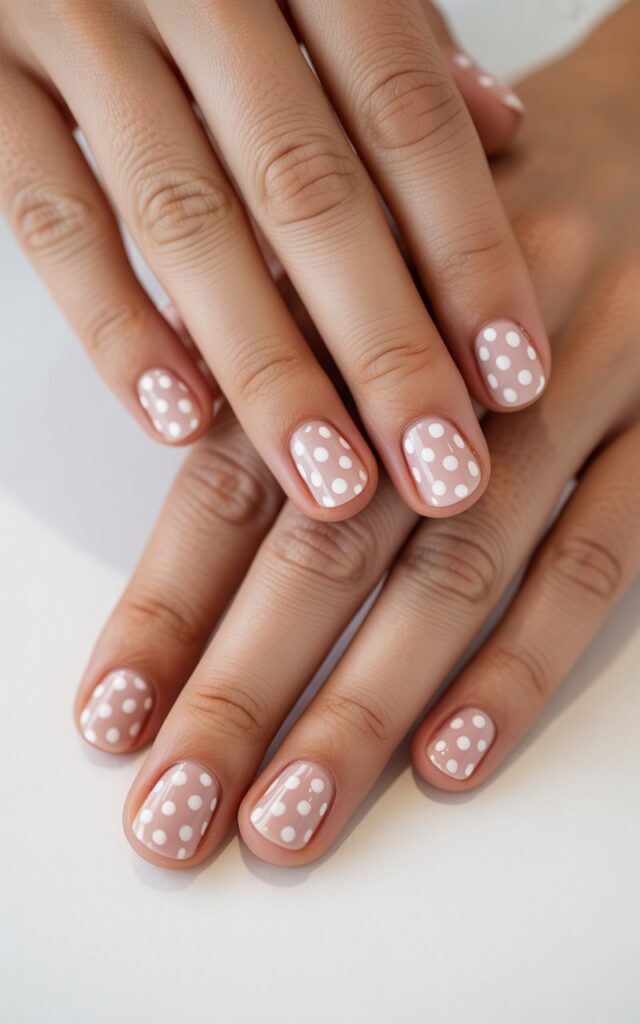
Dots are probably the most beginner-proof design there is. They’re forgiving, they work with any color combination, and they look intentional even when they’re not perfectly spaced.
You don’t need a dotting tool, though it helps. A bobby pin dipped into polish works just as well. Even a toothpick can make small, clean dots. The trick is to wipe most of the product off before you touch the nail — you only need a tiny amount. Start with a solid base color, let it dry, then place your dots wherever you like. Scattered across the nail, clustered near the cuticle, or lined up in a row — all of them work.
3. Negative Space Nails
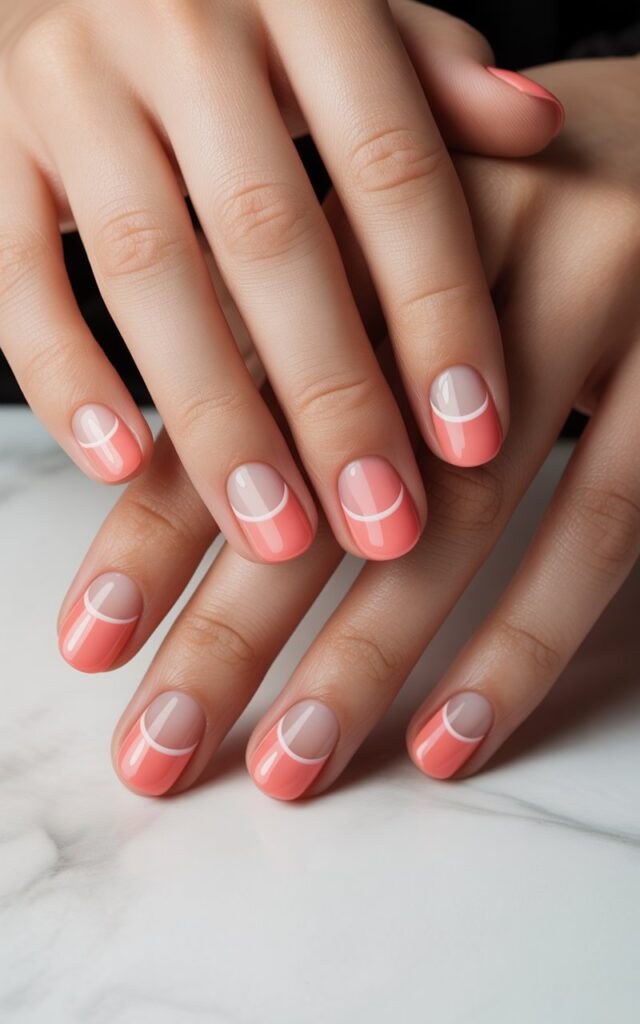
This one sounds more advanced than it is. The idea is simple: leave part of the nail bare (or with just a clear base coat) while painting around it with color. The result looks modern and intentional.
Use tape to block off the area you want to keep bare, paint the rest, and remove the tape before it fully dries. You can create a half-moon at the base of the nail, a diagonal stripe down the middle, or even a thin strip along the side. The clean lines do all the work.
4. Glitter Tips
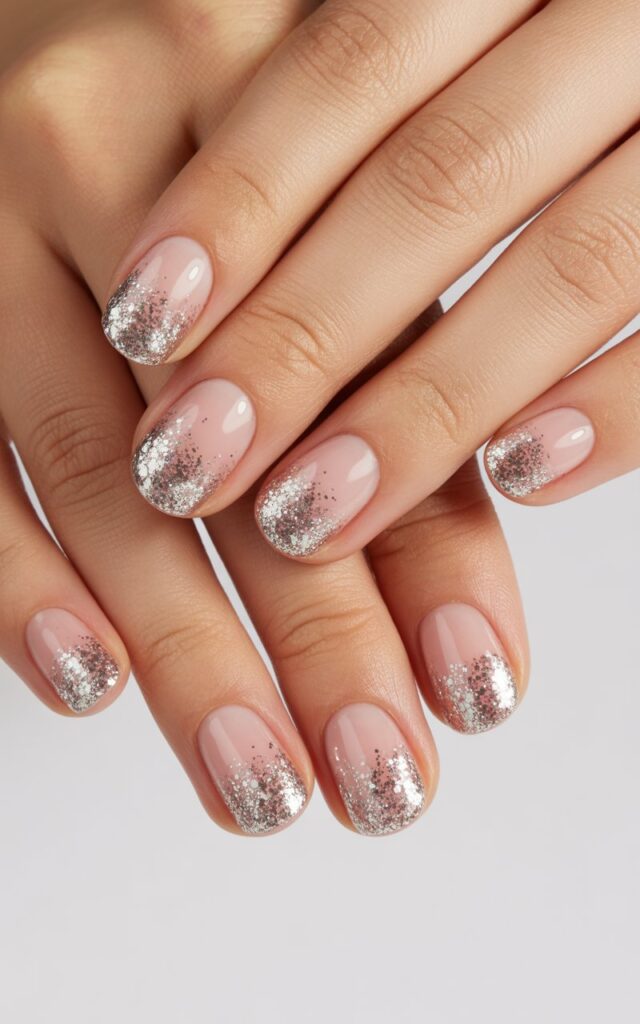
If you want something that looks like it took effort but truly didn’t, glitter tips are your answer. Apply your base color and let it dry. Then brush a glitter polish or glitter gel just at the tips of the nails. While it’s still wet, use a dry brush (wipe most of the product off first) and drag the glitter gently down toward the center of the nail to create a soft gradient effect.
The good news about glitter: it hides mistakes. Uneven edges, slightly messy lines — glitter makes all of it look intentional.
5. Wavy Lines
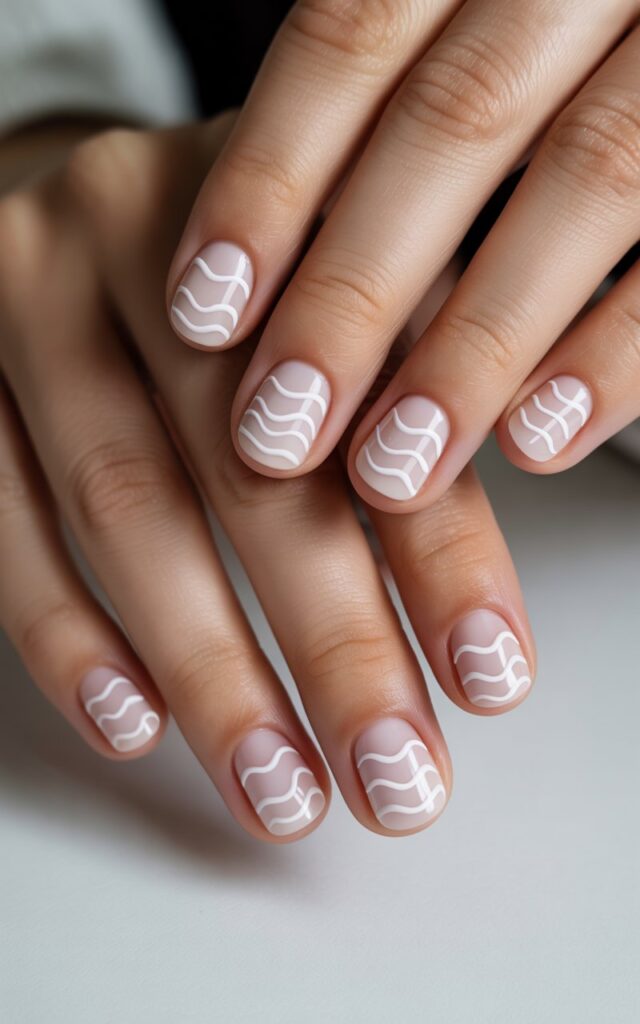
Wavy or squiggly lines became extremely popular over the past few years, and for good reason — they’re organic-looking, which means small wobbles don’t ruin the design. In fact, the more imperfect the wave, the better it looks.
Start with a solid base and let it dry. Using a thin nail brush or even a toothpick, draw a single wavy line across the nail from one side to the other using a contrasting color. You can do one line or several. White on a pastel base is a classic combination. Black on nude is another that always looks clean. Don’t overthink the shape — just let your hand move naturally.
6. Ombre / Gradient Nails
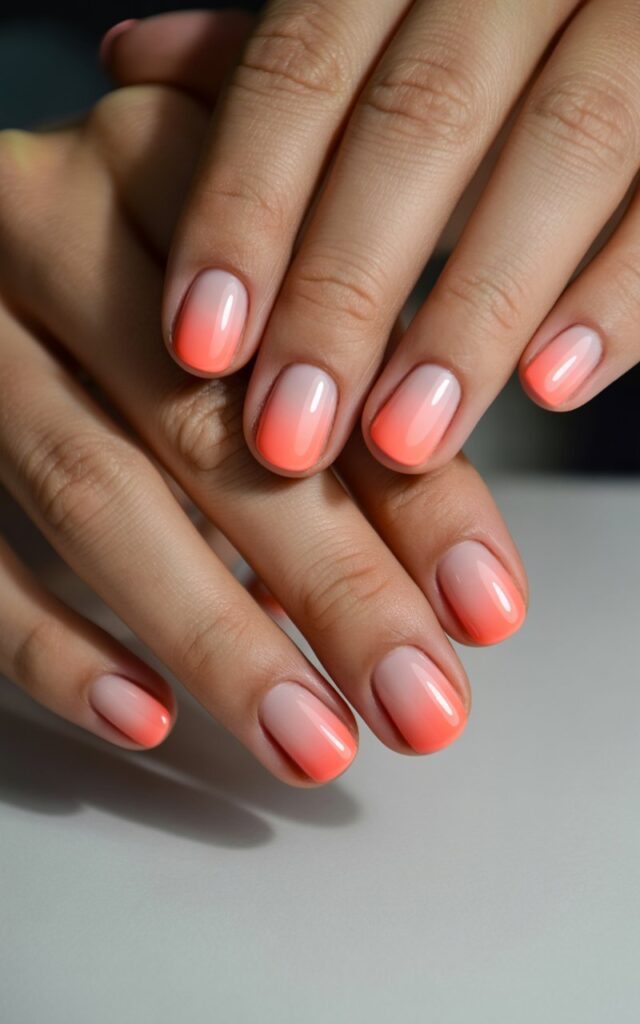
An ombre look uses a small makeup sponge to blend two colors together. Apply both polish colors side by side on a small piece of foil or a plastic bag. Dab the sponge into both colors so they overlap slightly, then press and dab the sponge gently onto the nail. Build up the color by repeating a few times, letting each layer dry slightly before the next.
The edges will look messy — that’s normal. Clean up around the nail with a small brush dipped in acetone or use tape around the skin before you start. Once you add a top coat, the blended center is what stands out, and the finish looks seamless.
7. Simple Floral Dots
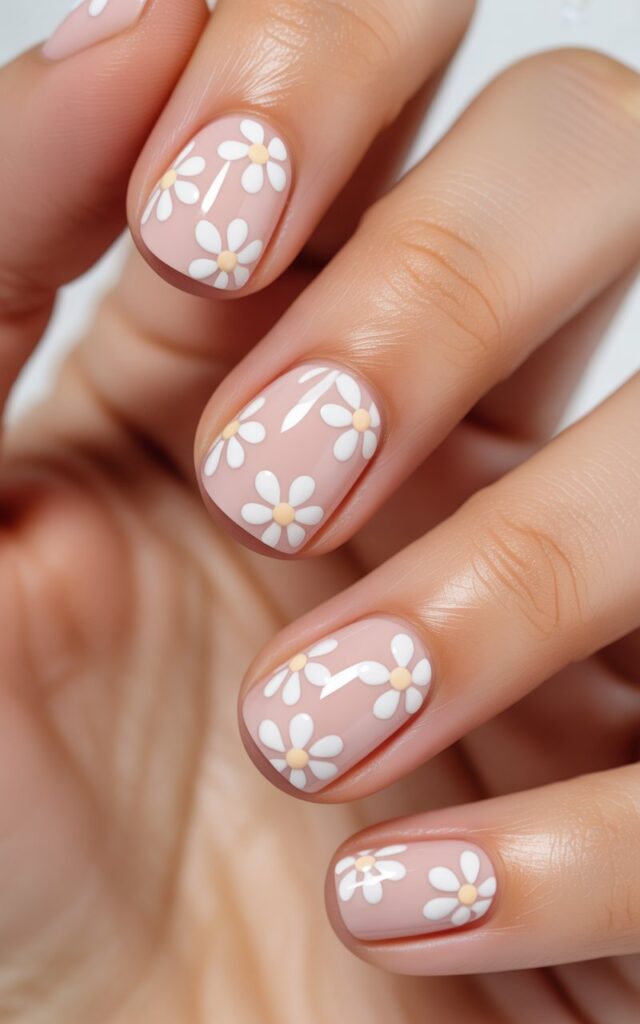
Flowers made from dots are one of those designs that look detailed but take about two minutes per nail. Paint a solid base and let it dry. Using a dotting tool or the tip of a bobby pin, place five small dots in a circle to form a flower petal shape. Add a single contrasting dot in the center.
White flowers on a soft pink or lilac base are a go-to combination. Pastel yellow on white looks clean for warmer months. You can scatter one or two flowers per nail, or cover the whole surface — both look finished.
8. Color Block Nails
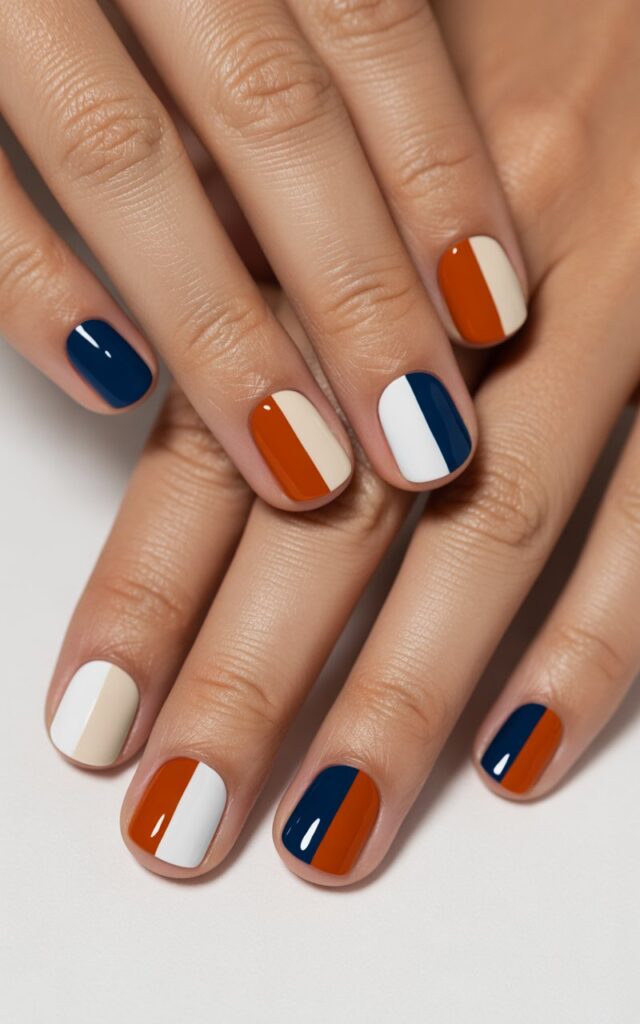
Color blocking means painting different sections of the nail in different solid colors with a clear dividing line between them. Use tape to get a sharp border between the two sections. Apply one color, let it dry, tape off that section, and paint the second color on the exposed part.
This works especially well with bold color pairings — think navy and white, burnt orange and cream, or black and red. The design requires zero artistic skill. The tape does the precision work for you.
9. Aura Nails

Aura nails have been one of the most talked-about trends in the past couple of years, and they’re surprisingly easy to recreate. The look involves a soft halo of color concentrated in the center of the nail that fades outward.
Use a small cosmetic sponge to dab a single color onto the center of a white or very light base. Press and lift — don’t drag — and build up the color gradually. The more you layer, the more intense the center becomes. Soft pastels work beautifully for this. Pink, lavender, and peach are all popular choices. Because the effect is intentionally blurry and diffused, there’s almost no way to make a mistake.
Small Steps, Good-Looking Nails
Getting better at nail art at home is mostly a matter of repetition. The first time you try a wavy line or a French tip, it might not look exactly the way you hoped. The second time will be noticeably better. The techniques covered here are all low-risk — they use common household tools, they’re forgiving of small errors, and none of them require expensive materials.
Once you’re comfortable with one or two of these looks, layering them becomes easy. Dots on a color block base. A wavy line over an ombre gradient. The basics stack well. And since you’re working at home on your own schedule, there’s no pressure — just polish, a little patience, and nails that look exactly the way you want them.
Frequently Asked Questions
Q: Do I need special tools to do nail art at home?
A: Not really. A toothpick works for dots, details, and fixing small mistakes. A bobby pin makes excellent dots. Scotch tape creates sharp lines. A small makeup sponge handles gradients. You can get through most of these designs without buying anything extra.
Q: How do I keep my nail polish from smearing?
A: Let each layer dry fully before adding the next. Thin coats dry faster and are less likely to smear. If you’re in a hurry, placing your hands in a bowl of cold water for a minute or two can help set the polish faster.
Q: Is a base coat really necessary?
A: Yes. It protects your natural nail from staining — especially with darker colors — and it helps the polish stick better so your manicure lasts longer.
Q: What’s the easiest design to start with?
A: Polka dots. They require almost no skill, look good with any color combination, and a bobby pin or toothpick is all the tool you need.
Q: How do I fix a messy edge around my nail?
A: Dip a thin brush or a cotton swab in nail polish remover and run it carefully along the skin around the nail. Do this before the top coat, and the edges will look clean and sharp.
Q: How long should I wait between coats?
A: At least two to three minutes between color coats. For the best results, wait until the previous coat feels dry to the touch before adding another layer.
Q: Can I do nail art on short nails?
A: Absolutely. Dots, negative space, color blocking, and wavy lines all look great on shorter nails. Shorter nails are actually easier to work on because there’s less surface area to cover evenly.
Q: How do I make my nail art last longer?
A: Start with clean, oil-free nails, use a base coat, apply thin color layers, and finish with a quality top coat. Reapplying the top coat every couple of days also helps extend the life of the design significantly.
Q: What colors are best for beginners to start with?
A: Neutral and pastel shades are forgiving because streaks and uneven coverage are less visible. Once you’re comfortable with application, you can move into bolder colors.