

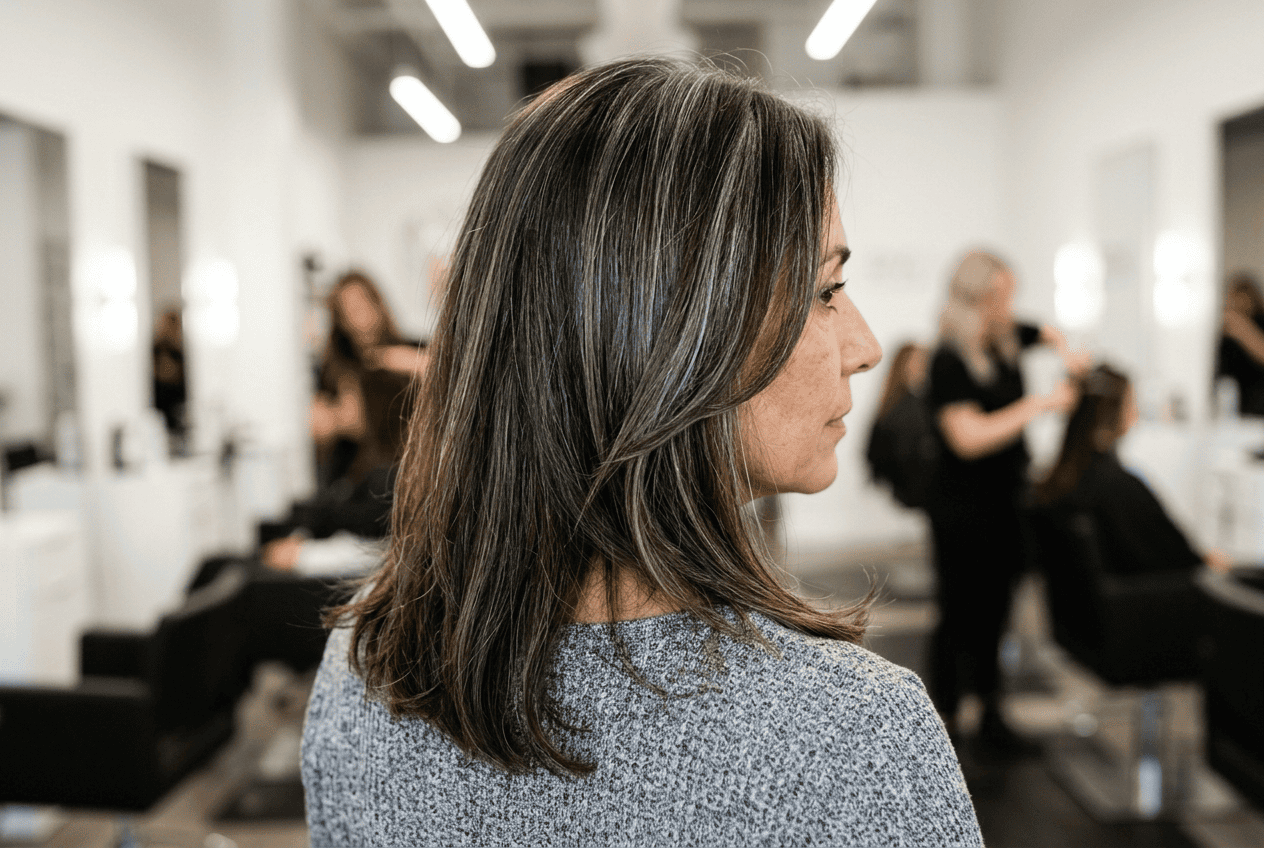
Going gray isn’t the all-or-nothing decision it used to be. You don’t have to keep covering it every four weeks, and you don’t have to let it grow in as one hard, obvious line either. There’s a middle path, and it’s the one most colorists are recommending right now.
That middle path is highlights. Placed the right way, they soften the line between your natural color and the silver coming in, so the whole thing looks like it was planned rather than something you’re waiting out. The gray stops looking like a problem to hide and starts looking like part of the color.
Below are ten ways stylists are blending gray into dark hair this year, from small tweaks you can request at your next appointment to bigger changes worth planning ahead for.
- 1. Start With a Real Consultation, Not a Guess
- 2. Ask for Babylights Along Your Part
- 3. Try a Silver Money Piece
- 4. Add Lowlights for Contrast
- 5. Consider a Root Shadow First
- 6. Go With Face-Framing Pieces
- 7. Choose Foilyage Over Traditional Foils
- 8. Use Chunky Color-Block Sections for Heavier Gray
- 9. Finish With a Toning Gloss
- 10. Space Out Salon Visits With Micro-Weaves
- Small Changes, Softer Transition
- Frequently Asked Questions
1. Start With a Real Consultation, Not a Guess
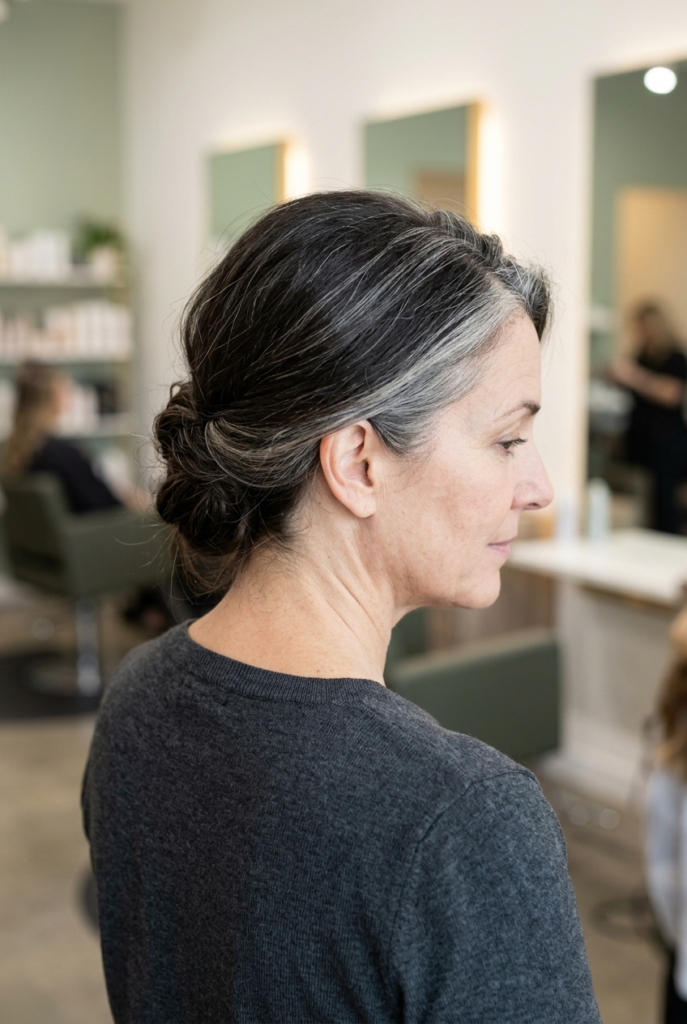
Before any foil touches your hair, sit down with your colorist and actually talk through where your gray shows up. Is it mostly at the temples? Scattered through the crown? Concentrated at the part? This matters because the placement of your highlights should follow the pattern of your gray, not a generic map used on every client.
Bring a photo of your hair from a few months ago, before any color.
It gives your stylist a baseline for how fast the gray is coming in and how much of it there already is.
2. Ask for Babylights Along Your Part
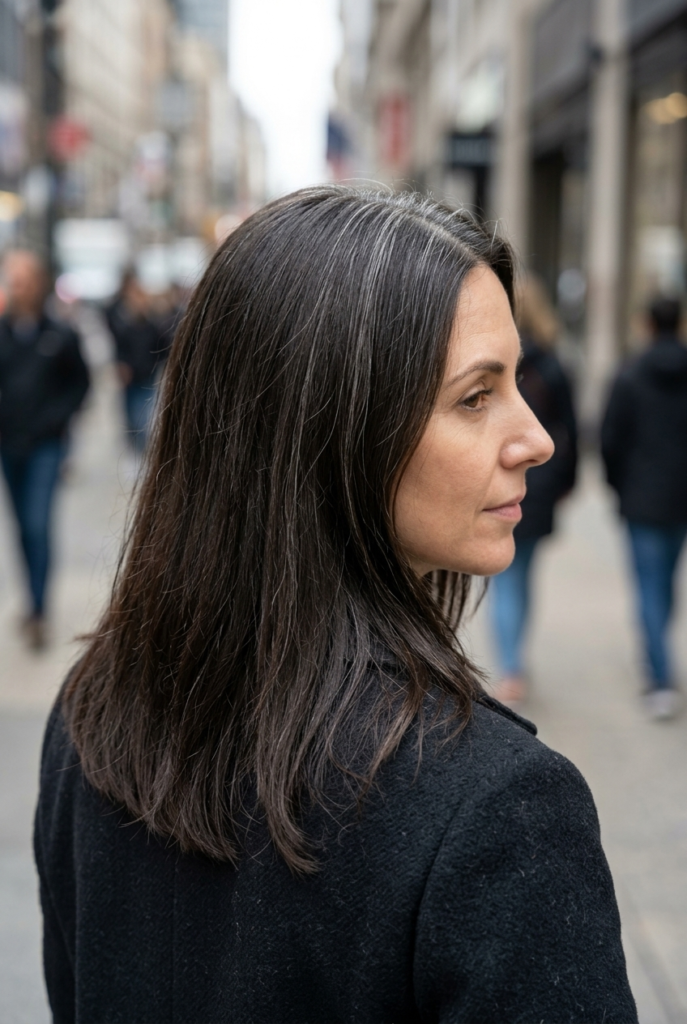
Babylights are extremely fine highlights, finer than standard foils, placed close to the scalp and concentrated around the part line. Since that’s usually where gray shows up first and most obviously, babylights are one of the most direct ways to soften it. They’re subtle enough that most people won’t clock them as “highlights” at all — they’ll just notice your color looks lighter and more natural near your face.
3. Try a Silver Money Piece
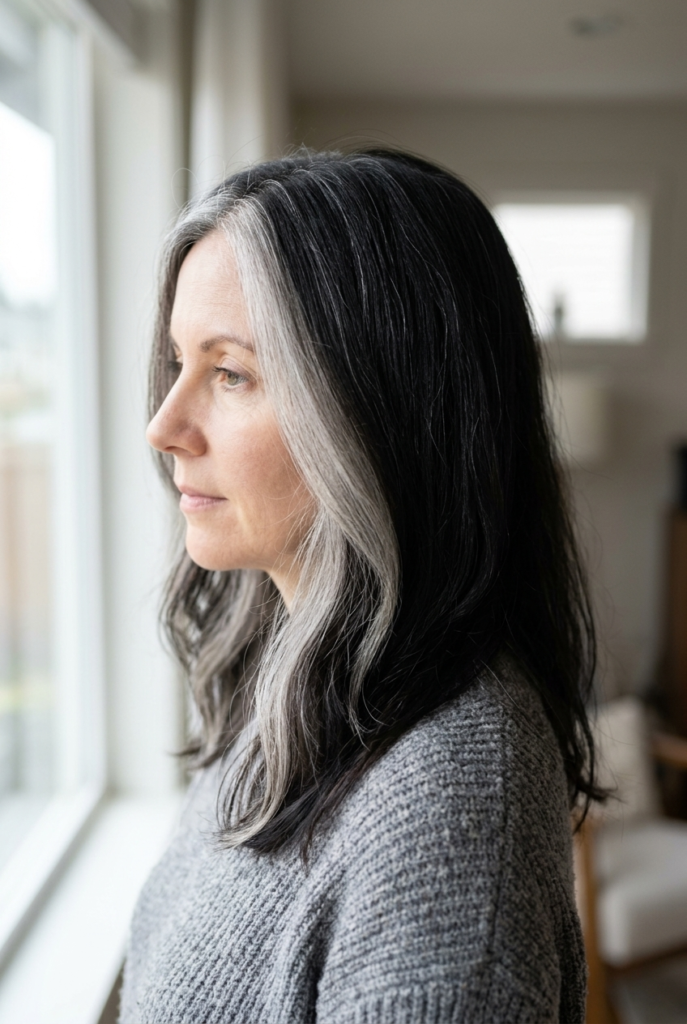
A money piece is a small section of lightened hair right around the face, usually a couple of pieces framing each side.
For dark hair going gray, using an actual silver or ash-blonde tone for that money piece does double duty. It lightens the hair right where people look first, and it matches the silver already coming in nearby.
The effect is that your natural gray and your colored piece start to look like the same shade family instead of two different things competing with each other.
4. Add Lowlights for Contrast

Highlights alone can end up looking flat if your gray is heavy and evenly spread. That’s where lowlights come in — small sections of color slightly darker than your base, woven in between the lighter pieces. They add depth back into hair that might otherwise look washed out or one-dimensional once the highlights are in.
Think of lowlights as the shadow that makes the highlights look like they belong there.
5. Consider a Root Shadow First

If you’re not ready for a full head of highlights yet, ask about a root shadow, sometimes called a root smudge. A colorist blends a soft, slightly darker tone right at the root that gradually fades into your natural color and the gray beneath it, so there’s no sharp demarcation line as your color grows out. It’s a smaller commitment than highlights and often a good first step before moving into a fuller blend later.
6. Go With Face-Framing Pieces
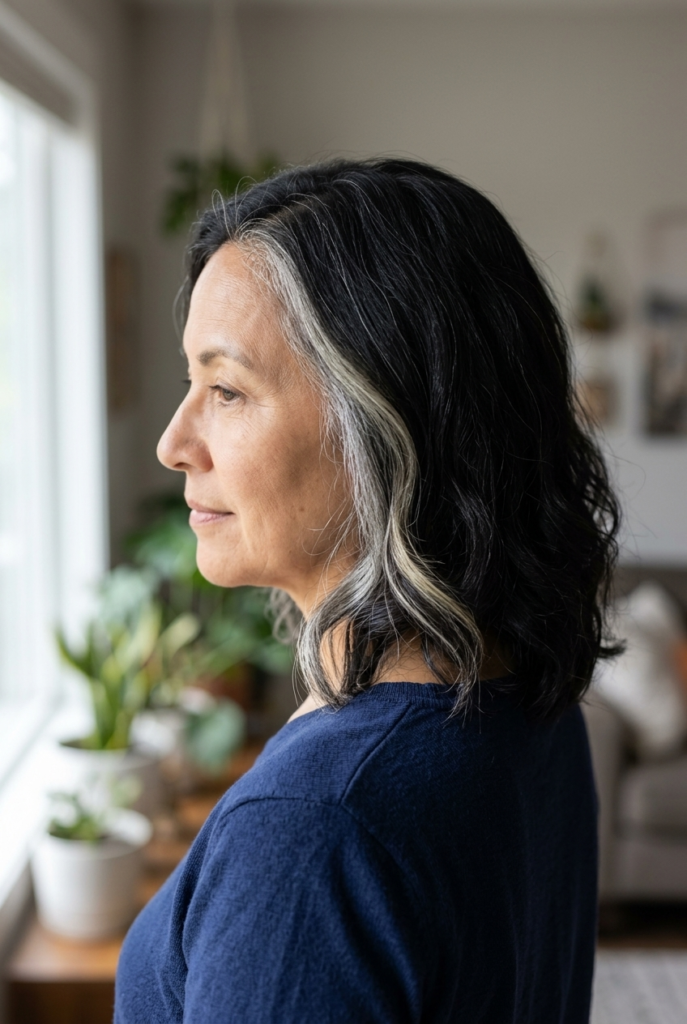
Not everyone wants highlights through their whole head. Sometimes just a few pieces around the face make the biggest visual difference.
Silver naturally tends to show up first along the hairline anyway.
Placing lightened pieces right there means the highlights and the gray work together instead of the highlights looking like an unrelated addition. Ask your colorist to concentrate the lightest pieces at your temples and cheekbone area, then let them taper off as they move back through the rest of your hair. This keeps the brightness where your eyes naturally land during conversation, which is exactly the spot where a soft transition matters most.
7. Choose Foilyage Over Traditional Foils
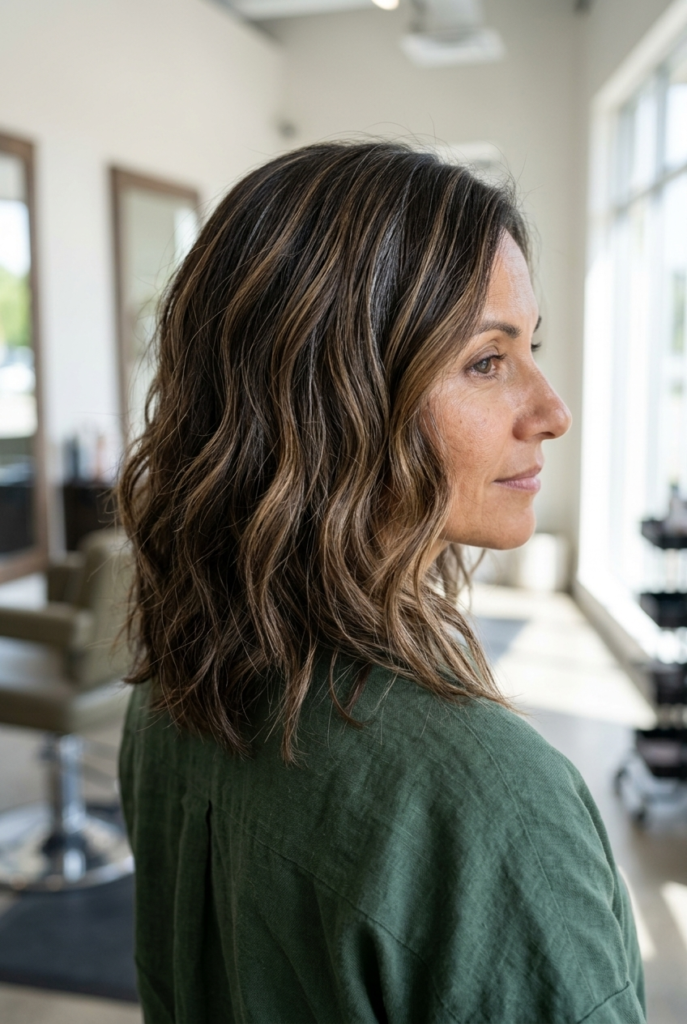
Foilyage combines two techniques: the hand-painted, soft edges of balayage with the lift you get from foils.
The result looks less like distinct highlighted sections and more like natural, sun-touched color with real dimension. For dark hair with gray woven through it, this softness matters. A crisp foil line can look jarring next to naturally soft gray strands, while foilyage keeps everything looking a little more organic, almost like your hair lightened on its own over time rather than in a salon chair.
8. Use Chunky Color-Block Sections for Heavier Gray
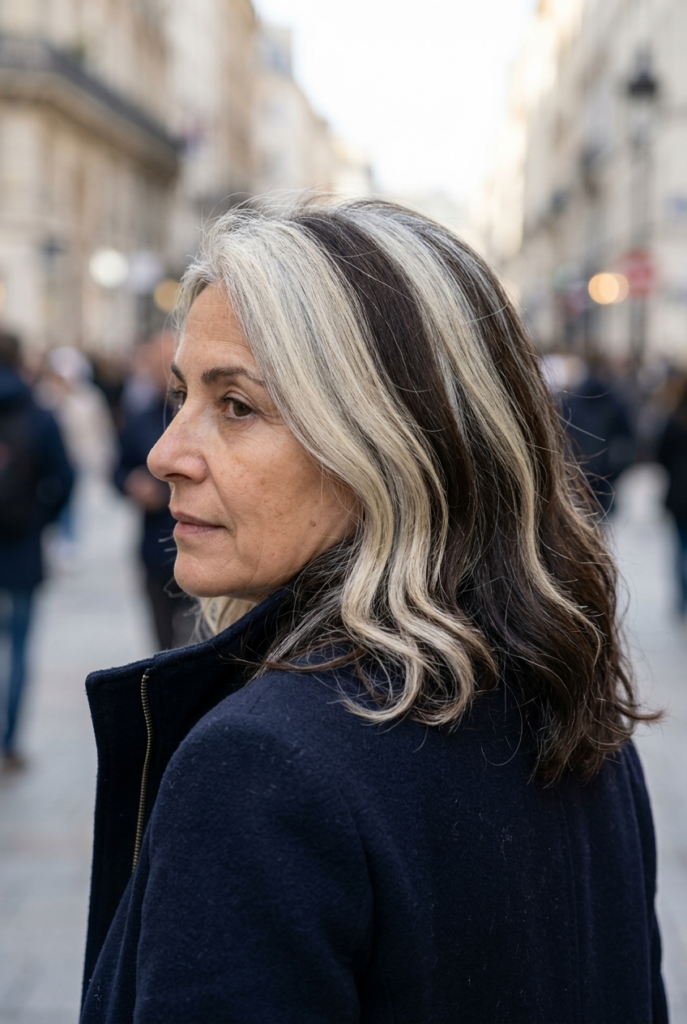
If more than a third of your hair has already gone gray, subtle babylights might not be enough to blend it. In that case, some colorists recommend the opposite approach: larger, more deliberate sections of light and dark placed close together. Instead of trying to hide the contrast, this technique treats it as an intentional design choice, with the gray reading as one of several tones rather than an outlier that needs to be camouflaged.
9. Finish With a Toning Gloss
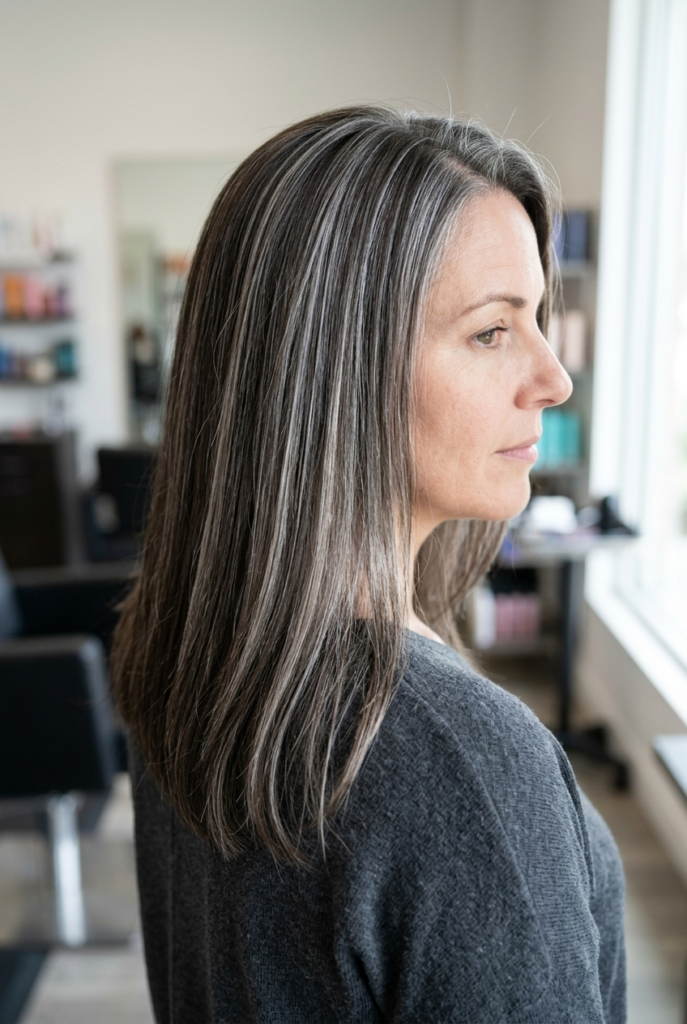
Highlights alone can pull warm or brassy, especially against dark hair, which throws off the whole point of trying to match your natural silver. A gloss applied after the highlighting service fixes that. It’s a translucent, temporary color that adjusts the tone of the lightened pieces without changing how light or dark they are.
Ask for a cool, ash-based gloss rather than anything with gold or copper in it.
A few things to mention to your colorist before this step:
- Whether you want the gloss to match your gray exactly or lean slightly lighter
- How often you’re realistically willing to come in for a refresh, since glosses fade faster than highlights
- Any warmth you’ve noticed in your highlights between appointments
10. Space Out Salon Visits With Micro-Weaves
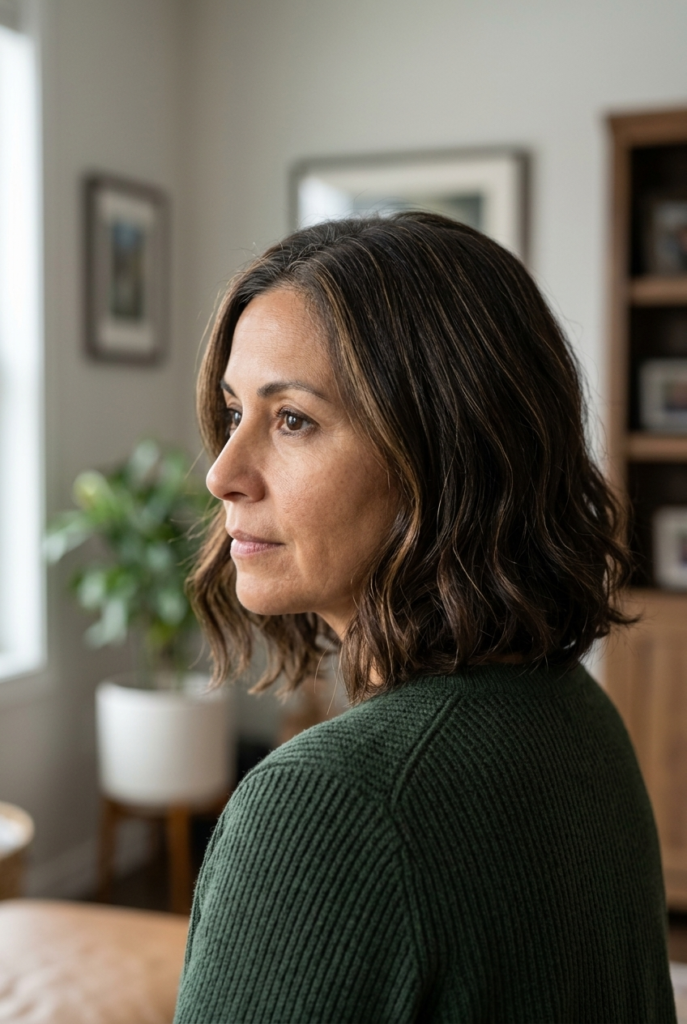
One underrated perk of gray blending is that it stretches out the time between appointments.
Micro-weave highlights, which are very fine and placed strategically rather than all over, grow out with far less of a visible line than a full head of color.
That means fewer trips to the salon, less money spent overall, and a softer transition even in the weeks right before your next touch-up.
Talk to your stylist about how your specific hair pattern and speed of graying should shape the plan, since what works for someone with 20 percent gray won’t necessarily work the same way for someone closer to 50 percent.
Small Changes, Softer Transition
You don’t need to pick one single technique and stick with it forever. Most women end up combining a couple of these, maybe babylights near the part with a cool gloss over everything, or a money piece paired with lowlights for depth. Talk it through with your colorist and let the plan shift as your gray grows in and changes over time.
What matters most is that the color feels like yours, not like something you’re managing until you decide to go fully gray or cover it completely. A good blend just gives you room to feel comfortable either way, whenever you get there.
Frequently Asked Questions
Q: How much gray do I need before highlights actually work to blend it? A: There’s no strict minimum, but highlights tend to work best once you have some visible gray to blend into, even just 10 to 20 percent. Less than that, and a root shadow or a few face-framing pieces might be enough on their own.
Q: Will highlights make my gray grow out faster or look worse over time? A: No. If anything, highlights soften the regrowth line, so the transition between your last salon visit and your next one looks more gradual instead of sharply divided.
Q: What’s the difference between babylights and a money piece? A: Babylights are very fine highlights placed close to the scalp, usually along the part or all over. A money piece is a specific, slightly bolder section framing the face on one or both sides.
Q: Do I need to go lighter overall, or can I keep my hair mostly dark? A: You can keep your base color dark. Most of these techniques only lighten select sections, so the majority of your hair stays close to its natural shade.
Q: How often will I need touch-ups once my gray is blended in? A: It depends on the technique, but most women stretch appointments to eight, ten, or even twelve weeks with a good blend, compared to four weeks for full coverage color.
Q: Should I ask for warm or cool highlight tones with dark hair going gray? A: Cool, ash-based tones almost always match natural gray better than warm or golden ones. Warm highlights tend to clash with silver strands instead of blending with them.
Q: Can I still color my hair a completely different shade later if I don’t like the blend? A: Yes. Blending techniques are flexible, and a colorist can always adjust the placement, add more lowlights, or shift the tone at your next appointment.
Q: Is gray blending more expensive than regular highlights? A: Pricing varies by salon, but the techniques themselves aren’t inherently pricier. Some women actually spend less over time because appointments are spaced further apart.
Q: What hair length works best for these techniques? A: All of them can be adapted to short, medium, or long hair. The main difference is how much surface area a colorist has to place the sections, not whether the technique will work at all.
Q: Can I do any of this at home instead of going to a salon? A: Toning glosses and some semi-permanent options are available for home use, but foil placement, babylights, and color-block sections really do call for a professional, since even placement is what makes the blend look natural.

