

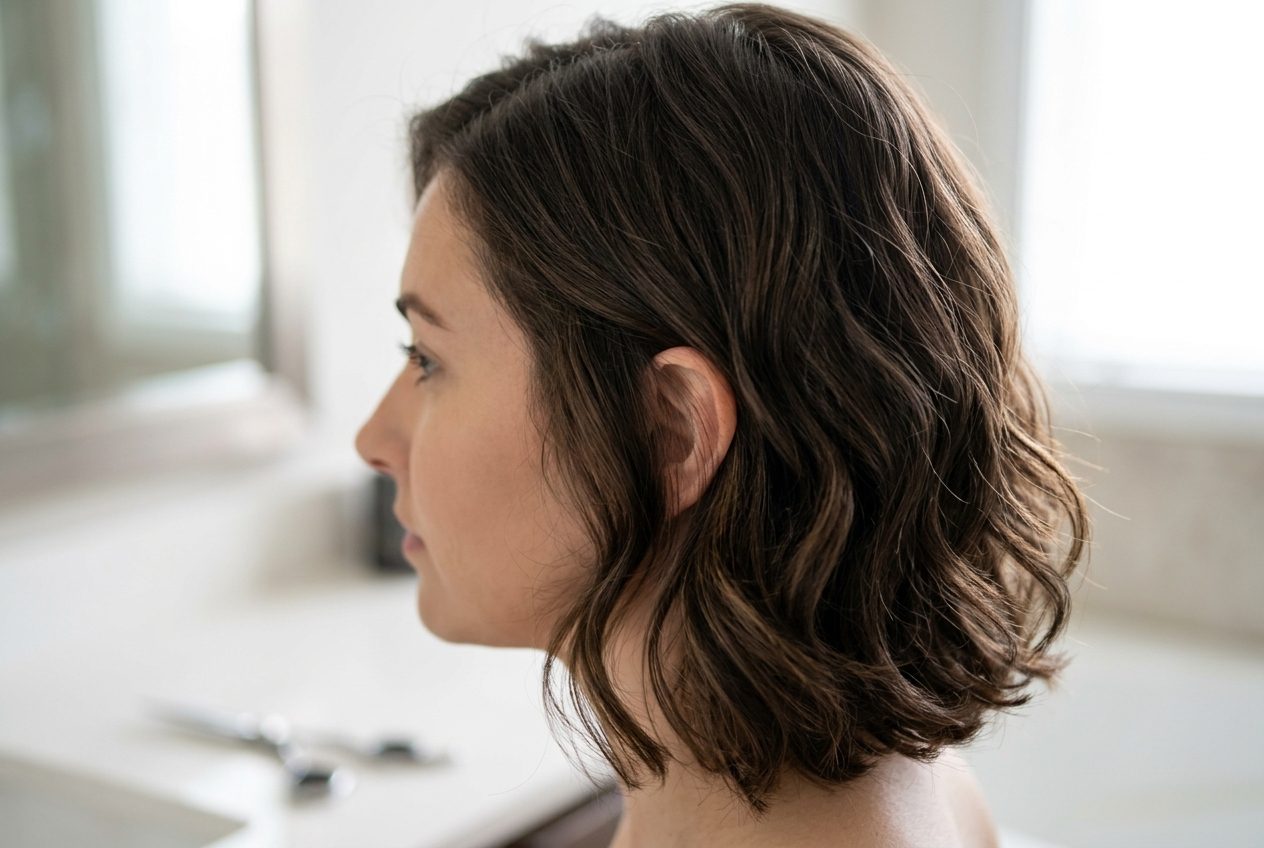
Cutting your own layers used to feel like something only a trained stylist could pull off without disaster. But with a little patience, the right tools, and a technique that actually matches your hair type, you can add real shape and movement to your hair without leaving your bathroom.
Layers do more than just look pretty. They take off weight, add bounce, frame your face, and can make even the plainest ponytail look like you spent an hour on it. The trick is choosing a method that fits your length, texture, and how much change you’re actually ready for.
Below are nine ways women are cutting layers into their own hair right now, from the classic ponytail trick to newer techniques built for curls and coarse hair. Some are beginner-friendly, others take a steadier hand, so pick the one that matches your comfort level and go from there.
- Gather the Right Tools Before You Touch Your Hair
- The Classic Ponytail Method
- The Twist-and-Snip Technique for Soft Face Framing
- Point Cutting for Natural-Looking Layers
- Layering Curly Hair the Right Way
- The Two-Ponytail Method for Shorter, Face-Framing Layers
- Blunt Cutting Versus Point Cutting for Blending
- Adding Movement with a Razor
- Section-by-Section Crown Layers for Volume
- How Do You Clean Up Your Ends After Layering?
- Final Thoughts Before You Pick Up the Scissors
- Frequently Asked Questions
Gather the Right Tools Before You Touch Your Hair
A dull pair of kitchen scissors will ruin even the best technique.
Hair-cutting shears are ground differently than regular scissors, and using the wrong tool leaves ends frayed, splitting, and prone to breakage within weeks. You’ll also want a fine-toothed comb for sectioning, a handful of clips or hair ties to keep sections separate, and a spray bottle if you plan to cut on damp hair. Good lighting matters too, since shadows can hide uneven pieces until you step into the sun the next day. Set up in front of a large mirror, or better yet, two mirrors so you can check the back, and lay down a towel to catch the trimmings.
The Classic Ponytail Method
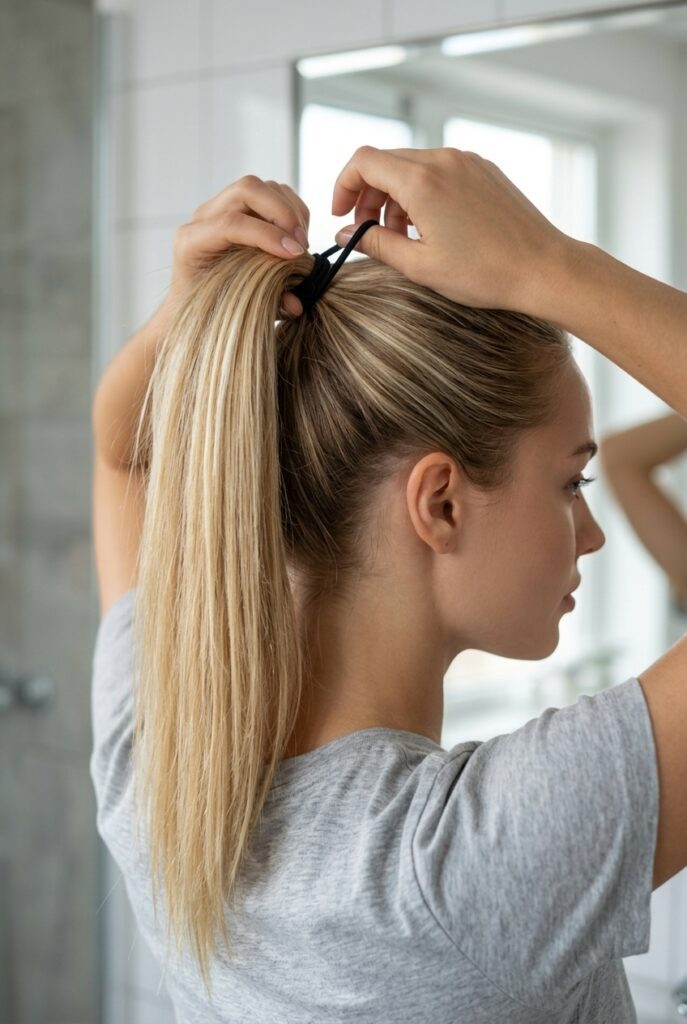
This one has been around for years because it works, and it’s the easiest starting point for a woman who has never cut her own hair before.
Here’s how it typically goes:
- Brush your hair completely smooth with no tangles.
- Gather it into a ponytail, positioning it higher on your head for shorter layers or lower for a more subtle result.
- Secure a second hair tie around the ponytail and slide it down to mark your cut line.
- Hold the hair straight out and trim across the marked line with sharp shears.
- Release the ponytail slowly to see the layered effect fall into place.
The higher you place the ponytail, the more dramatic the layering will be, since hair closer to the crown gets shortened the most while the pieces near your neckline stay long. Women with straight to slightly wavy hair tend to get the cleanest results with this approach, since the hair falls predictably once it’s released.
The Twist-and-Snip Technique for Soft Face Framing
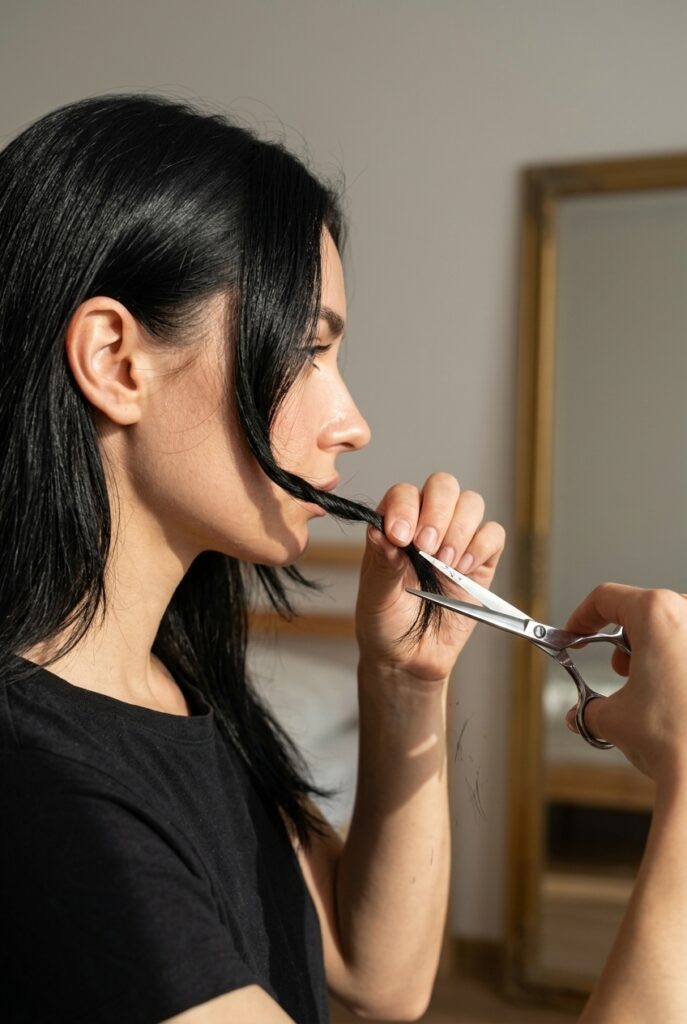
Twist small sections of hair near your face, then snip the twisted ends at an angle instead of straight across. As the twist unravels, the hair falls into soft, feathered pieces that blend naturally into the rest of your style rather than sitting as one obvious chunk. This works especially well for women who want subtle framing around the cheekbones without committing to a full layered haircut. It takes more patience than the ponytail method since you’re working in smaller sections, but the payoff is a softer, more lived-in look. Many women use this technique specifically for the front pieces while leaving the rest of their length untouched.
Point Cutting for Natural-Looking Layers

Point cutting removes bulk without shortening your hair dramatically.
Instead of cutting straight across a section, you hold your shears at a slight angle and snip upward into the ends in short strokes. This breaks up any blunt line and creates a soft, textured edge that mimics what a stylist would do with thinning shears. It’s a gentler way to introduce layers if you’re nervous about cutting too much off at once, since you can always go back and take a little more. Coarse or thick hair responds especially well to this method because it thins out the density while keeping the overall length intact.
Layering Curly Hair the Right Way
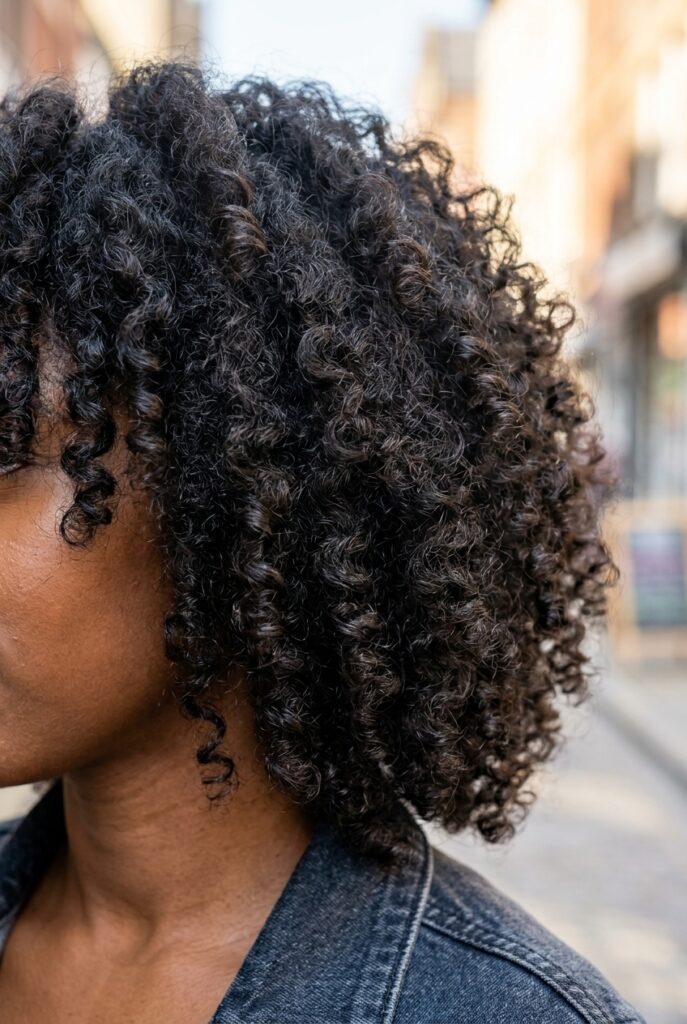
A common mistake with curly hair is cutting it wet and stretched out, then watching the layers shrink up far shorter than expected once the curls dry and spring back. Cutting curls the same way you’d cut straight hair almost always backfires, since curl pattern changes how much length disappears after drying.
The better approach is to cut curls dry, in their natural state, and to work curl by curl rather than in large sections. Trim slightly longer than you think you need, since shrinkage can eat up an inch or more depending on how tight the curl is. Stylists who specialize in curly cuts often recommend cutting at chin length or below for the first layer to preserve bounce and shape.
The Two-Ponytail Method for Shorter, Face-Framing Layers
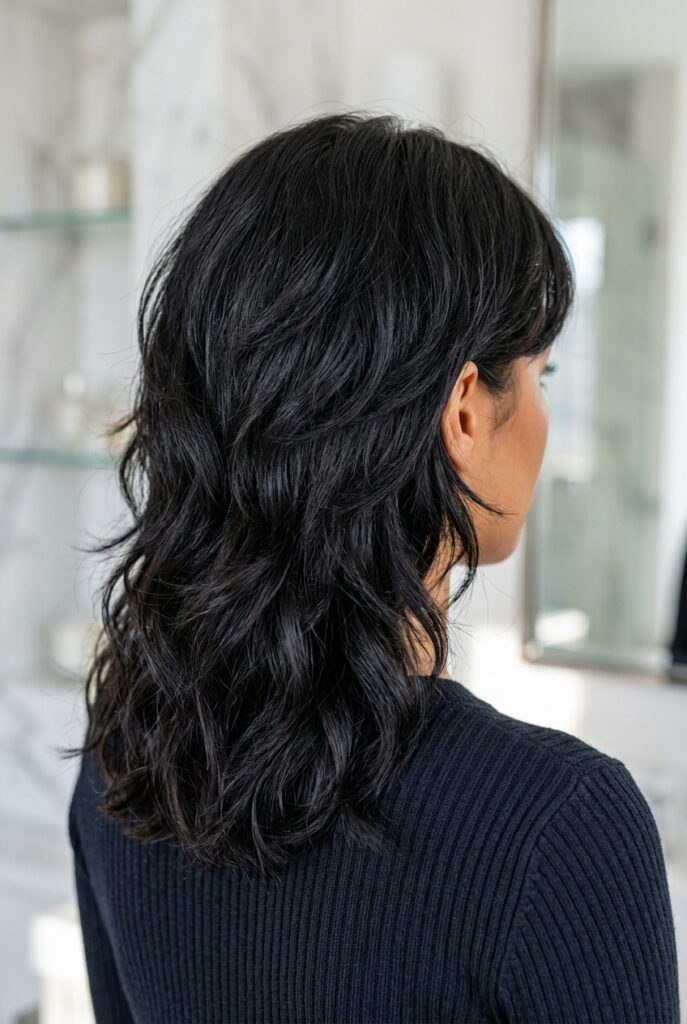
Some women want shorter layers near the crown without touching the length in the back, and that’s where a second ponytail comes in.
Section your hair into two ponytails, one at the crown and one lower toward the nape of your neck. Cut the top ponytail shorter than the bottom one, angling the cut so it blends rather than creating a hard line.
This gives you dimension near the top of your head while your ends stay fuller and heavier, which tends to flatter round or square face shapes.
Blunt Cutting Versus Point Cutting for Blending
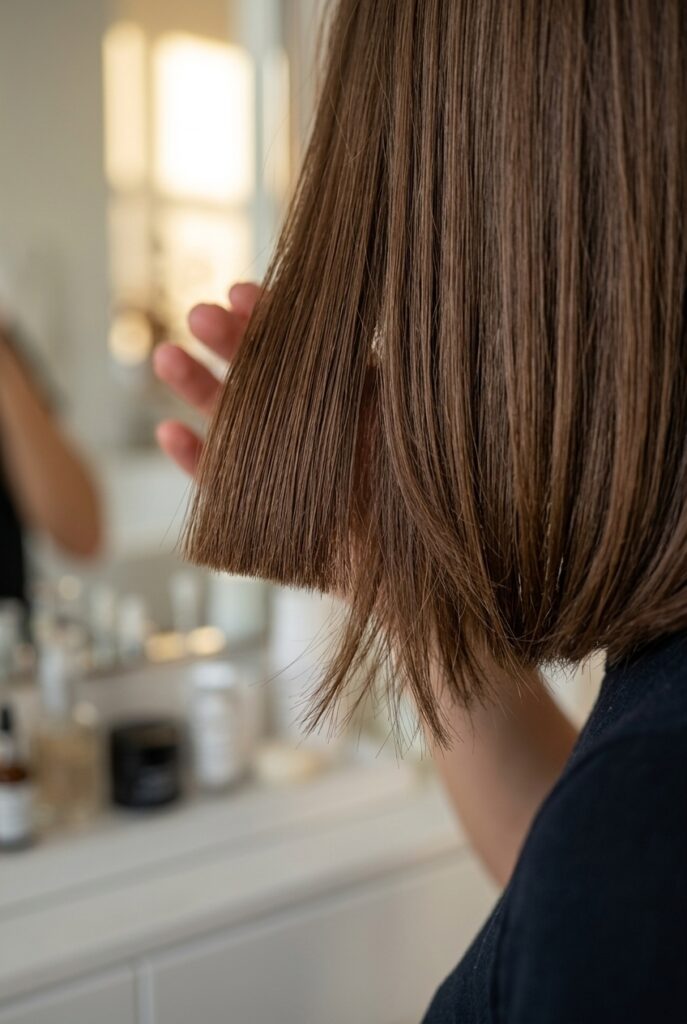
Blunt cutting means slicing straight across a section with shears held flat, which produces a crisp, defined edge. It’s the technique behind one-length bobs and works best on fine hair that needs the illusion of extra thickness.
Point cutting, on the other hand, softens that same edge by cutting into it at an angle. When you’re blending layers into an existing haircut, alternating between the two, blunt for structure and point for softness, gives you a result that looks intentional rather than choppy.
Adding Movement with a Razor
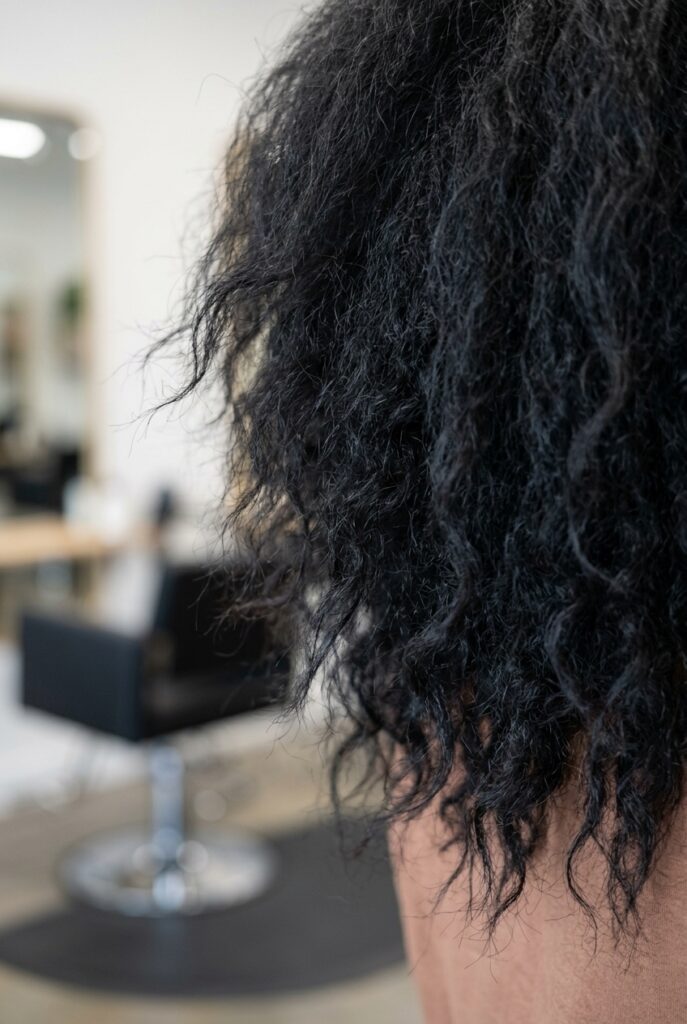
A razor cut removes hair in thin, tapered strokes rather than a single clean line, which creates noticeably more texture than scissors alone can produce. This technique is almost always done on damp hair, since a razor on completely dry strands can cause more damage and split ends over time. Women with thick or coarse hair who want their layers to look softer and less structured often reach for this method, though it does require a steadier hand and a proper hair razor rather than a disposable razor from the drugstore.
Section-by-Section Crown Layers for Volume
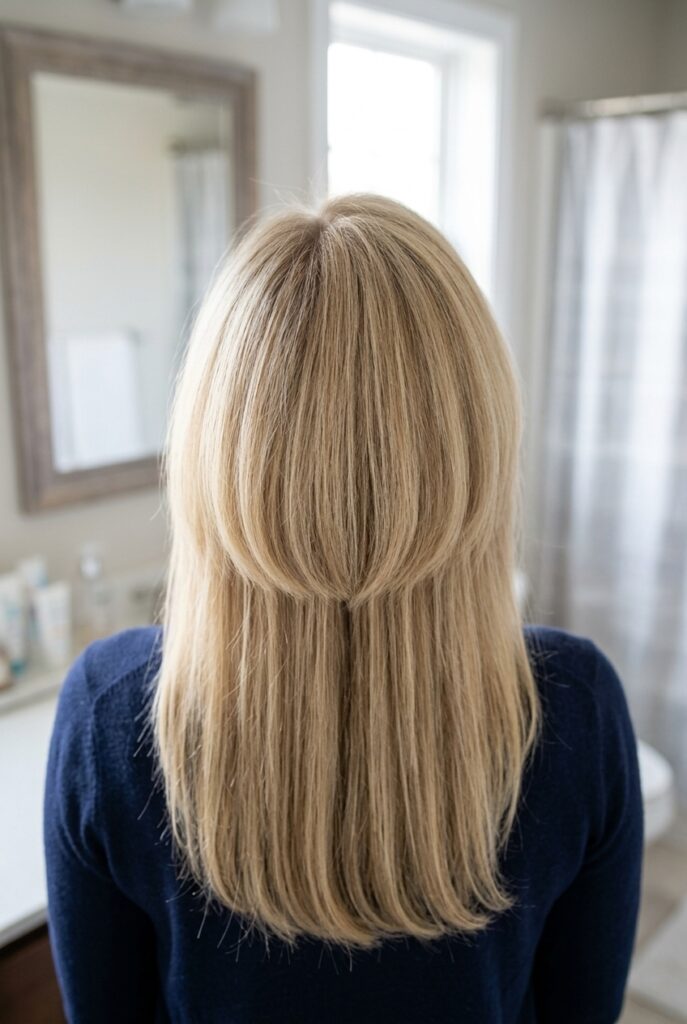
For layers concentrated at the crown, work through these steps:
- Section off a small triangle of hair at the very top of your head, about the size of a silver dollar.
- Comb that section straight up and trim a small amount off the tip, no more than half an inch at first.
- Use that trimmed piece as your guide, pulling adjacent sections up to match the same length.
- Work outward in small sections until the crown area is evenly shortened compared to the rest of your hair.
This method builds volume right where most women feel their hair falls flattest, and because you’re only working with the top layer, the rest of your length stays completely untouched. It’s a good option if you love your current length but want more lift when you blow-dry.
How Do You Clean Up Your Ends After Layering?
Once your layers are cut, should you also trim your ends, or leave them alone?
Cutting layers can leave your bottom line looking uneven, especially if you used the ponytail method, so a light cleanup pass afterward is worth doing. Flip your hair forward, comb it smooth, pinch the ends between two fingers, and trim across in a soft, slightly angled line rather than a flat one. This removes any stray pieces that didn’t fall evenly during the layering process and gives the whole cut a more finished look. Skip this step if your hair already looks balanced, since over-trimming at this stage is one of the easiest ways to end up shorter than planned.
Ready to see your layers?
Final Thoughts Before You Pick Up the Scissors
Cutting your own layers isn’t about achieving a flawless salon finish on the first try. It’s about learning how your hair falls, how much length you’re actually comfortable losing, and which technique suits your texture, whether that’s straight, wavy, or curly.
Start small. Trim less than you think you need, check your work in good lighting, and remember that hair grows back, but a rushed cut can take months to fix. If a section still looks uneven after you’ve tried blending it, a quick visit to a stylist for a cleanup cut will save you more frustration than trying to fix it yourself.
Frequently Asked Questions
Q: What’s the easiest layering method for a first-time DIY cut? A: The ponytail method is generally considered the most beginner-friendly, since it gives you a clear guide line to follow and produces a predictable result on straight to wavy hair.
Q: Can I cut layers into curly hair the same way I would straight hair? A: No. Curly hair should be cut dry, in its natural state, and worked through curl by curl since curls shrink significantly once they dry.
Q: How much hair should I cut off if I’m nervous about layers? A: Start with half an inch or less. You can always go back and trim more, but you can’t reattach hair once it’s cut.
Q: What’s the difference between point cutting and blunt cutting? A: Blunt cutting slices straight across for a clean, defined edge, while point cutting angles into the ends to soften the line and remove bulk without shortening length dramatically.
Q: Do I need special scissors to cut layers at home? A: Yes. Regular household or craft scissors crush the hair shaft and cause fraying, so a proper pair of hair-cutting shears is worth the investment.
Q: Should I cut my hair wet or dry? A: It depends on the technique. Razor cutting is typically done on damp hair, while curly hair should always be cut dry so you can see the true shape and length.
Q: How high should my ponytail be for shorter layers? A: Position it closer to your forehead and higher on your head. The higher the ponytail sits, the shorter and more dramatic the resulting layers will be.
Q: What face shapes benefit most from face-framing layers? A: Round and square face shapes often benefit from softer, angled layers near the cheekbones, since they help elongate and soften stronger features.
Q: Can layering fix flat hair at the crown? A: Yes. Working in small sections at the crown and trimming just the top layer adds noticeable volume and lift without shortening the rest of your hair.
Q: When should I stop cutting and see a professional instead? A: If your layers look uneven after a couple of attempts to blend them, or if you’re working with a complicated color or texture, it’s worth booking a cleanup appointment rather than continuing to cut at home.

