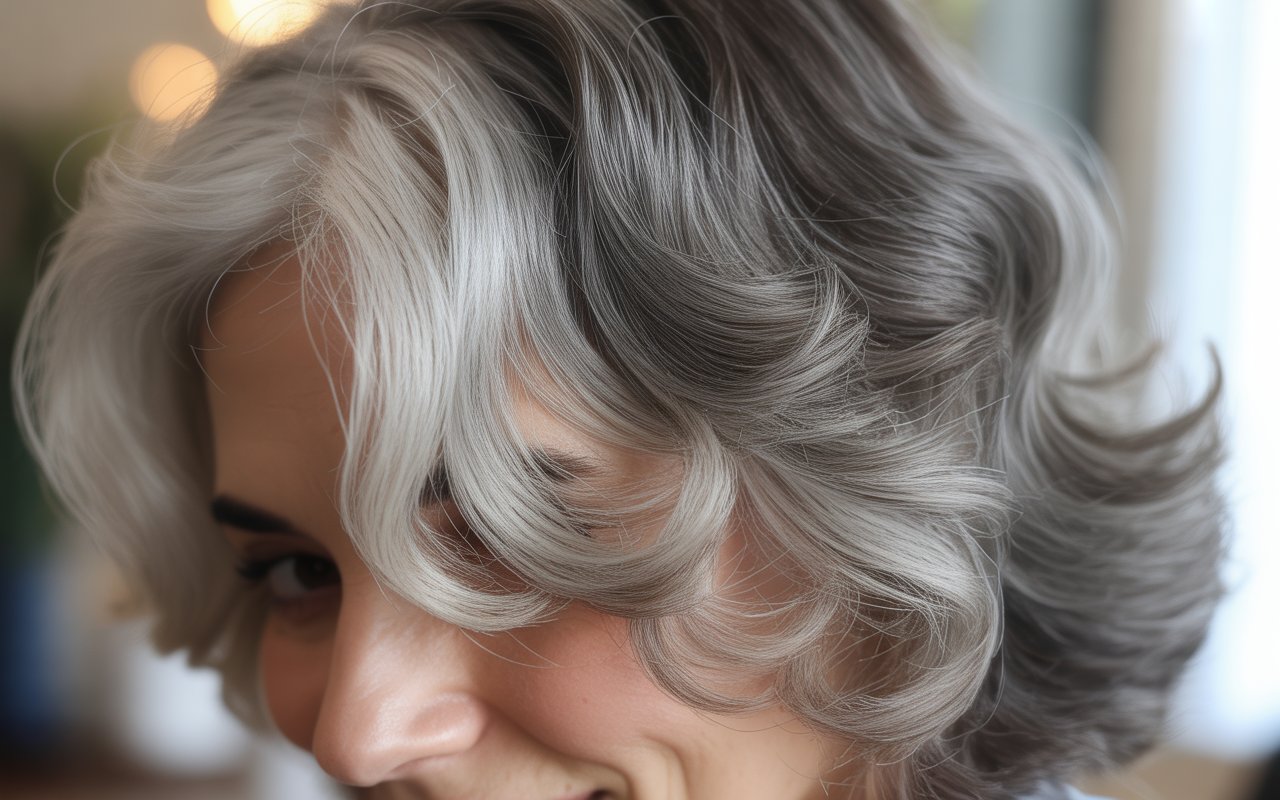
Growing out gray hair doesn’t mean you have to face a harsh line of regrowth or feel stuck between two colors. More women are choosing to transition naturally while keeping their hair looking polished and intentional. The process can feel uncertain at first, but there are ways to make it smooth and stylish.
Gray hair grows in with different textures and tones for everyone. Some women see silver strands concentrated around the hairline, while others notice them scattered throughout. This natural variation means the blending process looks different on each person. The goal is to create harmony between your emerging silver and your current color, making the transition feel gradual rather than sudden.
Several coloring techniques can help you grow out your gray hair while maintaining a salon-fresh appearance. These methods work by adding dimension through strategic placement of lighter or darker tones that connect your natural gray to your existing color. From hand-painted highlights to traditional foils, each approach offers different benefits depending on your hair type, the amount of gray you have, and how much maintenance you prefer. Let’s look at eight effective ways to blend your natural gray during the grow-out process.
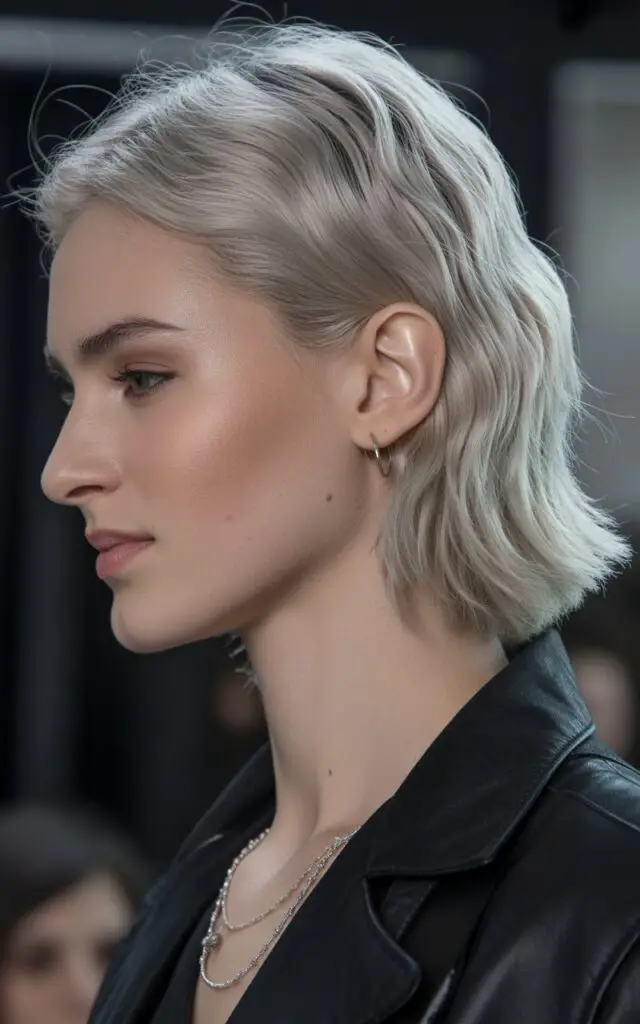
Silver Balayage Blend
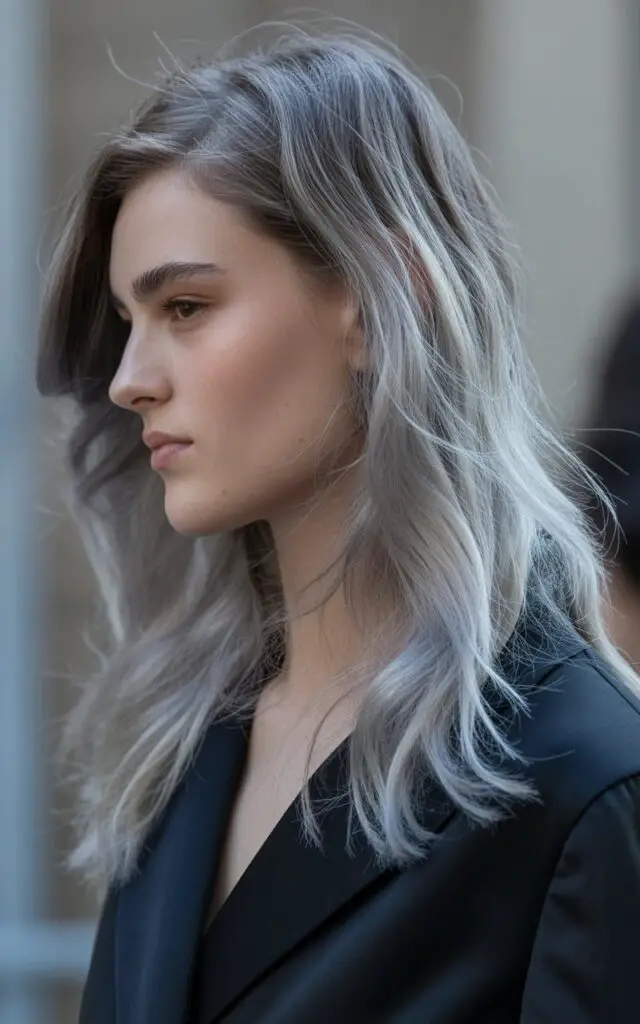
This hand-painted technique creates a seamless transition between your dark base and emerging gray strands. Your colorist applies silver and platinum tones in sweeping motions, focusing on areas where natural gray is most visible. The result looks sun-kissed and dimensional rather than striped.
Why This Works for Growing Out Gray
Silver balayage mimics how natural gray grows in gradually. The painted highlights start lighter at the ends and blend darker toward the roots, which means your regrowth looks intentional as it comes in. You won’t see that telltale line of demarcation that happens with traditional all-over color.
This technique works especially well if you have gray scattered throughout rather than concentrated in one area. The varying placement creates depth that makes individual silver strands disappear into the overall look.
Maintenance Requirements
You’ll need touch-ups every three to four months, making this one of the lower-maintenance options. Between salon visits, use a purple toning shampoo once weekly to keep brass tones at bay. The silver tones can pick up warmth from minerals in your water or heat styling.
Best Candidates
Women with medium to dark brown hair see the most dramatic results. If you have fine hair, ask your colorist to place highlights closer together for better coverage. Thicker hair can handle chunkier sections. This method adapts well to different gray percentages, whether you’re just starting to see silver or already have substantial coverage.
Ashy Babylights
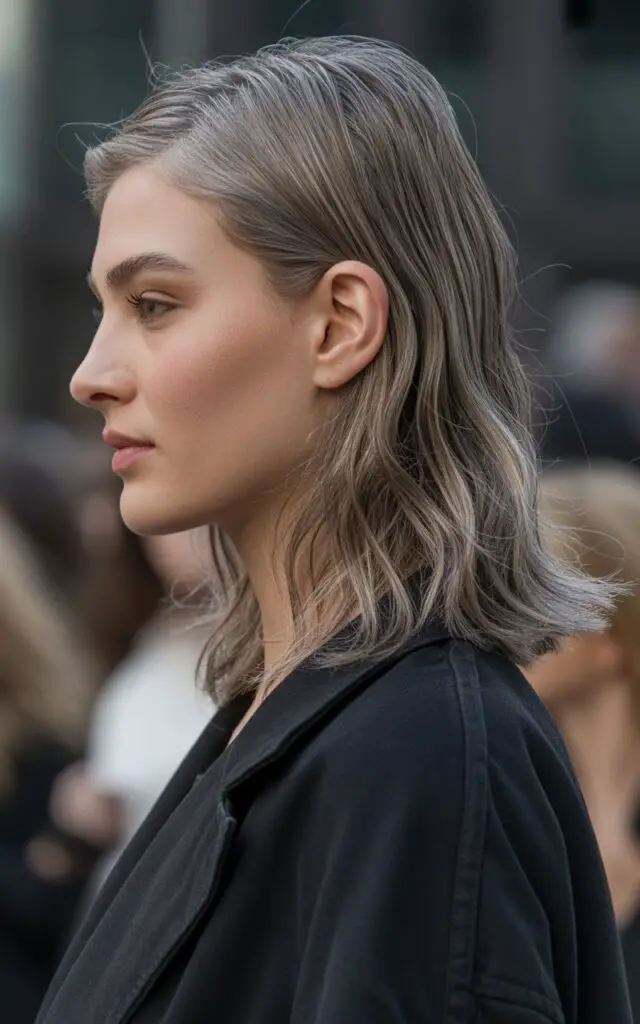
These ultra-fine highlights create the appearance of natural sun-lightened hair. Your stylist paints tiny sections throughout the top layers, using shades just a few tones lighter than your base color. The name comes from the delicate, hair-like strands you see on children in summer.
Application Process
Your colorist sections out thin pieces of hair, typically no wider than a few strands. They apply lightener or color using a precision technique that keeps the highlights looking soft and blended. The process takes longer than traditional highlights because of the detail work involved.
Color Selection
Ash tones work better than warm shades for blending gray. Your natural silver has cool undertones, so matching that temperature creates a cohesive look. If your colorist suggests beige or champagne tones, these also fall into the cool category and work well.
The highlights should be one to two shades lighter than your base but not dramatically different. This creates a gradient effect that helps your natural gray blend in rather than stand out.
Styling Tips
Here’s how to make the most of this technique:
Air Dry When Possible: Heat can cause ash tones to oxidize and turn brassy faster.
Use Cool Water: Hot water opens the hair cuticle and releases color molecules more quickly.
Limit Washing: Try extending to every other day or every three days to preserve the tone.
These highlights look natural on straight or wavy hair textures. The fine placement works with your hair’s natural movement rather than creating obvious streaks.
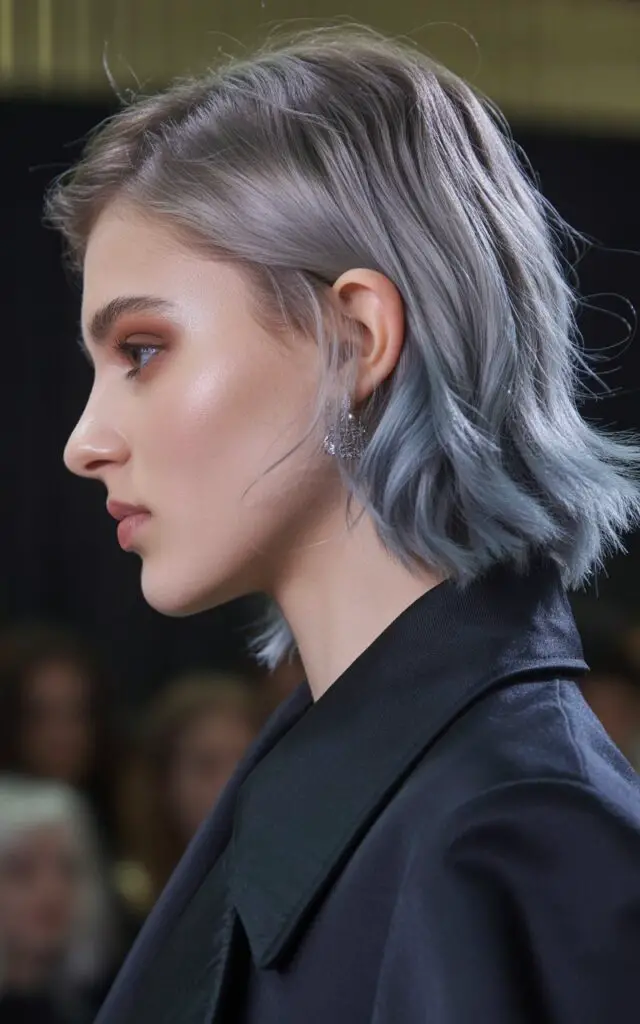
Smoky Charcoal Highlights
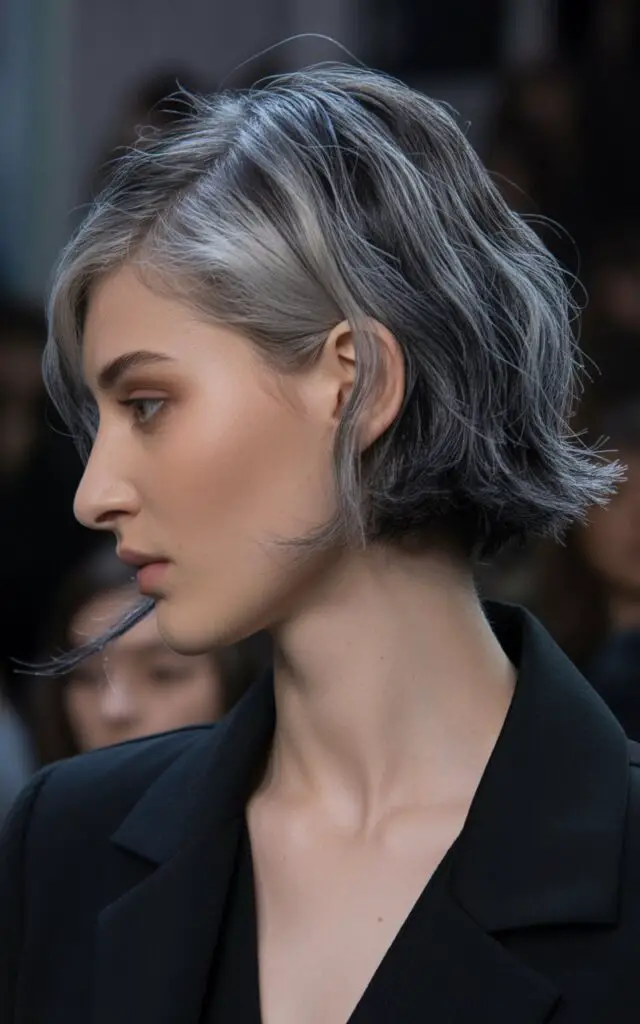
This bolder approach uses deeper gray tones mixed with your base color. Think charcoal, gunmetal, and steel shades rather than bright silver. The darker tones create a sophisticated, modern look that feels less stark than platinum.
Color Formulation
Your stylist mixes various gray shades to match your natural silver’s depth. If your gray comes in dark and silvery, these deeper tones will match better than bright white highlights. The charcoal shades provide coverage while adding dimension.
Placement Strategy
The highlights typically start a few inches from the roots, blending down through the mid-lengths and ends. This placement lets your natural gray grow in without creating a harsh line. As your roots come in, they connect seamlessly with the charcoal tones.
Who Should Try This
Women with naturally dark brown or black hair often prefer this method over lighter highlights. The deeper tones complement darker bases without requiring extensive lightening. This means less processing and healthier hair overall.
If you have warm undertones in your skin, the cool charcoal shades can provide a nice contrast. The depth keeps the look from washing you out while still helping your gray blend in.
Expected Timeline
Plan for appointments every eight to ten weeks. The darker tones show less obvious regrowth than platinum shades, giving you more time between visits. Your natural gray will blend into the charcoal highlights as it grows.
Platinum Money Pieces
Face-framing highlights in bright platinum create a youthful, brightening effect. These chunky sections frame your face on both sides, typically starting at the part line and continuing down past your shoulders. The bold placement draws attention to your features while helping gray blend in.
Strategic Placement Benefits
Gray tends to show up first around the hairline and temples. Platinum money pieces cover exactly those areas while making the look feel intentional. The bright color reflects light onto your face, which can soften lines and create a lifted appearance.
The contrast between your dark base and the platinum creates dimension. Your natural gray growing in around your face will match the platinum tones, making regrowth less noticeable than with traditional highlights.
Coloring Process
Achieving platinum requires lifting your hair several levels lighter than your base. Your stylist will likely use a high-lift color or lightener, followed by a toner to remove any warmth. This multi-step process can take two to three hours for the initial application.
Maintenance Considerations
Here’s what to expect:
Toning Appointments: Schedule a gloss treatment every four to six weeks to maintain the platinum shade.
Purple Shampoo: Use this two to three times per week to prevent yellowing.
Deep Conditioning: Platinum requires extra moisture since the lightening process opens the hair cuticle.
Women with naturally lighter brown or dark blonde hair reach platinum more easily. If you have very dark hair, your stylist might recommend a gradual approach over multiple sessions.
Cool-Toned Foil Highlights
Traditional foil highlights offer the most thorough gray coverage. Your colorist weaves sections of hair into foils, applies color, and processes them to lift the shade. This technique allows for precise placement and even color saturation throughout.
How Foils Differ from Other Methods
Foils provide more control over the final result. The foil traps heat, which helps the color process more effectively. This means your highlights will come out more uniform in tone compared to open-air techniques like balayage.
Your stylist can place foils exactly where you need the most coverage. If your gray concentrates around your crown, they can focus more foils in that area. This targeted approach works well for specific problem zones.
Color Options
Cool-toned shades work best for blending gray. Your colorist might use ash blonde, champagne, or even silver tones depending on your base color. The key is matching the temperature of your natural gray rather than fighting against it.
For women with very dark hair, adding both highlights and lowlights creates the most natural blend. The darker pieces provide depth while the lighter ones help your gray disappear.
Timing Between Appointments
You’ll need touch-ups every six to eight weeks to maintain full coverage. As your roots grow in, the line between your natural hair and the highlights becomes more visible. Some women prefer this tighter schedule because it keeps their look consistently polished.
If you want to extend time between appointments, ask your stylist to start the foils slightly away from your roots. This creates a softer grow-out line.
Salt and Pepper Lowlights
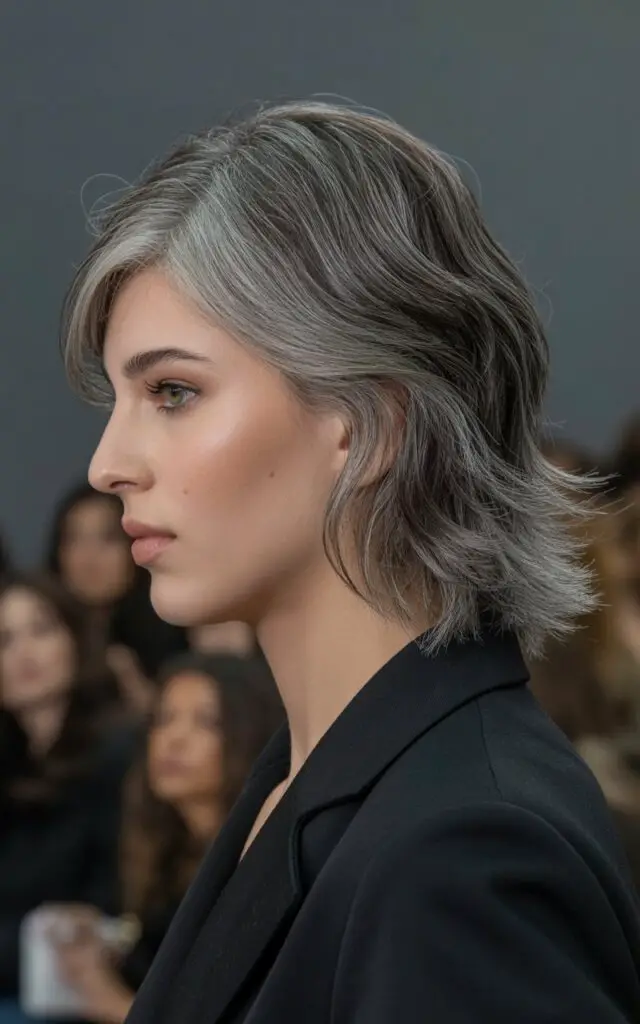
This technique adds darker tones to your hair rather than lighter ones. Your stylist places lowlights throughout your hair to create depth and dimension. The contrast between light and dark mimics natural salt and pepper coloring, making your gray strands look intentional.
Why Add Darkness
Lowlights create shadows that make your hair appear fuller and more dimensional. If you have fine or thinning hair, this technique can help create the illusion of thickness. The darker pieces also provide a base that your gray can blend into naturally.
Women who don’t want blonde or silver tones in their hair prefer this method. You can create a blended look using only shades similar to your natural color, just varied in depth.
Choosing the Right Shades
Your colorist will select tones one to two shades darker than your base. For brown hair, this might mean espresso or dark chocolate shades. The lowlights should still fall within the cool spectrum to complement your gray rather than clash with it.
Application Technique
Lowlights typically use the same foil method as highlights. Your stylist can alternate between your natural color areas and lowlight placement to create a woven effect. This prevents the color from looking blocky or unnatural.
Some stylists combine lowlights with a few face-framing highlights for brightness. This combo technique gives you dimension without committing to an all-over lighter look.
Maintenance Schedule
Plan for appointments every ten to twelve weeks. Lowlights grow out more gracefully than highlights because they’re darker than your base. Your natural gray will show against the darker tones, but the overall effect remains dimensional and intentional.
Reverse Ombre with Gray
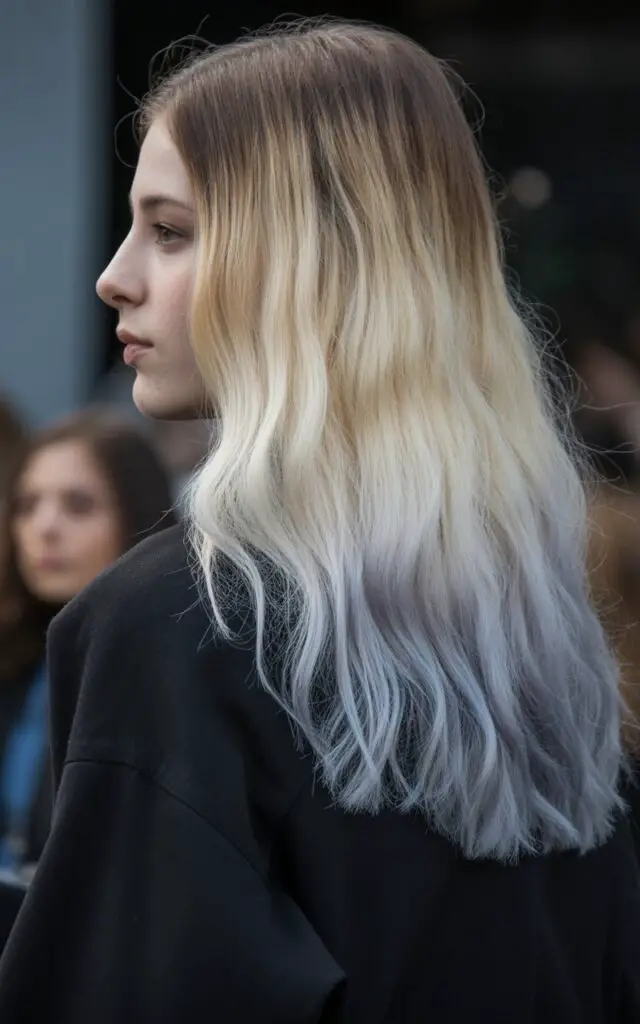
This style flips the traditional ombre by keeping your roots dark and gradually transitioning to silver or gray at the ends. The look celebrates your natural gray rather than trying to hide it. Your colorist lightens your mid-lengths and ends to match or enhance your natural silver tones.
Creating the Gradient
The transition from dark to light should happen gradually over several inches. A harsh line will look like a mistake rather than an intentional style. Your colorist uses balayage or foiling techniques to create this seamless blend, concentrating the lightest tones at your ends.
Perfect Timing for This Style
Reverse ombre works best once you already have significant gray growth. If you’re just starting to see silver, you might want to wait until you have more natural gray to work with. This technique essentially accelerates your transition to full gray by matching your ends to your roots.
Styling Considerations
Wavy or curly hair showcases the color transition beautifully. The texture creates movement that helps blend the shades together. Straight hair shows the color gradient more distinctly, which can look sleek and modern.
Keep in mind that lightening your ends requires regular trims to prevent damage. The processed hair is more fragile than your natural roots. Deep conditioning treatments become essential for maintaining healthy ends.
Growing It Out
As your gray grows in, you’ll eventually have silver roots blending into silver ends. At that point, you can either maintain the look with occasional toning or let it grow out completely natural. This style gives you options as your hair continues its transition.
Herringbone Highlights
This newer technique involves placing highlights in a V-shaped or zigzag pattern rather than straight lines. The angled application creates a softer blend between your natural color and the highlights. As your gray grows in, the zigzag pattern helps it blend seamlessly rather than creating a straight line of demarcation.
The Technical Difference
Traditional highlights follow the natural sectioning of your hair in straight lines. Herringbone highlights angle across those sections, creating multiple small triangles of color. This intersecting pattern means your regrowth appears more diffused as it comes in.
Your colorist might use two different highlight colors in this technique, one cool and one slightly warmer. This addresses the common issue where natural gray is cool-toned but your pigmented hair has warmth. The mixed tones create a bridge between the two.
Benefits for Gray Coverage
The pattern makes it nearly impossible to see where your natural hair ends and the highlights begin. Women who hate seeing their roots prefer this method because the regrowth blends in for months longer than traditional highlights.
Application Time
Expect to spend more time in the salon chair for this technique. The precise angled placement takes longer than standard foil highlights. However, the extended time between touch-ups often makes up for the longer initial appointment.
Your stylist needs specific training in this method. Not all colorists offer herringbone highlights, so you may need to search for someone experienced in the technique.
Recommended For
Women with substantial gray who want maximum time between appointments benefit most from this method. If you travel frequently or prefer low-maintenance styles, herringbone highlights can give you four to six months between salon visits while still looking polished.
Making Your Gray Transition Work
Growing out your natural gray doesn’t require hiding it or waiting years for a complete transition. These blending techniques let you control how your hair looks during every stage of the process. You can choose based on your lifestyle, budget, and how much maintenance you want to handle.
The right method depends on your starting point and where you want to end up. Some women use these techniques as a permanent style, while others see them as a temporary bridge to fully gray hair. Either way works perfectly fine. Your gray hair tells your story, and how you choose to style it during the transition should feel right for you and your daily routine.
Frequently Asked Questions
Q: How long does the gray blending process take from start to finish?
A: The timeline varies based on how much gray you have and which technique you choose. Most women see a fully blended look after one to two salon appointments. If you’re transitioning from very dark dyed hair to gray, the process might take six months to a year with multiple sessions to lift your base color gradually without damage.
Q: Will gray blending damage my hair?
A: Any chemical processing affects your hair’s structure, but gray blending typically causes less damage than full coverage color. Techniques like balayage and babylights process less hair than all-over color. Your stylist should use bond-building treatments during the coloring process to minimize damage. Proper home care with deep conditioning masks helps maintain hair health.
Q: Can I do gray blending at home?
A: Home highlighting kits exist, but professional application produces better results for gray blending. The placement needs precision to look natural, and matching the right tones to your specific gray requires color theory knowledge. If you want to try at home, start with a root touch-up powder or temporary color spray between salon visits rather than permanent highlights.
Q: How much does gray blending cost?
A: Prices range from $150 to $400 depending on your location, the technique used, and your hair length. Balayage and babylights typically cost more than traditional foil highlights because they require more time and skill. The investment pays off in longer time between appointments compared to regular root touch-ups.
Q: What’s the difference between gray blending and gray coverage?
A: Gray coverage uses permanent dye to completely hide your silver strands, matching them to your pigmented hair color. Gray blending works with your natural gray instead of covering it, using highlights or lowlights to create harmony between the two colors. Blending requires less maintenance and grows out more gracefully.
Q: Which blending technique requires the least maintenance?
A: Balayage and herringbone highlights offer the longest time between appointments, typically three to six months. These techniques create a softer regrowth line that blends naturally as it grows. Traditional foil highlights need touch-ups every six to eight weeks for a polished look.
Q: Will gray blending work on short hair?
A: Yes, these techniques work on any length. Short hair actually makes some methods like babylights and money pieces more affordable since less product and time are needed. The color placement might need adjustment for shorter styles, but all these techniques adapt well to different lengths.
Q: How do I maintain my gray blending between salon visits?
A: Use purple or blue toning shampoo once or twice weekly to prevent brass tones in your highlights. Deep condition regularly since processed hair needs extra moisture. Limit heat styling and use heat protectant when you do style. Schedule a gloss treatment every six to eight weeks to refresh your tone without a full highlighting session.
Q: Can I blend gray if I have very dark or black hair?
A: Absolutely. Women with dark hair often get the most dramatic and beautiful results from gray blending. Techniques like smoky charcoal highlights and salt and pepper lowlights work particularly well on darker bases. Your stylist might need multiple sessions to safely lighten your hair if you want platinum tones, but the process is definitely achievable.
Q: What happens if I decide I don’t like the blending and want to go back to full coverage?
A: You can return to full coverage color anytime. Your stylist can apply an all-over color that matches your base, covering both the highlights and your natural gray. Keep in mind that if you’ve lightened your hair significantly, achieving an even color might require a fill step first to prevent the highlights from looking lighter through the new color.