

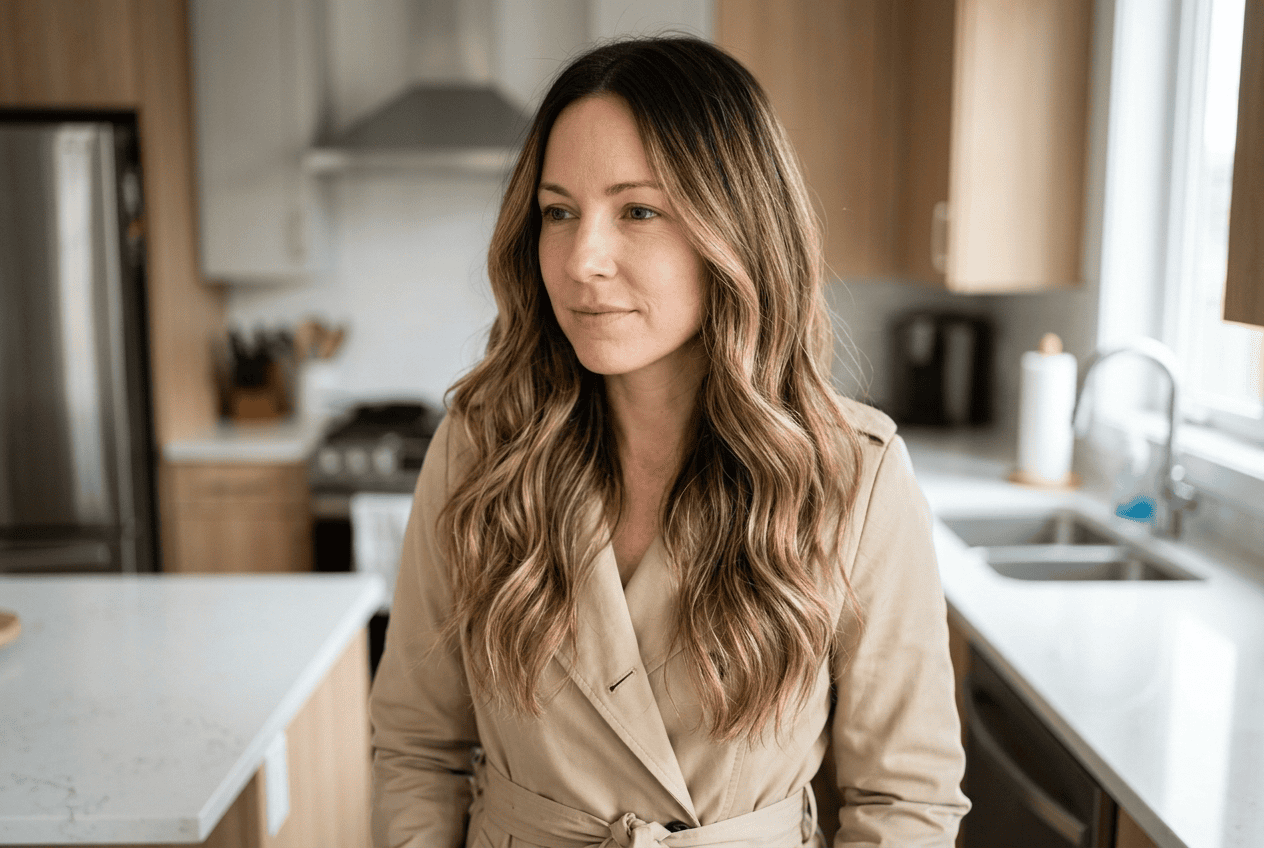
A lot of women assume balayage is something you can only get from a colorist with fifteen years of training and a color wheel tattooed on her forearm. That’s simply not true anymore. The technique itself — hand-sweeping lightener onto sections of hair — was built around the idea of looking like the sun did the work, not a stylist with a steady hand and a fancy brush.
That’s actually good news for anyone trying this at home. Balayage forgives small mistakes in a way that foil highlights never will. Because the color is meant to look soft and uneven, a slightly wobbly section or an inconsistent line doesn’t ruin the effect the way it would with a precise foil job.
Still, there’s a difference between “soft and imperfect” and “patchy and orange.” The techniques below come from professional colorists and DIY veterans who’ve figured out how to close that gap. Some are about placement, some are about tools, and a few are just smarter ways to apply lightener so it blends the way salon balayage does.
- 1. The Foil-Free Freehand Sweep
- 2. Teasing Before You Paint
- 3. The Root Smudge Blend
- 4. The Plastic Wrap Sectioning Method
- 5. The Money Piece Placement
- 6. The Paddle Board Technique
- 7. Dry Brush Hairline Detailing
- 8. The Sponge Dip Method
- 9. V-Sectioning for Even Coverage
- 10. The Gloss Finishing Touch
- Small Steps, Big Difference for Your Color
- Frequently Asked Questions
1. The Foil-Free Freehand Sweep
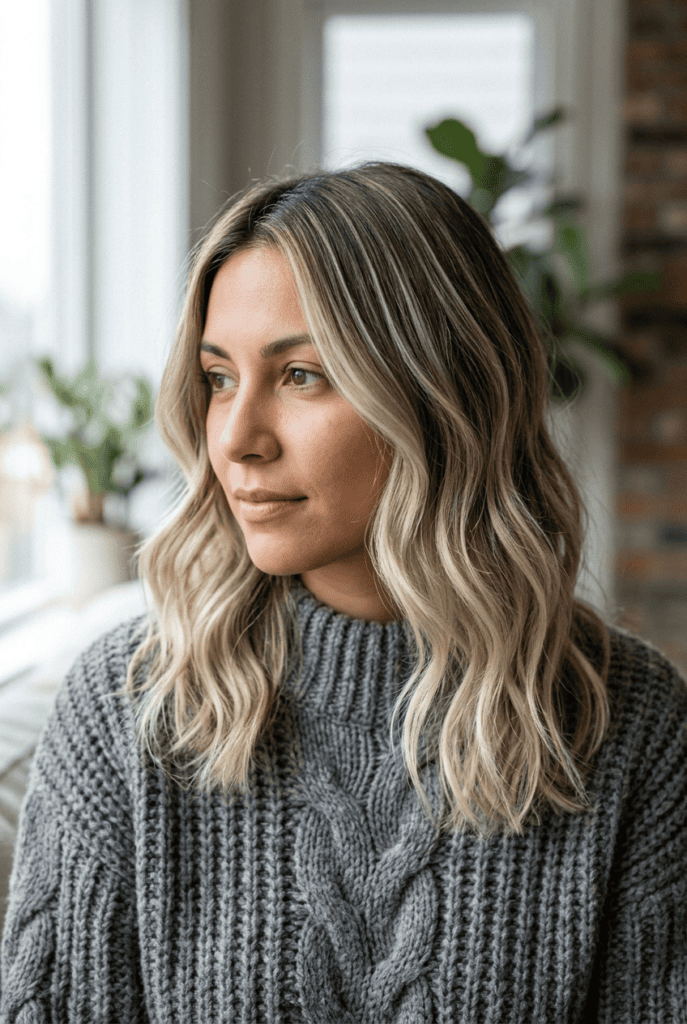
This is the technique balayage was built on, and it’s the one to master before trying anything fancier. Section your hair into four to six manageable pieces, then use a tinting brush to paint lightener directly onto the surface of each section, starting a couple inches from the root and sweeping downward toward the ends. Keep your brush strokes light and vertical rather than one heavy, saturated stroke — this is what gives balayage that soft, sun-faded look instead of a solid block of color.
Focus more product where light naturally hits your hair: the crown, the ends, and anywhere your hair parts.
Less is more here. You can always go back and add more lightener to a section that isn’t lifting enough, but you can’t undo a section that’s gone too light too fast.
2. Teasing Before You Paint
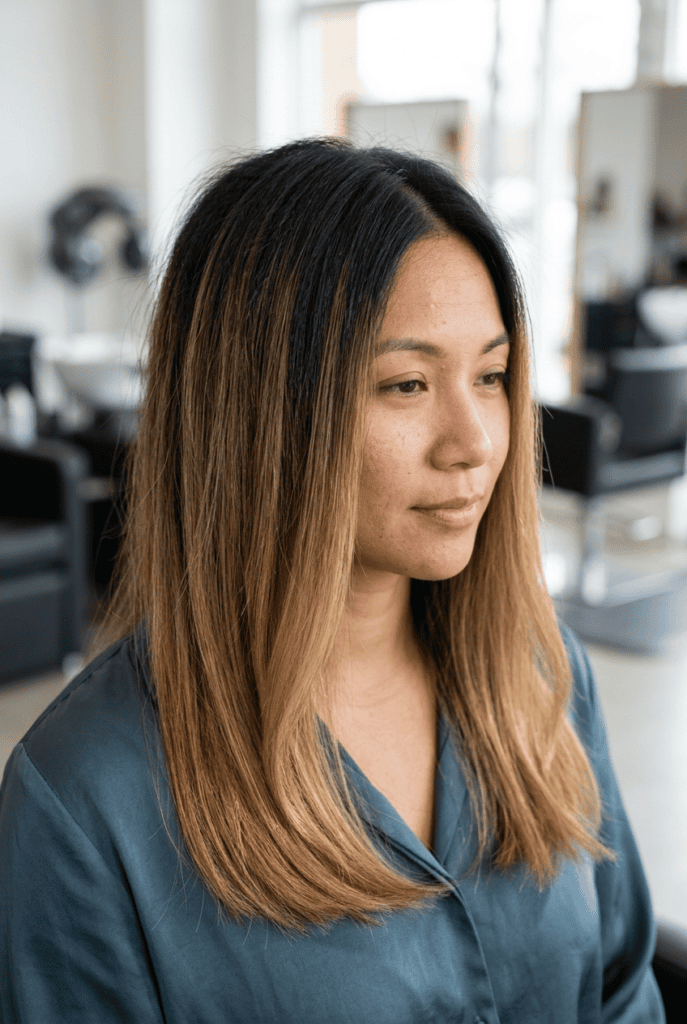
Professional colorists often backcomb, or tease, a small section of hair at the root before applying lightener, and it’s a trick that translates well at home. A few gentle strokes with a comb pushes some hair back toward the scalp, which means the lightener sits mostly on the surface strands and barely touches the ones underneath. The result is a rooty, gradual fade instead of a harsh line where the color starts — which is exactly what makes salon balayage look expensive.
3. The Root Smudge Blend
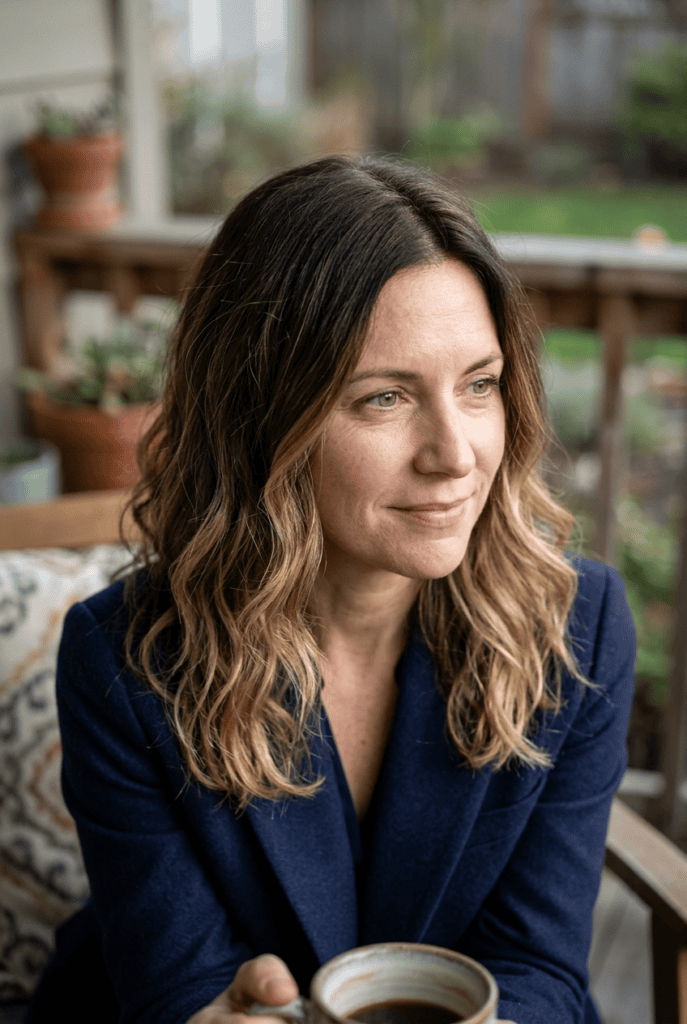
If you’ve ever seen balayage with almost no visible line between your natural color and the highlighted ends, that softness usually comes from a root smudge. After your lightened sections have processed and been rinsed, apply a demi-permanent gloss or toner just at the root area and comb it downward an inch or two into the lightened hair.
The comb is doing the real work in this step, not the product. Dragging it through blurs the boundary so your regrowth looks intentional instead of overdue for a touch-up.
4. The Plastic Wrap Sectioning Method
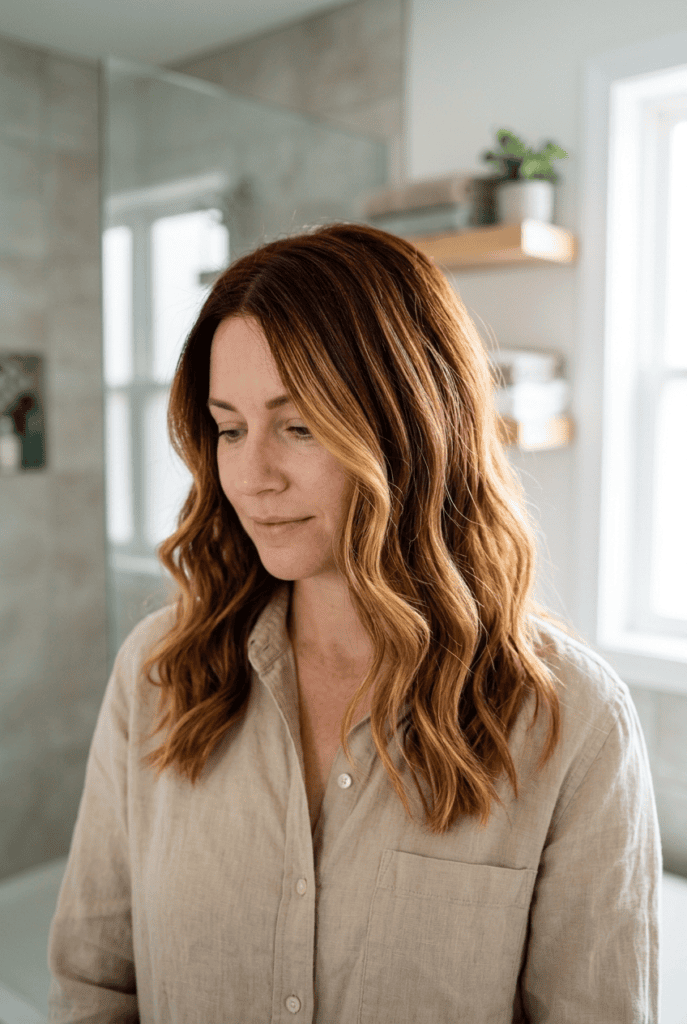
This one solves a common at-home problem: keeping already-lightened pieces from getting darker toner or root color accidentally smeared onto them. Once you’ve painted your highlights, wrap each lightened section loosely in plastic wrap before working on the sections around it.
That barrier means you can apply a root shade or gloss nearby without worrying about it bleeding into your fresh highlights and muddying the color. It also helps trap heat, which speeds up processing on the sections that need it most.
Unwrap everything at the same time so all your sections finish processing together.
5. The Money Piece Placement
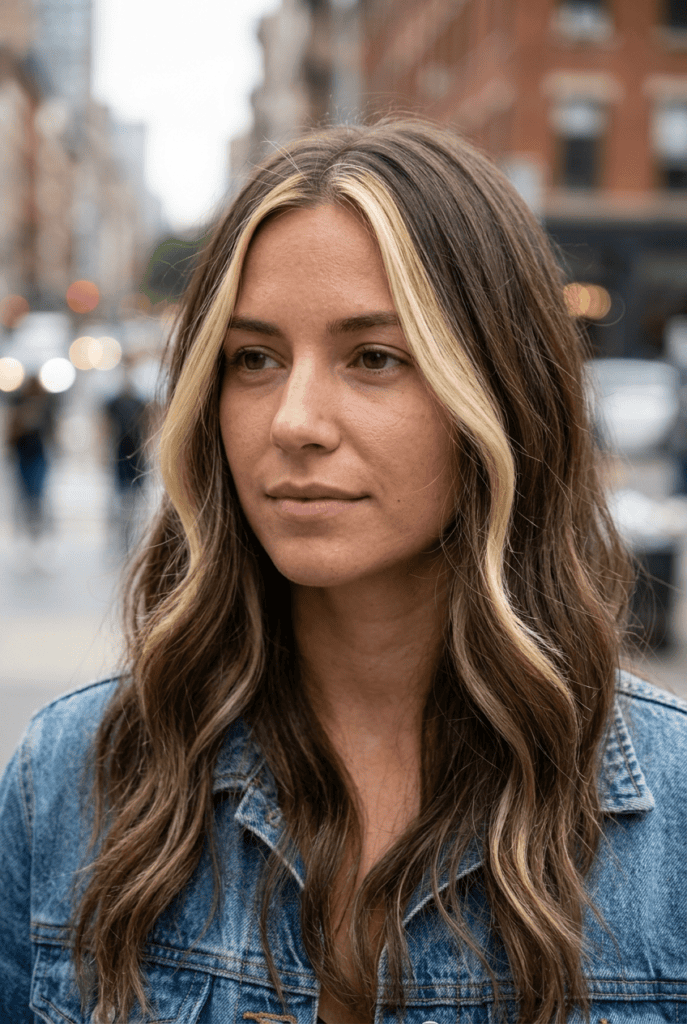
The money piece refers to the two face-framing sections right at your hairline, and placing lighter color specifically there makes the biggest visual difference for the least amount of effort. Because these pieces sit closest to your face, brightening them draws attention upward and gives your whole look a lifted, glowy quality — even if the rest of your hair stays fairly natural.
6. The Paddle Board Technique
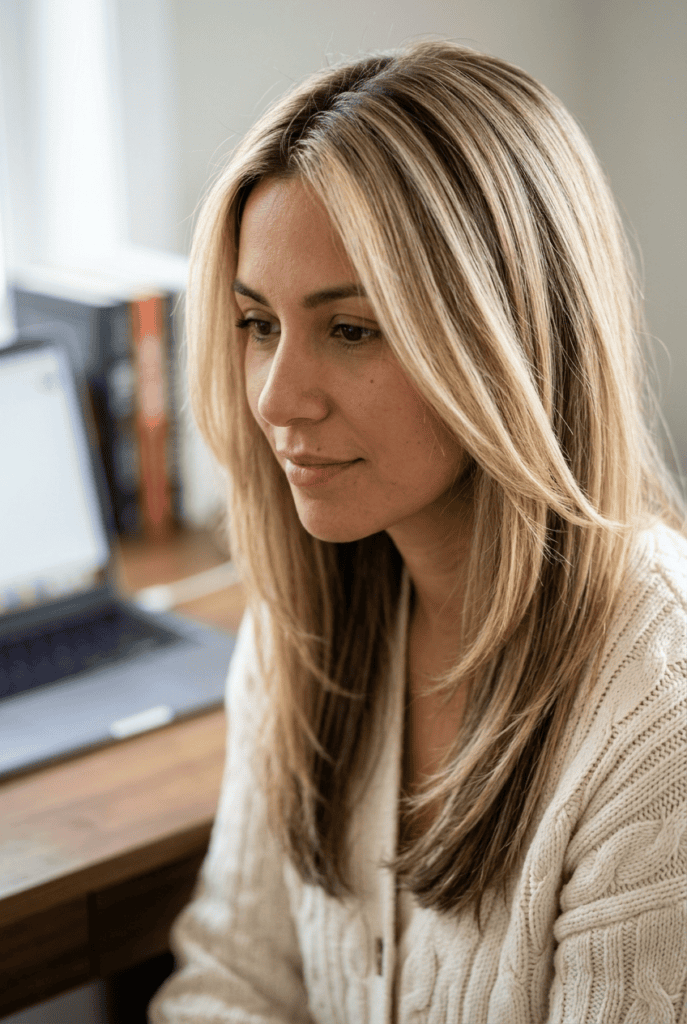
A balayage board, sometimes just a piece of cardboard or a plastic paddle, gives you something to rest sections of hair against while you paint. Slide the board underneath the piece you’re working on, apply lightener with your brush, and use the board’s surface to control how far the product saturates through the strand.
This matters more than it sounds like it would. Without something behind the hair, lightener tends to bleed straight through to the layers underneath, which flattens the whole dimensional effect balayage is supposed to create.
7. Dry Brush Hairline Detailing
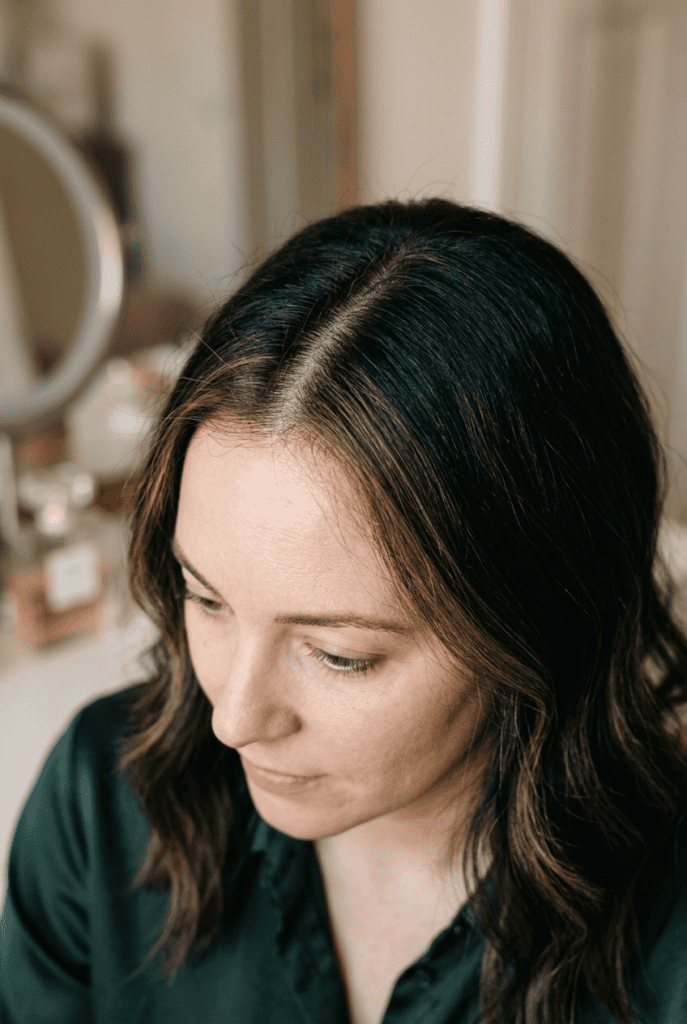
Don’t skip the hairline. It’s a small area, but stylists agree it needs just as much attention as the rest of the head.
A slightly drier, less saturated brush works best here, since the hair is finer and can lift faster than the rest of your head.
Go section by section along your part and around your face, applying a thin layer of lightener with light, feathery strokes instead of one heavy pass. Keeping it subtle in this spot prevents a stripe of overly bright color right where everyone’s eyes land first.
8. The Sponge Dip Method
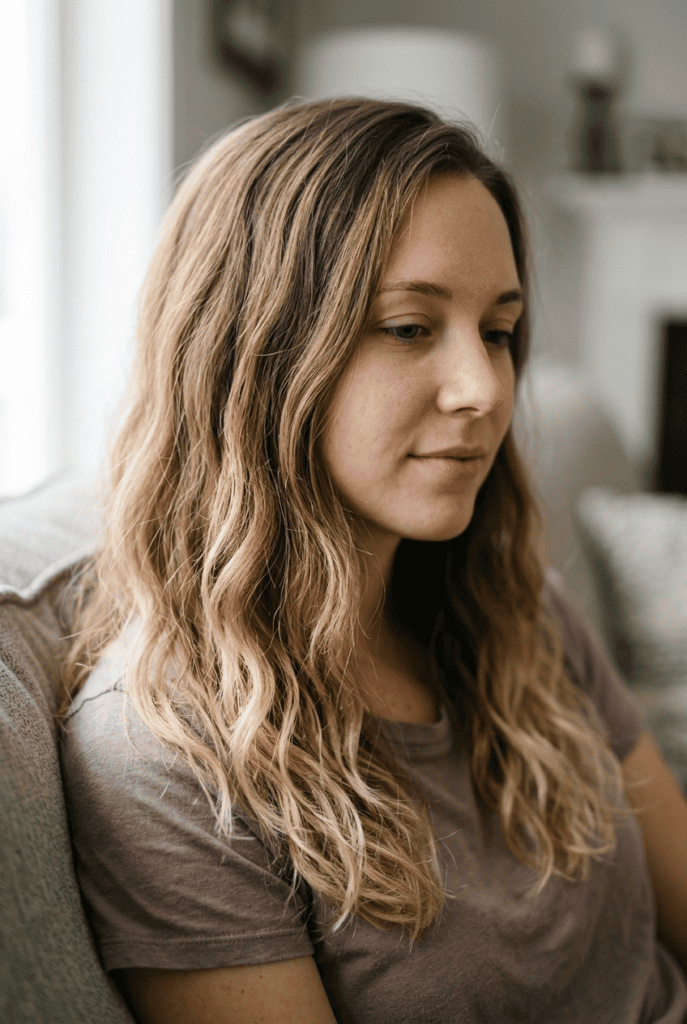
For a low-commitment version of balayage, some women use a makeup sponge dipped lightly in lightener and dabbed onto the ends of dry hair instead of using a brush. It’s less precise, which sounds like a downside but actually works in your favor for beginners — the texture it creates is naturally soft, uneven, and forgiving of shaky hands.
9. V-Sectioning for Even Coverage
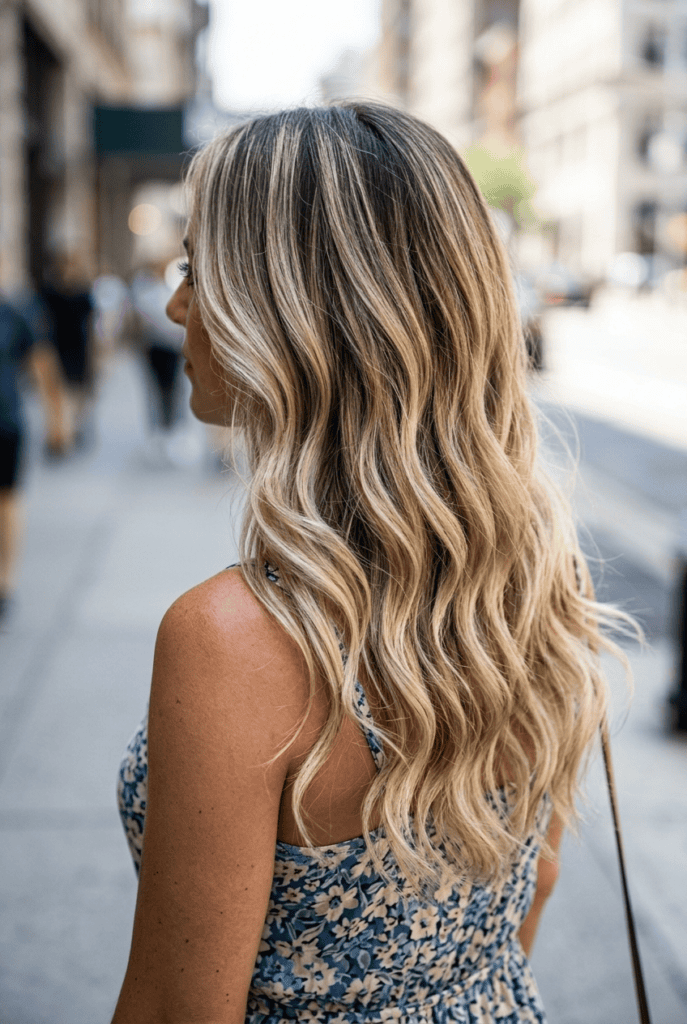
Instead of separating hair into flat horizontal layers, some colorists section in loose V or triangle shapes that follow the natural fall of the hair. Starting at the crown and working down in these V-shaped pieces means the lightener lands in a pattern that mimics how sunlight would naturally hit your head throughout the year.
This matters most for longer hair, where flat sectioning can end up looking like stripes instead of soft dimension. The V-shape keeps the transitions diagonal, which reads more like natural highlighting once your hair dries and moves.
10. The Gloss Finishing Touch
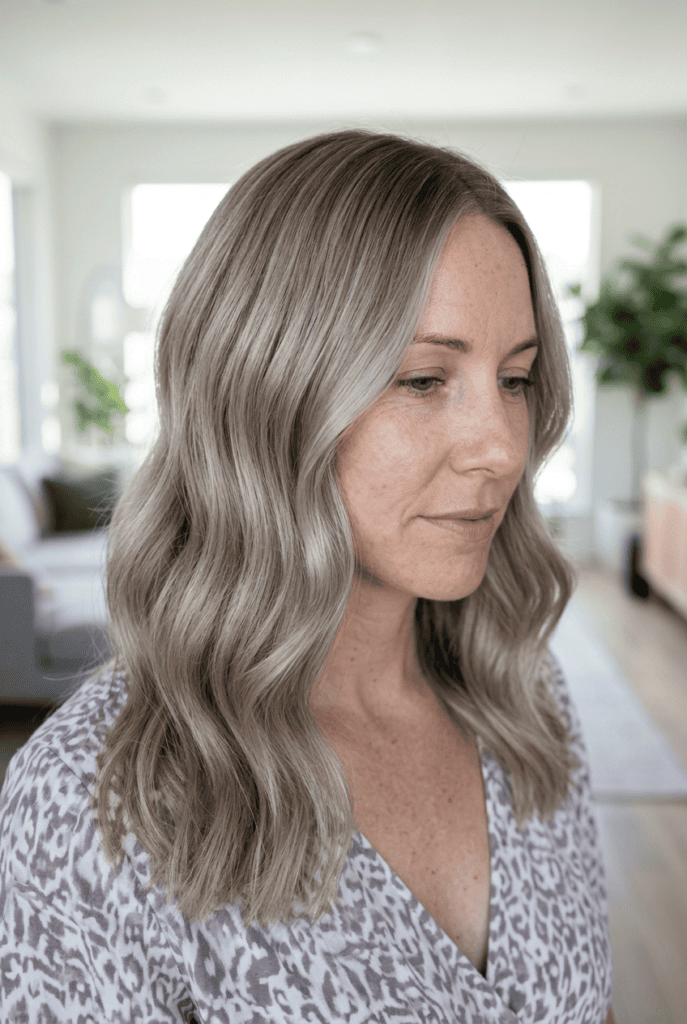
Once your color is rinsed, don’t skip the toner or gloss step — this is what separates yellow-toned DIY balayage from the cool, glassy finish you see on salon clients. A gloss seals the cuticle, adds shine, and can shift a brassy result toward a more neutral or ashy tone depending on what you choose.
A few things to keep in mind when picking one:
- Purple-based glosses cancel out yellow undertones on blonde hair
- Blue-based glosses work better for canceling orange on brunette balayage
- Clear glossing treatments add shine without shifting the color at all
- Leave the gloss on for the full time listed, since rushing this step is the most common reason balayage looks flat instead of dimensional
Small Steps, Big Difference for Your Color
None of these methods require salon training, just patience and a willingness to go slow. Start with one or two techniques rather than trying all ten at once, and build from there as you get more comfortable handling lightener and brushes.
The biggest advantage balayage has over other coloring methods is how much room it gives you to fix things as you go. A slightly uneven section blends right into the next one, a hairline that needs more brightness can get a second light pass, and a root that grows out doesn’t leave you with an obvious line staring back at you in the mirror.
Frequently Asked Questions
Q: Can I do balayage on my own hair without help?
A: Yes, though it’s easier with a second pair of hands for the back sections. A handheld mirror or a friend can help you see areas you’d otherwise miss.
Q: How long does DIY balayage take to process?
A: Most lightening mixtures take 20 to 45 minutes, but check your product’s instructions and watch your hair closely rather than going by time alone.
Q: Will balayage work on dark brown or black hair?
A: Yes, though it may take more than one session to lift dark hair to a noticeably lighter tone without damage.
Q: How often do I need to touch up balayage?
A: Balayage typically only needs a refresh every three to six months, since it grows out softly instead of leaving a hard line.
Q: Do I need bleach, or can I use a boxed dye?
A: Most balayage looks require lightener or bleach to lift the hair before toning; boxed dye alone usually can’t create the same contrast.
Q: What’s the difference between balayage and a root smudge?
A: Balayage refers to the hand-painted highlights themselves, while a root smudge is a separate step that blends the color near the scalp for a softer transition.
Q: Can I do balayage on curly hair?
A: Yes, though sectioning should follow your curl pattern rather than straight lines, since curls fall differently than straight hair.
Q: What tools do I actually need to get started?
A: A tinting brush, sectioning clips, a mixing bowl, gloves, and a lightening kit are the basics; a balayage board is optional but helpful for control.
Q: Why did my highlights turn out too orange or yellow?
A: This usually means the hair wasn’t lifted enough before toning, or the gloss step was skipped or rushed.
Q: Is balayage damaging to hair?
A: Any lightening process can cause some damage, so a deep conditioning treatment afterward and spacing out sessions helps keep hair healthy.

