Learning to braid your own hair opens up a world of styling possibilities that go far beyond the simple ponytail. The three strand braid stands as the foundation of countless hairstyles, from casual weekend looks to polished professional styles. Once you master this basic technique, you’ll find yourself reaching for it again and again, whether you’re running late for work or preparing for a special occasion.
Many women feel intimidated by braiding, assuming it requires years of practice or naturally nimble fingers. The truth is much simpler – anyone can learn to create a beautiful three strand braid with just a bit of guidance and practice. Your first attempts might feel awkward, and the results might look slightly uneven, but within a few practice sessions, your hands will develop the muscle memory needed to braid without even thinking about it.
In the following sections, we’ll walk through everything you need to know about creating your first three strand braid. From understanding why this particular technique works so well for beginners to mastering the exact hand movements that create a polished result, you’ll discover just how accessible this classic hairstyle really is. Let’s start with the basics and build your braiding confidence step by step.
- What Makes Three Strand Braids Perfect for Beginners?
- How to Prepare Your Hair for Braiding?
- Step-by-Step Guide to Creating Your First Three Strand Braid
- How to Style and Customize Your Three Strand Braid?
- What Are the Best Practice Tips for Mastering This Technique?
- Master Your Braiding Journey
- Frequently Asked Questions
What Makes Three Strand Braids Perfect for Beginners?

The three strand braid earned its reputation as the ideal starting point for braiding novices through its forgiving nature and straightforward technique. Unlike more complex styles that require multiple sections or intricate weaving patterns, this classic braid uses just three pieces of hair and one simple motion repeated until you reach the end.
Simple technique compared to other braids
Where fishtail braids demand tiny sections and Dutch braids require an inverted technique that can confuse newcomers, the three strand braid follows a pattern so intuitive that children often learn it naturally through play. You’re essentially just crossing pieces of hair over each other in a consistent sequence – right over middle, left over middle, repeat.
The movement itself mirrors actions you already perform daily. Think about how you cross your arms or interlace your fingers – the three strand braid uses that same natural crossing motion. This familiarity means your brain doesn’t have to work as hard to understand the concept, letting you focus on developing the physical coordination instead.
Minimal tools and products required
Starting your braiding journey won’t require a significant investment in specialized equipment. At minimum, you need just one hair elastic to secure the end. That’s it. No special brushes, no expensive products, no complicated clips or tools that take up drawer space.
While certain products can make the process easier, they’re entirely optional. A basic detangling brush you likely already own works perfectly for prep work. If your hair tends to slip, a bit of texturizing spray or dry shampoo provides grip, but many women successfully braid with nothing more than clean, dry hair.
Versatility for different occasions
This single technique adapts to virtually any situation you might encounter. A loose, slightly messy version works beautifully for weekend errands or beach days. Pull it tighter and smoother for office meetings or formal dinners. Position it to the side for a romantic look, or straight back for athletic activities.
The placement options alone multiply your styling choices significantly. Start high on your head for a youthful appearance, or begin at the nape of your neck for sophistication. You can even create multiple small braids throughout your hair or incorporate one as an accent within a larger hairstyle.
Quick learning curve
Most women report feeling comfortable with the basic technique after just three or four practice sessions. Compare this to styles like waterfall braids or four-strand braids that might take weeks to master. Within a single afternoon of practice, you’ll likely produce a braid that, while perhaps not salon-perfect, certainly looks intentional and styled.
The learning process follows predictable stages that feel rewarding rather than frustrating:
Initial Understanding: Grasping the concept takes just minutes
First Attempt: Creating a recognizable braid happens immediately
Coordination Development: Smooth movements develop within days
Confidence Building: Braiding without a mirror comes within weeks
Common mistakes beginners can avoid
Understanding typical pitfalls before you start prevents unnecessary frustration. The most frequent issue involves maintaining consistent tension – new braiders often start tight then gradually loosen their grip, creating an uneven appearance. Simply reminding yourself to keep steady pressure solves this immediately.
Another common challenge appears when sections become uneven. Starting with three roughly equal pieces of hair prevents one section from running out before the others. If you notice one piece getting thin, you can gently borrow a small amount from its neighbor to even things out.
How to Prepare Your Hair for Braiding?
Proper preparation determines whether your braiding experience feels smooth and successful or frustrating and tangled. The right prep work takes just minutes but makes an enormous difference in both the process and the final result.
Washing and drying considerations
Clean hair might seem ideal, but freshly washed strands often prove too slippery for secure braiding. Hair washed the previous day or even two days earlier typically provides the perfect balance of cleanliness and natural texture. The slight buildup of natural oils helps sections grip each other without looking greasy.
If you must braid immediately after washing, skip the conditioner on your lengths or use it sparingly only on your ends. Conditioner creates a smooth surface that, while wonderful for preventing tangles, makes braiding sections slide apart. For those with particularly silky hair types, this tip alone might solve ongoing braiding difficulties.
Your drying method also impacts braiding success. Air-dried hair often has more natural texture and grip than blow-dried strands. If you prefer using a blow dryer, try pointing the airflow down the hair shaft rather than tousling with your fingers. This technique creates smoother sections that separate more easily during braiding.
Detangling techniques
Nothing derails a braiding session faster than encountering a hidden knot midway through. Thorough detangling beforehand prevents those frustrating stops and starts that break your rhythm and create uneven tension.
Start detangling from your ends, working gradually up toward your roots. This approach prevents pushing tangles down into tighter knots. Use your fingers first to gently separate any major snarls, then follow with a wide-tooth comb or detangling brush. Pay special attention to the hair at the nape of your neck, where tangles often hide.
For particularly stubborn knots, apply a small amount of leave-in conditioner or detangling spray directly to the problem area. Let it sit for thirty seconds before attempting to work through the tangle. Patience during this stage saves significant time and frustration later.
Products that help with grip
While not essential, certain products transform slippery or uncooperative hair into the perfect braiding texture. Dry shampoo ranks as the most versatile option, adding grip while absorbing excess oil that might make your braid look limp.
Texturizing spray offers another excellent choice, particularly for those with fine or straight hair. A light mist throughout your lengths creates just enough roughness for sections to hold together without feeling sticky or crunchy. Sea salt spray provides similar benefits with the added bonus of enhancing any natural wave pattern.
For those with very smooth or recently colored hair, a tiny amount of hair wax or pomade rubbed between your palms then smoothed over your hair provides control without weight. Focus application on your mid-lengths and ends rather than roots to avoid a greasy appearance.
Sectioning hair properly
Creating three equal sections forms the foundation of a balanced, professional-looking braid. Uneven sections lead to one piece running out before the others, forcing you to either stop short or continue with an increasingly thin strand.
Begin by deciding where you want your braid positioned. For a centered braid, use the tip of a comb to create a part straight back from your nose. Gather all your hair as if creating a ponytail, then divide this gathered hair into three pieces. Using your fingers like a comb, separate from top to bottom ensuring each section contains hair from all layers.
Visual markers help maintain even sections. Try dividing your gathered hair by looking for natural separation points, or use the width of your ear as a guide for each section’s size. Some women find success by first dividing in half, then splitting one half to create three parts.
Creating the right texture
Different hair types require different preparation strategies. Fine hair benefits from volumizing mousse applied at the roots before drying, creating fullness that prevents the braid from looking stringy. Thick hair might need smoothing serum to tame flyaways without weighing down the overall style.
Curly or coily hair often braids most successfully when slightly stretched. You might blow dry with tension, use a flat iron on low heat, or braid while damp then re-braid once dry. These techniques create more uniform sections that showcase the braid pattern clearly.
Hair that’s too smooth can be remedied quickly. Lightly backcombing or teasing small sections creates instant texture. Focus on the undersections that won’t show in the finished braid. This hidden texture provides grip without creating visible frizz or disruption to your braid’s smooth appearance.
Step-by-Step Guide to Creating Your First Three Strand Braid

Now comes the moment where preparation transforms into action. Creating your first three strand braid might feel awkward initially, but breaking down each movement into clear steps removes the mystery and builds confidence.
Starting position and hand placement
Your hand position determines everything that follows, so taking time to get comfortable here pays off enormously. Sit or stand in front of a mirror with good lighting – being able to see what you’re doing reduces frustration significantly during early practice sessions.
Hold your three sections with relaxed hands, avoiding a death grip that creates tension in your arms and shoulders. Your pinky and ring fingers should secure the outer sections while your thumbs and index fingers remain free to manipulate the crossing pieces. This grip might feel unnatural at first, but it allows smooth transitions between movements.
For right-handed braiders, typically the right hand controls the right section and the left hand controls the left section, with the middle section passing between hands as needed. However, some women find the opposite more comfortable. Experiment to discover your natural preference rather than forcing yourself into a particular method.
Position your hands at a comfortable height – usually around shoulder level for a standard braid. Holding your arms too high creates fatigue quickly, while positioning them too low makes it difficult to see your progress in the mirror.
The basic crossing technique
The fundamental pattern couldn’t be simpler: outside pieces take turns becoming the new middle. Start by taking your right section and crossing it over the current middle section. That right piece now sits in the center, and what was the middle moves to the right position.
Next, take your left section and cross it over the new middle section. The left piece becomes the center, and the former middle shifts left. You’ve now completed one full sequence. Continue alternating right over middle, left over middle, maintaining consistent rhythm and tension.
Think of it like walking – you wouldn’t consciously plan each footstep, and eventually, braiding develops that same automatic quality. Your hands learn to move independently while your mind can focus on maintaining even tension and checking your progress.
Maintaining even tension
Consistent tension creates the difference between a braid that looks polished and one that appears haphazard. Too tight, and you’ll create an uncomfortable pull at your scalp plus a braid that looks strained. Too loose, and pieces fall out or the pattern becomes undefined.
The ideal tension allows the braid to lie smoothly against your head without causing discomfort. You should be able to turn your head normally without feeling pulling. A helpful guide: if you can easily slide a finger under the braid near your scalp, the tension is appropriate.
As you work down the length of your hair, maintain the same pressure you established at the beginning. Many beginners unconsciously loosen their grip as they progress, creating a braid that starts neat but becomes increasingly messy. Regular tension checks every few crosses help maintain consistency.
Pay attention to all three sections equally. Sometimes the middle piece gets forgotten since it’s constantly changing, leading to a looser center channel. Keep gentle pressure on all three pieces throughout the process.
Securing the braid properly
The way you finish your braid impacts its longevity and appearance just as much as the braiding technique itself. Stop braiding when you have about two inches of hair remaining – going too close to the ends makes securing difficult and often looks stringy.
Choose an elastic that matches your hair color for the most polished appearance. Clear elastics work for any hair shade but tend to break more easily. Fabric-covered elastics treat hair gently but might slip on very fine textures.
Wrap the elastic around your braid end at least three times, ensuring it’s snug but not so tight it creates a harsh indentation. After securing, gently tug at the braid edges starting from the bottom and working up. This technique, called pancaking, creates a fuller, more relaxed appearance:
Start at the Bottom: Pull gently at the lowest loops first
Work Systematically: Move up one level at a time
Keep It Even: Pull equally on both sides
Check Your Progress: Stop when you achieve your desired fullness
Adjust the Top: Loosen slightly near your scalp if needed
Troubleshooting common issues
Even with careful attention, certain problems pop up regularly for beginning braiders. Short layers escaping from your braid represent perhaps the most common frustration. Try lightly misting these pieces with water or hairspray, then smoothing them into neighboring sections. Bobby pins that match your hair color can secure particularly stubborn pieces.
If your braid keeps sliding to one side, you’re likely pulling harder with one hand than the other. Focus on applying equal pressure with both hands, and check that your sections remain evenly sized throughout. Practice in front of a mirror helps identify and correct this unconscious bias.
Bumps or loops appearing along your braid indicate inconsistent tension between crosses. While perfection isn’t necessary for a beautiful braid, significant bumps can be smoothed by gently sliding the braid between your thumb and finger, redistributing the hair more evenly within each section.
When sections become confused or tangled mid-braid, resist the urge to power through. Stop, gently separate the sections completely, then resume. Forcing through tangles creates weak points where hair might break and makes the tangle worse.
How to Style and Customize Your Three Strand Braid?
Mastering the basic technique opens doors to countless variations and styling options. Small adjustments in placement, texture, or finishing touches transform the simple three strand braid into distinctly different looks suitable for any occasion.
Different placement options
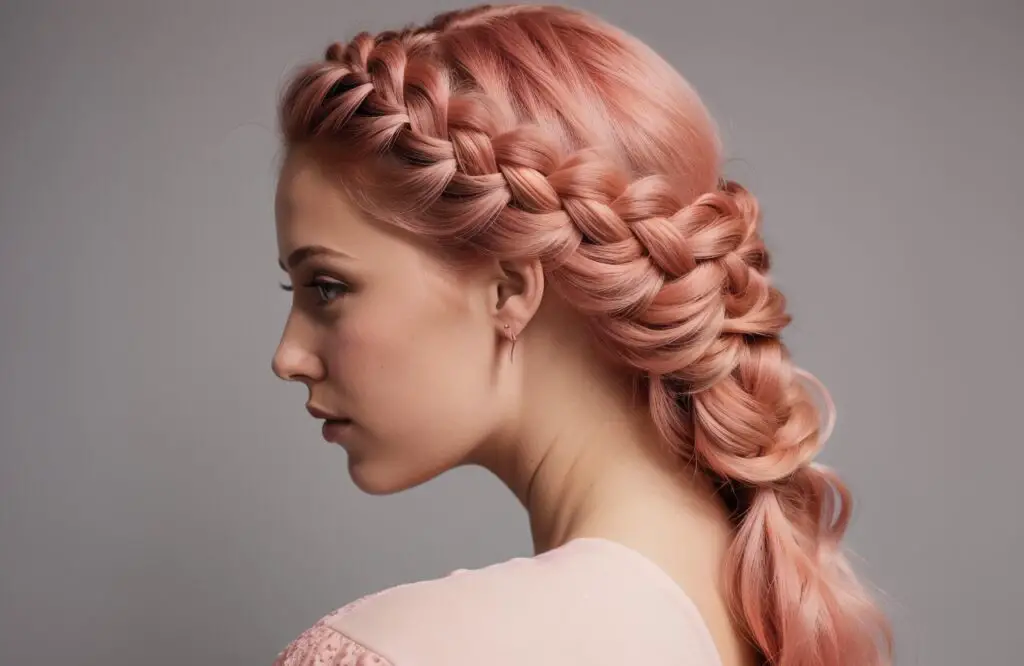
The position where you start your braid dramatically changes its overall appearance and function. A high ponytail braid beginning at your crown creates a sporty, youthful style perfect for workouts or casual outings. This placement keeps hair completely off your neck while maintaining a polished appearance that transitions easily from gym to errands.
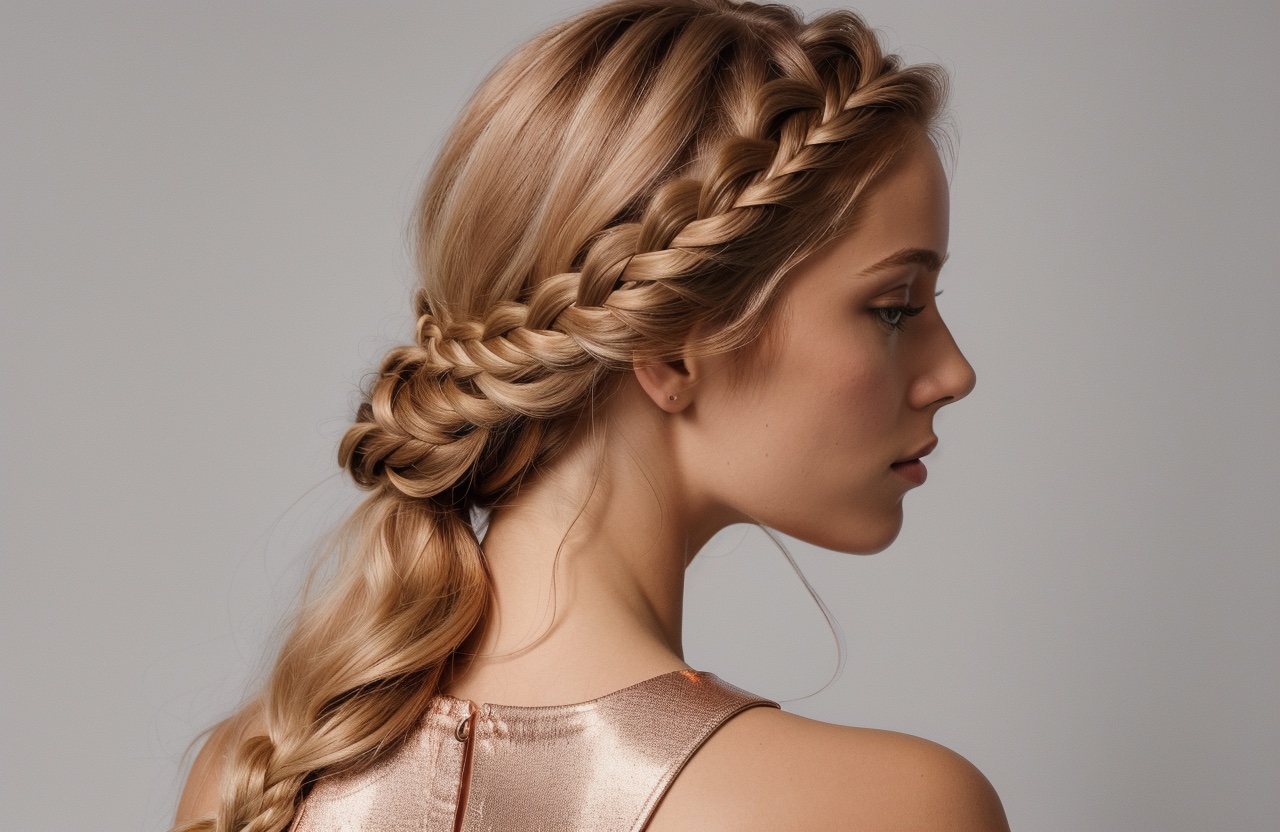
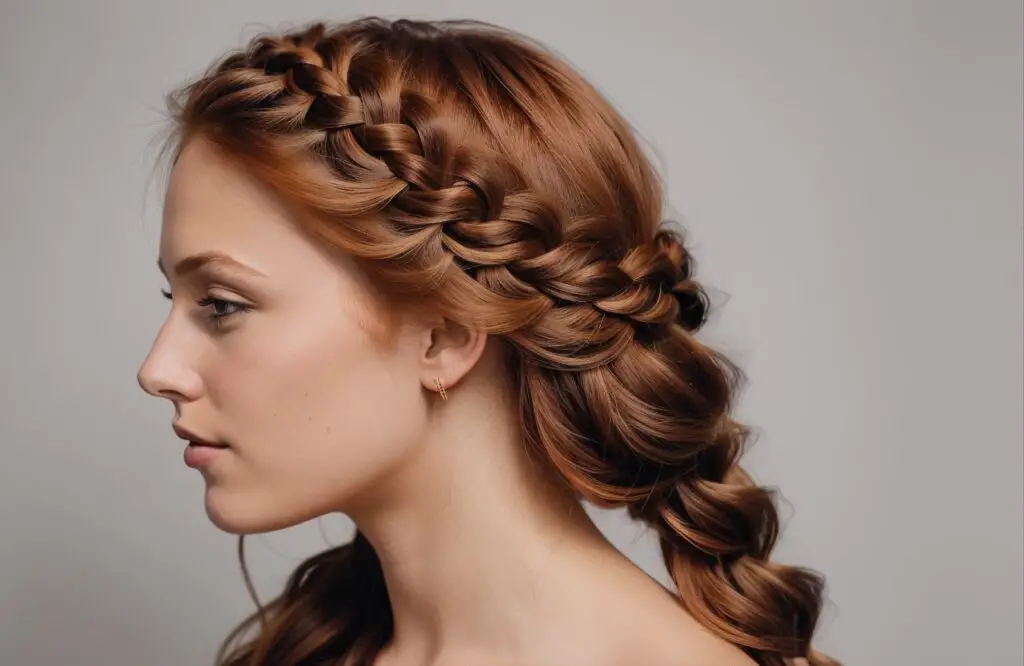
Side braids offer romantic versatility that works equally well for date nights or professional settings. Start by creating a deep side part, then gather all hair over one shoulder. This asymmetrical placement frames your face beautifully and photographs particularly well. The braid can drape forward or be pinned behind your ear depending on your preference.
Low braids beginning at the nape of your neck project sophistication and elegance. This placement works exceptionally well for formal events or professional environments where you want a refined appearance. The lower starting point also proves more comfortable for those who find high styles create tension headaches.
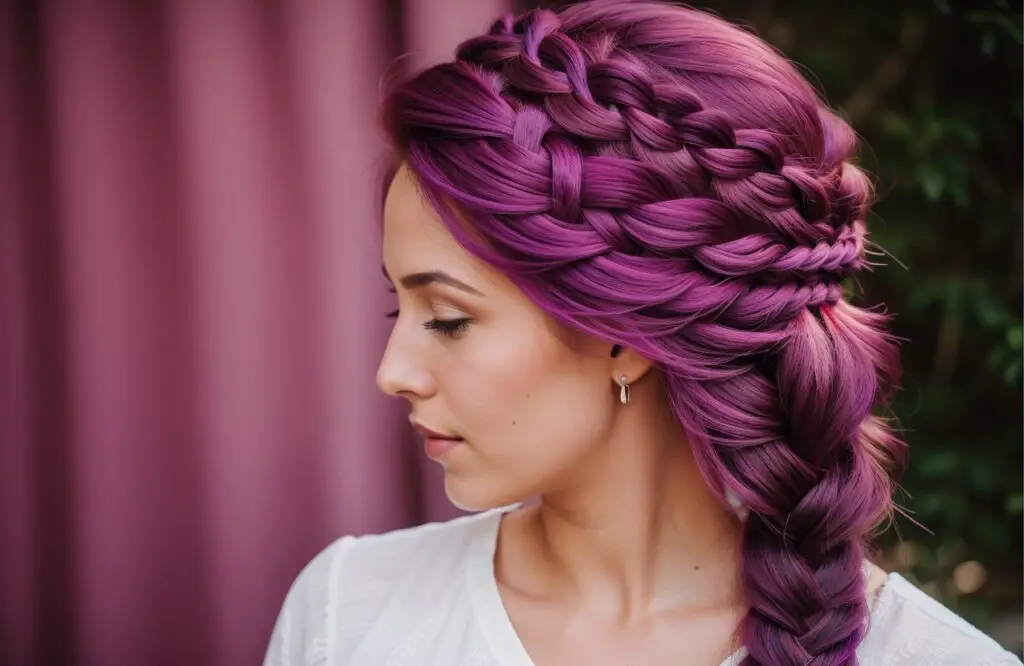
Multiple braids throughout your hair create visual interest without requiring advanced techniques. Try incorporating one small braid as an accent within loose hair, or create two braids that meet and merge into one. These options let you practice your technique while building toward more complex styles.
Adding volume and texture
A perfectly smooth, tight braid has its place, but often you’ll want more relaxed, voluminous results. The pancaking technique mentioned earlier creates immediate fullness, but several other methods achieve different textures and volumes.
Before braiding, create volume at your roots using these approaches. Flip your head upside down while blow-drying, directing air at your roots. Once upright, avoid brushing too thoroughly – maintaining some of that root lift creates a fuller-looking braid. Dry shampoo applied at the roots and massaged in also provides instant volume that lasts throughout the day.
For romantic, undone texture, try the tug-and-pull method. After completing your braid, use your fingertips to gently pull small pieces loose around your face and throughout the braid’s length. Start conservatively – you can always loosen more, but you can’t put pieces back once pulled.
Consider braiding damp hair, allowing it to dry completely, then unraveling for gorgeous waves. This technique gives you two styles from one effort. The tighter you braid and the longer you leave it, the more defined your waves will be once released.
Incorporating accessories
Simple additions elevate your basic braid into something special without requiring additional skills. Ribbons woven through your braid create vintage charm or holiday festivity depending on your choice. Start by attaching the ribbon at your hair elastic, then wrap it around the braid spiraling upward, securing at the top with a bobby pin.
Small flowers or decorative pins placed strategically along your braid’s length add whimsy for special occasions. Fresh flowers work beautifully for outdoor summer events, while metallic accents suit evening occasions. Secure any additions with bobby pins that match your hair color, hiding the mechanics of attachment.
Hair rings or cuffs designed for braids slide directly onto completed styles without any securing needed. These metallic accents add edge to casual looks or complement bohemian aesthetics. Start with one or two pieces to avoid overwhelming your braid, adding more once you see the effect.
Colorful elastics at intervals down your braid’s length create a fun, segmented appearance. This technique works particularly well for themed events or when you want a playful twist on the classic style. Space them evenly for the most polished result.
Making it last longer
A well-constructed braid should last all day, but certain strategies extend its life even further. Setting spray applied before braiding helps lock in your style, while a light mist of hairspray after completion prevents flyaways and maintains shape.
Sleeping with your braid requires minor adjustments to prevent damage and maintain appearance. Swap your cotton pillowcase for silk or satin to reduce friction. Position the braid over your pillow rather than under your head to prevent crushing. In the morning, refresh with a light mist of water and gentle reshaping rather than completely re-braiding.
Weather considerations affect braid longevity significantly. Humidity causes frizz and expansion, combated with anti-humidity spray before and after braiding. Wind loosens pieces, so secure more firmly and consider using bobby pins at strategic points. Rain or snow requires protective styles or coverings to maintain your hard work.
Transitioning from practice to polished
Moving from acceptable to exceptional braids happens gradually through mindful practice and attention to details. Film yourself braiding to identify habits you might not notice in the mirror. Watch for uneven hand positions, inconsistent tension, or rushed sections that need more attention.
Speed develops naturally with repetition – forcing yourself to braid quickly before you’re ready creates sloppy results and frustration. Focus first on consistency and neatness. Once these become automatic, speed follows without conscious effort.
Practice on different hair textures when possible. Braiding a friend’s hair or volunteering to style family members teaches adaptation and builds confidence. Each hair type presents unique challenges that expand your skill set and problem-solving abilities.
What Are the Best Practice Tips for Mastering This Technique?
Transforming from someone who can create a basic braid to someone who braids effortlessly requires strategic practice and patience. The journey from beginner to proficient follows predictable patterns that you can optimize with focused effort.
Daily practice routines
Consistency beats intensity when developing any new skill, and braiding follows this rule perfectly. Five minutes of daily practice produces better results than hour-long sessions once a week. Your hands need regular repetition to develop the muscle memory that creates smooth, automatic movements.
Morning routines offer an ideal practice opportunity since you’re likely styling your hair anyway. Even if you don’t wear the braid out, spending a few minutes creating one before your usual style builds skill without requiring extra time. This approach removes the pressure of creating something perfect while maintaining regular practice.
Set realistic goals that maintain motivation without creating frustration. Week one might focus solely on maintaining even sections. Week two could emphasize consistent tension. Breaking down the skill into components prevents overwhelm and creates measurable progress markers.
Track your improvement through photos taken weekly under similar lighting conditions. Visual documentation reveals progress you might not notice day-to-day. These images also help identify persistent issues that need targeted attention.
Working with different hair types
Each hair texture presents unique considerations that affect braiding success. Fine hair often requires products for grip and volume to prevent stringy-looking results. Try braiding slightly damp hair or using texture spray liberally throughout your lengths. Smaller sections also help fine hair appear fuller within the braid structure.
Thick hair needs patient sectioning and sometimes benefits from slight thinning via strategic layering. Don’t attempt to include every single strand – sometimes leaving face-framing pieces out creates a more manageable braid that still looks full. Wide elastics and multiple wraps prevent thick braids from sliding loose.
Curly and textured hair braids beautifully but might need different preparation. Some prefer braiding on stretched hair for clear pattern visibility, while others love the volume natural texture provides. Experiment with different moisture levels and preparation methods to find your preference.
Color-treated or damaged hair requires gentler handling to prevent breakage. Use leave-in conditioner or hair oil on your ends before braiding. Avoid pulling too tightly, and consider stopping your braid slightly higher than usual if your ends are particularly fragile.
Speed-building exercises
Once you’ve mastered the basic technique, building speed becomes the next goal. Start with this simple exercise: braid as slowly as possible while maintaining perfect form. This conscious slow-motion practice reinforces proper muscle patterns that translate to faster, smoother movements later.
Practice braiding without looking after you’ve developed basic proficiency. Start by looking away for just one or two crosses, then gradually extend these blind periods. This exercise builds the tactile awareness needed for quick, confident braiding anywhere.
Time yourself creating identical braids daily, but focus on consistency rather than racing. Record how long a standard braid takes when done carefully. Over weeks, you’ll notice this time naturally decreases without sacrificing quality. Forced speed creates sloppiness, while natural progression maintains technique.
Try braiding different materials to challenge your coordination. Ribbon, yarn, or even paper strips provide practice opportunities when you can’t braid hair. These materials respond differently than hair, forcing your hands to adapt and building overall dexterity.
Creating consistent results
Achieving the same quality braid regardless of conditions requires understanding variables that affect your results. Lighting makes a surprising difference – practice in various light conditions so you’re not dependent on perfect brightness.
Your physical position impacts braid quality more than most people realize. Practice sitting and standing, with arms at different heights. Some women braid best with elbows supported on a table, while others prefer complete arm freedom. Discover your optimal position through experimentation:
Standing Straight: Maximum mobility but can cause arm fatigue
Seated at Vanity: Stable position with mirror access
Leaning Forward: Good for braiding the back sections
Arms Supported: Reduces fatigue for longer braiding sessions
Head Tilted: Helps access different angles
Develop a pre-braiding ritual that ensures consistency. This might include specific detangling methods, product application sequences, or sectioning approaches. Rituals create mental preparation while ensuring you don’t skip important steps when rushed.
Learn to adjust your technique for different scenarios. Braiding freshly washed hair requires different tension than day-old hair. Humid weather demands firmer handling than dry conditions. Building this adaptability ensures reliable results regardless of circumstances.
Moving to advanced variations
Once three strand braids feel automatic, you’re ready for new challenges that build on this foundation. French braids simply add the component of incorporating hair as you go. Dutch braids use the same technique but cross sections under rather than over. Both rely heavily on the coordination developed through three strand practice.
Fishtails use two sections instead of three but require the precise tension control you’ve developed. Rope braids twist sections before wrapping them together, combining the sectioning skills with new movements. Each advanced technique becomes more accessible thanks to your three strand foundation.
Consider combining multiple simple braids for complex-looking styles without learning new techniques. Two three strand braids can be wrapped around each other for a DNA-inspired spiral. Small braids incorporated into larger ones create intricate patterns using only your basic skill.
Master Your Braiding Journey
Every expert braider started exactly where you are now, holding three sections of hair and wondering if their fingers would ever cooperate smoothly. The transformation from fumbling beginner to confident braider happens gradually through patient practice and permission to be imperfect while learning. Your first few attempts might look nothing like the tutorials you’ve watched, but each repetition builds the foundation for beautiful braids in your future.
The three strand braid truly serves as your gateway to endless hairstyling possibilities. This fundamental technique you’re learning today appears in countless variations, from casual weekend styles to elaborate wedding updos. Once your hands understand this basic pattern, they’ll adapt naturally to more complex techniques, building a styling repertoire that grows with your confidence. Whether you’re preparing for a special event or simply wanting to keep your hair neat during a busy day, this versatile skill will serve you well for years to come.
Frequently Asked Questions
Q: How long does my hair need to be to create a three strand braid?
A: Your hair should be at least shoulder-length for a comfortable braiding experience. Shorter hair can technically be braided but requires more patience and possibly some bobby pins to secure loose pieces.
Q: Why does my braid always turn out crooked instead of straight?
A: Uneven tension between your hands causes braids to curve. Focus on applying equal pressure with both hands and check that your three sections remain the same size throughout the braiding process.
Q: Should I braid my hair when it’s wet or dry?
A: Dry or slightly damp hair works best for most people. Wet hair stretches and can appear thinner in the braid, plus it’s more prone to breakage when manipulated.
Q: How can I prevent my braid from giving me a headache?
A: Start with looser tension at your scalp and avoid pulling too tightly. If you’re prone to tension headaches, try beginning your braid slightly lower rather than high on your crown.
Q: What’s the best way to keep short layers from sticking out of my braid?
A: Use a light coating of hairspray or hair gel on shorter pieces before braiding, then smooth them into neighboring sections. Bobby pins that match your hair color can secure particularly stubborn pieces.
Q: How often should I practice to see real improvement?
A: Daily five-minute practice sessions yield better results than longer, infrequent attempts. Most people notice significant improvement within two weeks of consistent daily practice.
Q: Why does my braid look thin even though I have thick hair?
A: You might be pulling the sections too tightly, which compresses the braid. Try maintaining gentler tension and use the pancaking technique afterward to create fullness by gently tugging at the braid’s edges.
Q: Can I sleep in my three strand braid without damaging my hair?
A: Yes, loose braids actually protect hair during sleep. Use a silk or satin pillowcase to reduce friction, and keep the braid relatively loose to prevent tension damage at your roots.