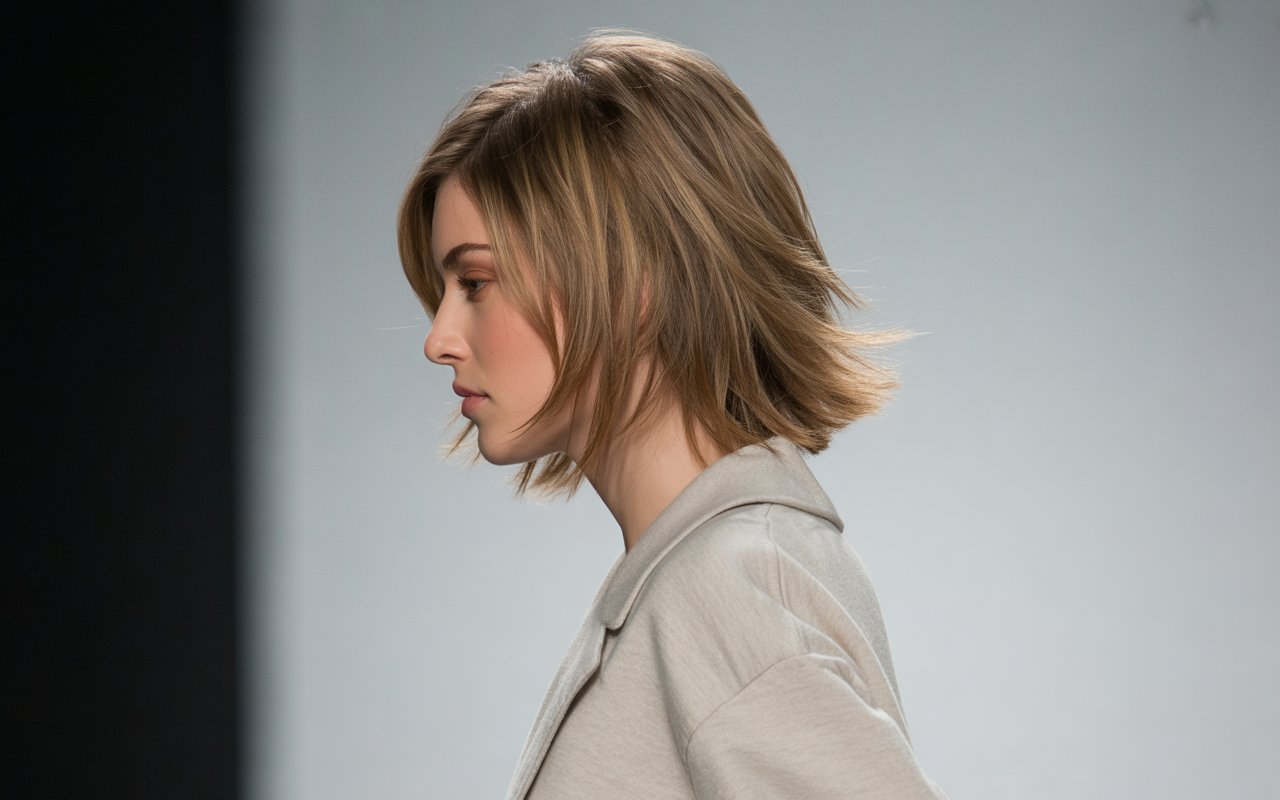
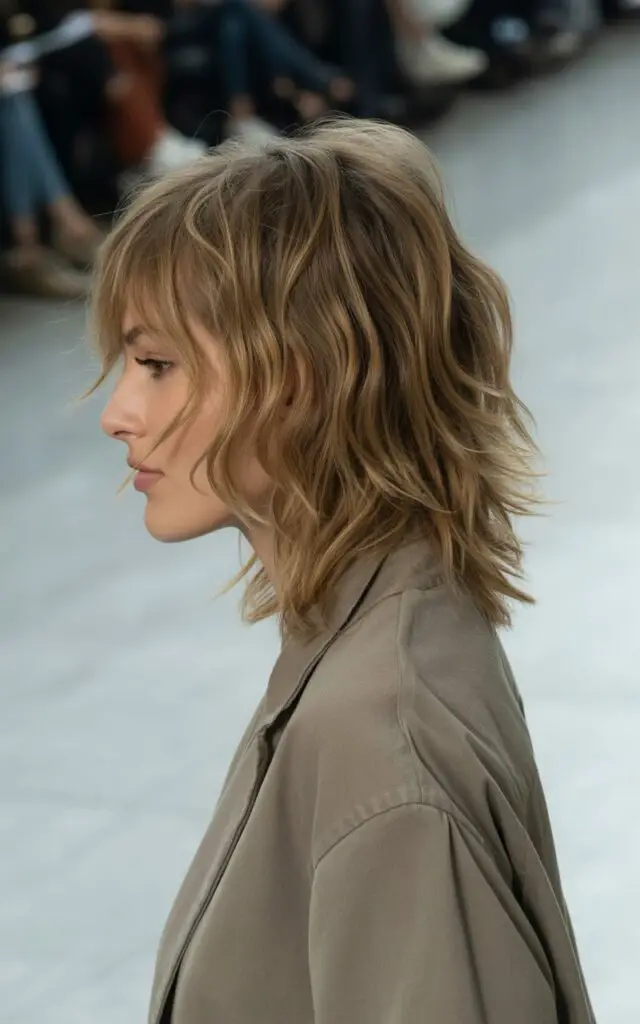
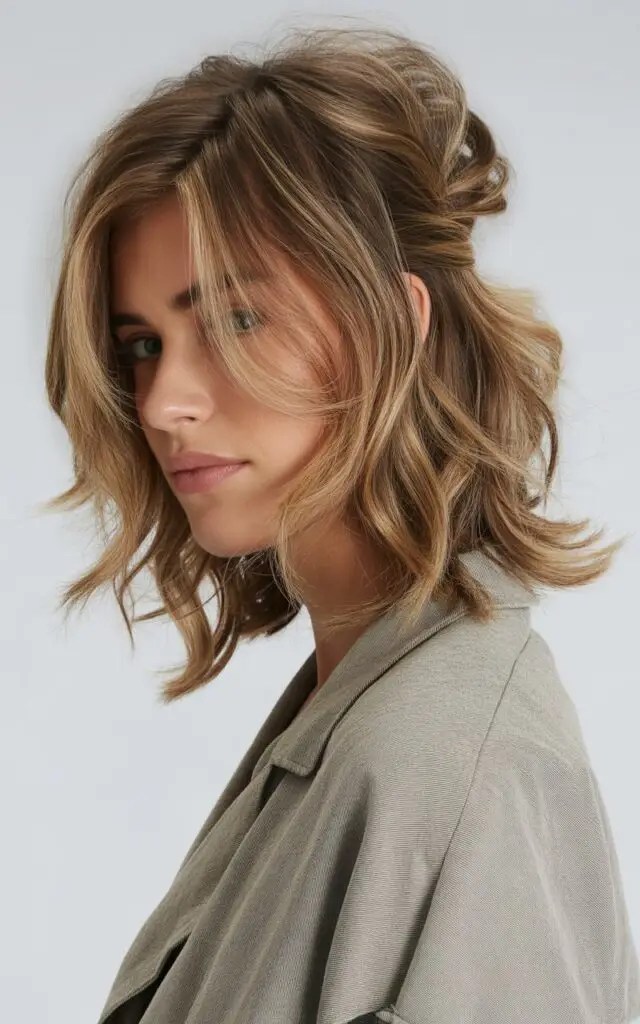
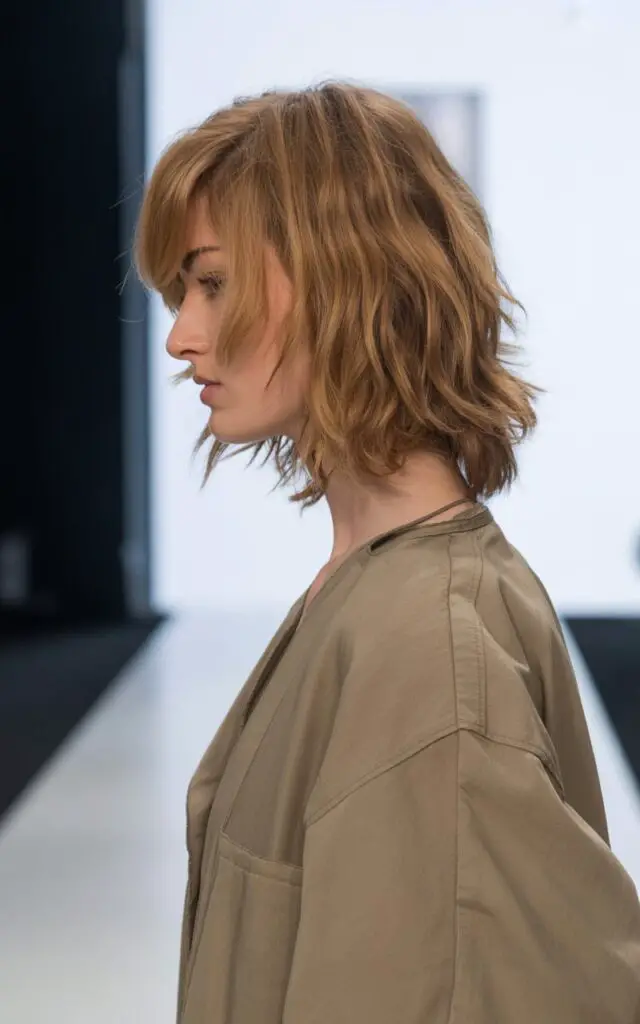
Medium-length hair sits in that sweet spot between short and long. It’s practical for daily life. You can tie it back or leave it down. The layered haircut known as a shag works perfectly with this length. Choppy layers create movement and texture. Face-framing pieces add dimension. This cut originated in the 1970s but has returned with modern updates. Today’s versions feature softer layers and more versatile styling options.
The beauty of this haircut lies in its flexibility. You can style it straight for a polished look. Waves give it a relaxed vibe. Curls add volume and bounce. The layers work with your hair’s natural texture instead of fighting against it. This means less time with hot tools. Less damage to your strands. More options for different occasions. Whether you have fine hair that needs body or thick hair that needs thinning, the layered approach adapts to your needs.
Different styling methods can completely transform how this cut looks. A sleek approach creates one effect. Tousled waves create another. The same haircut can take you from casual to polished. From office to weekend. From gym to dinner. Here’s some practical ways to style your layered medium-length hair. Each method uses different techniques and products. Each creates a distinct look. Some require heat tools while others work with air drying. Pick the ones that fit your lifestyle and hair type.
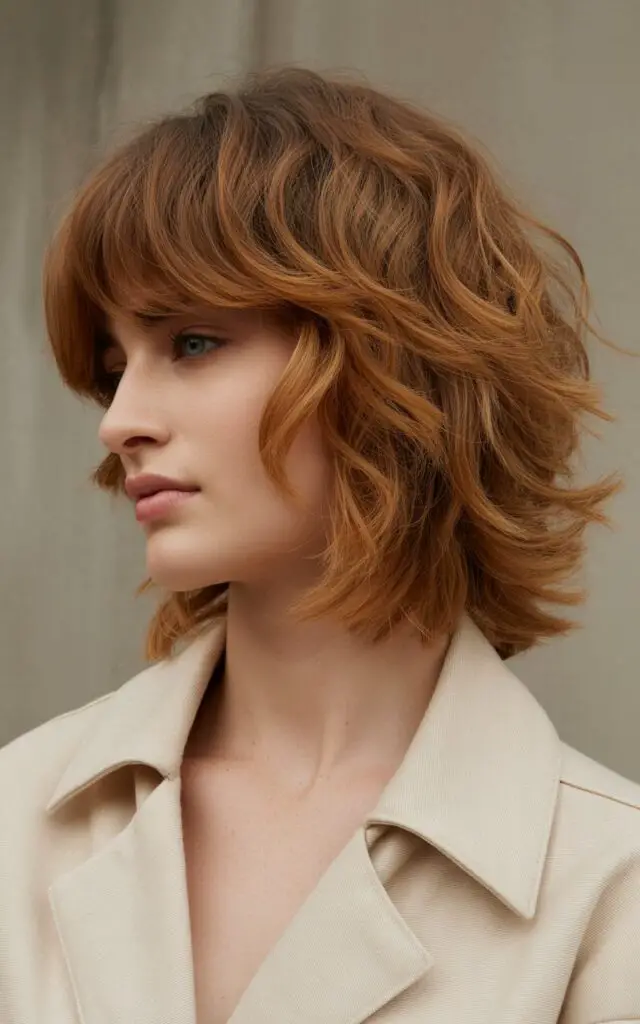
Wavy Textured Shag
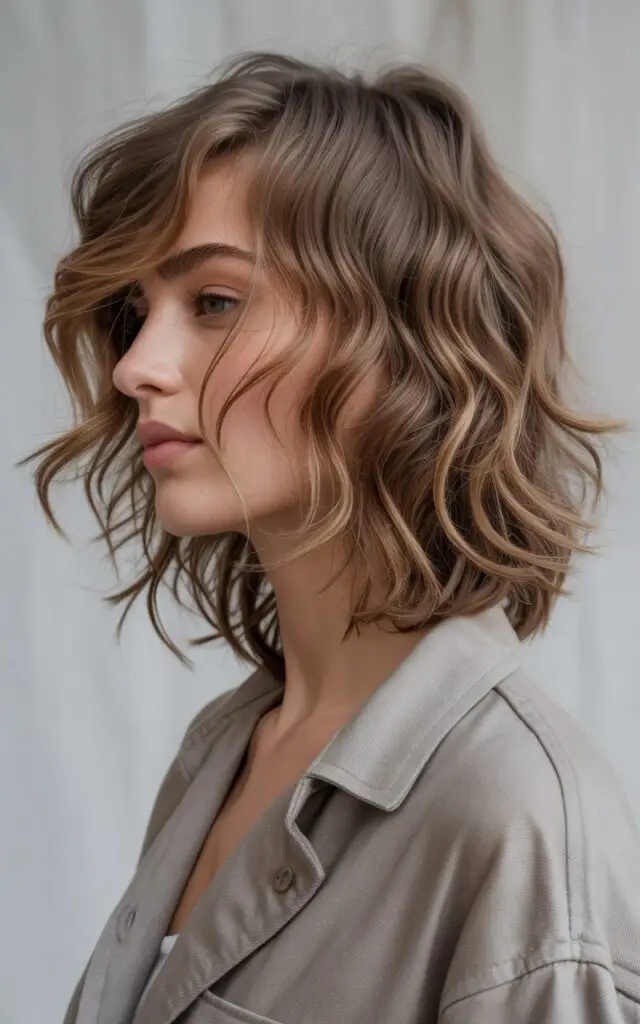
This styling method brings out the natural movement in your layers. Start with damp hair fresh from the shower. Apply a lightweight mousse from roots to ends. The mousse adds hold without stiffness. It helps waves form and stay in place throughout the day.
Use a diffuser attachment on your blow dryer. Set it to medium heat and low speed. Cup sections of your hair in the diffuser bowl. Hold for a few seconds before releasing. This technique creates soft bends without frizz. The layers take shape as they dry.
Creating the Waves
For more defined texture, grab a one-inch curling wand. Work in small sections around your face. Wrap hair around the barrel away from your face. Leave the ends out for a modern look. Hold for five seconds then release. Don’t brush through the curls. Let them cool completely first.
Alternate the direction as you work around your head. Some curls should go forward. Others should go back. This creates a natural, lived-in appearance. The choppy layers enhance this randomness. Face-framing pieces need extra attention since they’re most visible.
Once all sections are curled, gently separate them with your fingers. Don’t use a brush or comb. This keeps the texture intact. Spray with a light-hold texturizing spray. Focus on the mid-lengths and ends where layers are most prominent.
Finishing Touches
Scrunch the hair upward to boost volume at the roots. The layered cut naturally provides lift, but scrunching enhances it. Tilt your head to one side and scrunch. Then tilt to the other side. This distributes volume evenly.
For extra definition, twist small pieces around your finger. This works especially well on the shorter layers near your face. The twists create dimension and movement. They catch light differently throughout the day.
A few products can help you achieve this look:
Sea Salt Spray: Adds grit and texture for beachy waves.
Lightweight Mousse: Provides hold without making hair crunchy.
Heat Protectant: Shields strands from curling wand damage.
Texturizing Spray: Gives a matte finish and lasting hold.
This method works best when you have time to style. It creates a polished yet relaxed appearance. The waves soften the choppy layers while adding femininity. You can refresh this look on day two by spritzing with water and re-scrunching sections.
Sleek Straight Shag

A flat iron transforms the layered haircut into something entirely different. This approach creates clean lines and sharp edges. The choppy layers become more apparent when straightened. Each piece sits separately from the others.
Begin with completely dry hair. Apply a heat protectant serum throughout. Work it into every section from root to tip. This step prevents heat damage and adds shine. Don’t skip it even if you’re in a hurry.
Section your hair into four parts. Clip three away while working on one. Take thin pieces about an inch wide. Clamp the flat iron at the roots. Pull through to the ends in one smooth motion. Keep tension consistent for the best results.
Working the Layers
The shorter layers around your face need special care. These frame your features most prominently. Pull them slightly forward as you straighten. This creates an angled effect that highlights your cheekbones. The movement draws eyes toward the center of your face.
Longer sections in the back can be straightened more quickly. Use slightly larger pieces here. The goal is smooth, sleek hair throughout. But the varying lengths of layers will still show. This is what makes the style interesting.
For the very ends of your hair, angle the flat iron slightly. Pull it away from your face as you reach the tips. This prevents the hair from flipping under. It creates a straighter, more modern finish. The pieces should fall naturally without curling inward.
Apply a small amount of smoothing serum to finished sections. Focus on areas that tend to frizz. This could be around your hairline or the crown. The serum tames flyaways and adds gloss. Use it sparingly to avoid looking greasy.
Setting the Style
Once all sections are straightened, run your fingers through your hair. This breaks up any too-perfect sections. The goal is sleek but not stiff. Natural but polished. The layers should move freely when you shake your head.
A light hairspray can help maintain this look. Hold the can at least eight inches away. Spray in short bursts rather than one long stream. This prevents buildup and keeps hair touchable. Focus on the crown where hair tends to lose shape first.
This styling method works well for professional settings. It looks intentional and put-together. The clean lines of straightened layers create a sophisticated vibe. You can add a side part for extra polish. Or keep a center part for balance.
The sleek version highlights the precision of your cut. Each layer becomes visible and distinct. This showcases the skill that went into creating the shape. It’s a good choice for showing off a fresh cut from the salon.
Curly Defined Shag
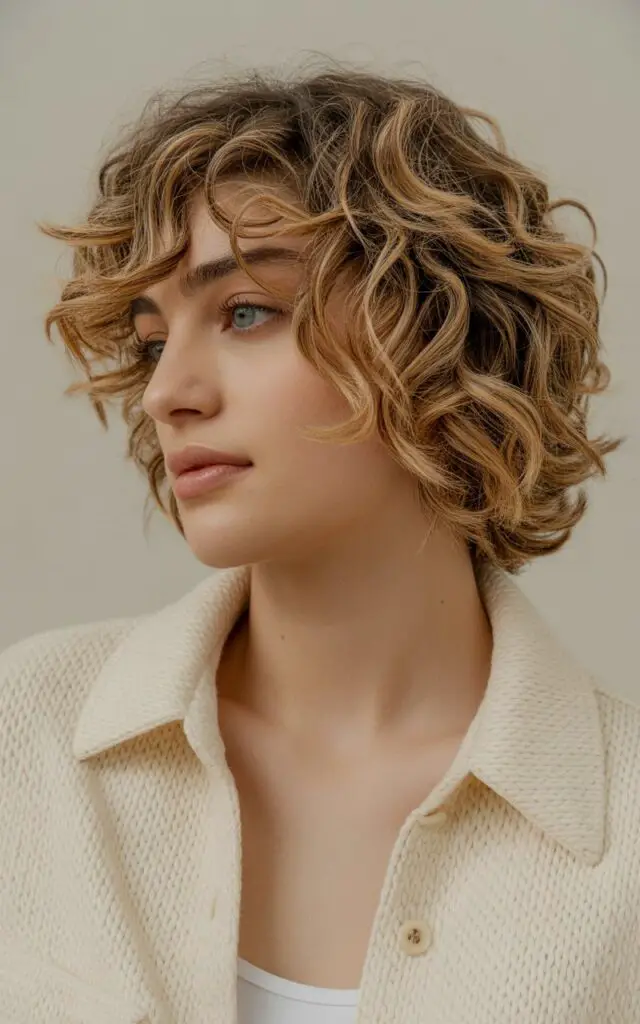
Natural curls pair beautifully with choppy layers. This combination creates incredible volume and dimension. The layers prevent the triangular shape that sometimes happens with curly hair. They distribute weight evenly from top to bottom.
Start with soaking wet hair. Apply a curl-defining cream while it’s still dripping. Use more product than you think you need. Curly hair is thirsty and absorbs moisture quickly. Work the cream through with your fingers. Make sure every strand gets coated.
Defining Your Curls
Scrunch your hair upward in sections. This encourages curl formation. Cup the ends in your palm and push toward your scalp. Hold for a few seconds before releasing. You’ll see spirals start to form. The scrunching motion activates the natural curl pattern.
Use a diffuser on low heat and low speed. High heat can cause frizz and disrupt curl formation. Place sections of hair in the diffuser bowl. Don’t move it around too much. Let the hair dry in place. This helps curls set in their natural pattern.
The layers create different curl sizes throughout your head. Shorter pieces near your face will curl tighter. Longer sections in the back form looser spirals. This variation adds interest and prevents the style from looking uniform.
Leave your hair about 80% dry. The last bit of moisture should air dry. This prevents over-drying which leads to frizz. Curly hair benefits from retaining some natural moisture. It keeps spirals bouncy and defined.
Once fully dry, break up any curl clumps that look too chunky. Gently separate them with your fingers. Don’t pull or tug. Just lightly divide them into smaller pieces. This adds volume while maintaining definition.
A curl refresher spray works wonders on day two or three. Spritz dry hair and scrunch again. This reactivates the curl cream still in your hair. The curls spring back to life without a full wash. The layered cut helps refreshed curls look intentional rather than messy.
Products that work well for this style:
Curl Cream: Defines spirals without crunchiness.
Leave-In Conditioner: Adds moisture and reduces frizz.
Gel: Provides hold for curls that won’t droop.
This method celebrates your hair’s natural texture. The layers enhance what’s already there. You’re not fighting against your hair type. You’re working with it to create something beautiful.
Messy Bedhead Shag
This intentionally undone style embraces texture and imperfection. It looks effortless but actually requires some technique. The goal is controlled chaos. Hair that appears carelessly tousled but still maintains shape.
Start with dry hair from yesterday or the day before. Second-day hair works better than freshly washed. It has more grip and texture. The natural oils add weight that helps the style hold.
Spray dry shampoo at your roots. Massage it in with your fingertips. This absorbs oil while adding volume. The texture from dry shampoo gives hair that lived-in quality. It creates grit that helps the messy style stay in place.
Building the Texture
Take random sections and twist them. Hold each twist for a few seconds. Release and move to another section. The twisting creates bends and kinks throughout your hair. These irregular patterns are key to the bedhead look.
Use your fingers to backcomb at the crown. Lift a section and push the hair down toward your scalp. Do this gently to create volume without obvious teasing. The goal is lift that looks natural. Like you just woke up with great hair.
Scrunch the mid-lengths and ends randomly. Some sections get scrunched more than others. This creates varied texture throughout. The inconsistency is what makes it look unplanned. Too much uniformity ruins the effect.
Final Details
Spray a texturizing product all over. Focus on the roots for lift and the ends for separation. Shake your head side to side. Let your hair fall where it wants. Resist the urge to arrange pieces perfectly.
Pull a few face-framing layers forward. Leave others tucked behind your ears. The asymmetry adds to the casual vibe. One side can look fuller than the other. This imbalance actually makes the style more interesting.
For extra dishevelment, flip your head upside down. Scrunch and tousle while inverted. Flip back up and don’t fix anything. Let the pieces fall randomly. Some will stick up. Some will lie flat. This variety is exactly right.
The layered haircut makes this style possible. Without varying lengths, the messy look wouldn’t have enough dimension. The layers create the separation and movement. They prevent the hair from looking like one solid mass. Each piece moves independently.
This method takes the least time of all styling options. It’s perfect for busy mornings or lazy weekends. The undone quality makes it feel modern and cool. You look like you didn’t try too hard. Which is always a good thing.
Half-Up Shag Style
This approach combines the benefits of wearing your hair up and down. The top section pulls back while the bottom hangs free. It’s practical but still stylish. The layers create interesting movement in both the secured and loose sections.
Part your hair horizontally from ear to ear. Clip the front section away from the back. The division doesn’t need to be perfectly straight. A slightly messy part actually looks better with this cut. It maintains the relaxed vibe.
Creating the Top Section
Gather the front section into a ponytail at your crown. Don’t pull it too tight. Some looseness keeps things casual. Secure with an elastic that matches your hair color. You can also use a decorative clip or claw for more visual interest.
Pull a few shorter layers out around your face. These pieces are too short to reach the ponytail anyway. Let them frame your features naturally. They soften the pulled-back section and create dimension. Spray them lightly if they need to hold a curl.
The ponytail itself will have varying lengths because of the layers. Shorter pieces will stick out at different angles. Longer ones will hang down. This creates a messy, textured ponytail rather than a sleek one. The imperfection is part of the appeal.
Styling the Bottom Half
The bottom section that hangs loose gets more attention. You can leave it straight if that’s your preference. Or add waves with a curling iron. The choice depends on the occasion and your personal style. Both options work equally well with this updo.
If adding waves, wrap sections around a curling wand. Focus on the pieces that will be most visible. The layers in the back create natural movement even without curls. But adding a few waves enhances the texture. It makes the bottom half more interesting.
For a polished version, straighten the bottom section instead. This creates contrast between the messy top and sleek bottom. The combination of textures adds complexity to the style. It shows more intentionality while staying relaxed.
Tease the ponytail gently for extra volume. Lift sections and backcomb at the base. This makes the top portion look fuller. It balances the weight of the hanging hair. The teasing also emphasizes the layered structure of the cut.
Pull the ponytail slightly to loosen it. This creates a softer, less severe look. Some hair should pull out at the sides. These loose pieces add to the undone quality. They make the style appear less calculated.
This method works for various occasions. It keeps hair off your face for activities. But it still looks styled for going out. The versatility makes it a go-to option. You can dress it up with accessories or keep it simple.
Volumized Blow-Dried Shag
A round brush and blow dryer create lift and fullness throughout your layers. This technique maximizes volume while smoothing the hair. It’s more polished than air drying but less formal than flat ironing. The result falls somewhere between casual and dressed up.
Apply a volumizing mousse to damp hair. Work it through from roots to ends. Pay special attention to the crown where you want the most lift. The product will activate as you apply heat. It helps the style hold throughout the day.
The Blow-Drying Technique
Section your hair into manageable pieces. Start at the bottom and work up. This prevents tangling and gives you better control. Clip away the sections you’re not currently working on. This keeps them out of the way.
Take a section about two inches wide. Place your round brush at the roots underneath the hair. Lift upward while directing the dryer’s heat at the brush. Pull the brush through to the ends while following with the dryer. This creates tension that smooths and lifts simultaneously.
For maximum volume, dry each section twice. First, pull the brush straight up. This creates lift at the roots. Then pull it in the direction you want the hair to fall. This sets the shape while maintaining the volume. The double pass takes more time but delivers better results.
The shorter layers around your face need a different approach. Wrap these pieces around the brush completely. Roll the brush under as you dry. This creates a soft bend that frames your face. It prevents the pieces from sticking straight out.
Building Body Throughout
As you work through all sections, vary the angle of your brush. Sometimes pull straight down for sleekness. Other times pull to the side for movement. This variation keeps the style from looking too uniform. The layers should flow in different directions.
Flip your head upside down halfway through. Dry the underneath sections while inverted. This adds volume at the roots that you can’t achieve when upright. The blood flow to your scalp also helps create lift. Flip back up and arrange the top sections.
Once everything is dry, blast cool air over your entire head. This sets the style and adds shine. The cool air closes the hair cuticle. Sealed cuticles reflect more light. This makes your hair look healthier and more polished.
Tools and products needed:
Round Brush: Choose a size based on your desired curl or wave.
Blow Dryer with Concentrator: The narrow nozzle directs airflow precisely.
Volumizing Mousse: Creates lift that lasts all day.
Cool Shot Button: Seals the cuticle and locks in the style.
Finish with a light hairspray if needed. Hold it far from your head to avoid stiffness. The layers should move freely. They shouldn’t feel crunchy or stuck together. Your hair should bounce when you shake your head.
This method gives the most controlled, polished result. It’s ideal for work or formal events. The volume makes the most of your layers. Each level is visible and intentional. The blow-dried finish looks professional and put-together.
Natural Air-Dried Shag
Sometimes the best approach is the simplest. Letting your hair dry naturally works especially well with layered cuts. The varying lengths create automatic texture as they dry. This method saves time and prevents heat damage. It’s the most low-maintenance option available.
After washing, gently squeeze excess water out with a microfiber towel. Don’t rub vigorously. This causes frizz and disrupts your hair’s natural pattern. Blot and squeeze instead. Leave your hair quite damp rather than wringing it out completely.
Apply a leave-in conditioner to the mid-lengths and ends. Avoid the roots unless your hair is very dry. The conditioner provides moisture as hair dries. It prevents the crunchy feeling some hair gets when air-dried. Your strands stay soft and touchable.
Enhancing Natural Texture
Scrunch in a styling cream or light gel. The amount depends on your hair thickness and texture. Start with a small amount and add more if needed. The product helps define whatever natural wave or texture your hair has. It prevents air-dried hair from looking flat or lifeless.
Flip your head upside down and scrunch repeatedly. This encourages volume and texture formation. Hold each scrunch for a few seconds before releasing. You’re essentially training your hair how to dry. The repeated scrunching creates memory in the strands.
Shake your head gently while still flipped over. This distributes the product evenly. It also prevents hair from drying in flat sections against your scalp. When you flip back up, the volume will already be building. The roots won’t lie completely flat.
Letting It Set
Now walk away and let your hair do its thing. Don’t touch it constantly while it dries. The more you manipulate wet hair, the more frizz you’ll create. Resist the urge to scrunch it every few minutes. Let the products work.
If certain sections are drying awkwardly, you can twist them. Wrap the section around your finger while wet. Release and let it dry in that twisted position. This creates a bend or wave in that piece. It adds variation to otherwise straight sections.
The layers will dry at different rates because of their varying lengths. Shorter pieces around your face dry first. Longer sections in the back take more time. This is fine. The staggered drying actually contributes to the final texture.
Once completely dry, you can scrunch one final time. This breaks up any crunchy sections left by styling products. It softens the overall look. Your hair should feel natural and moveable. The layers create dimension without any heat styling required.
This method highlights your hair’s natural qualities. You’re not imposing a style on it. You’re enhancing what’s already there. The layered cut provides the structure. The air drying provides the texture. Together they create an effortless, undone look that feels modern and cool.
Your Perfect Medium-Length Look
The layered haircut offers remarkable flexibility in styling. Seven different methods create seven completely different looks. Some require heat tools and products. Others need only your hands and time. You can switch between methods based on your schedule and mood. Monday might call for sleek and straight. Friday might embrace messy texture.
The key is understanding which techniques work best for your hair type. Fine hair benefits from volumizing methods. Thick hair needs smoothing approaches. Curly hair thrives with definition techniques. Straight hair gains interest from added texture. Match the method to your hair’s natural tendencies. Work with your texture rather than against it. The results will look more natural and require less effort.
Frequently Asked Questions
Q: How often should I trim my layered medium-length hair?
A: Visit your stylist every 6-8 weeks to maintain the shape. The layers can lose their definition as they grow out. Regular trims keep the choppy texture looking intentional rather than grown out.
Q: Can I achieve these styles with fine hair?
A: Yes, fine hair actually responds well to layered cuts. Focus on volumizing methods like blow-drying with a round brush. Avoid heavy products that weigh hair down. Lightweight mousses and sprays work best.
Q: Which styling method causes the least damage?
A: Air-drying creates zero heat damage. The messy bedhead style also skips hot tools entirely. If you must use heat, always apply a protectant first and use the lowest effective temperature.
Q: Do I need all these products to style my hair?
A: Not at all. Start with basics like a heat protectant and one styling product. Add more products as you determine what your hair needs. Many women successfully style with just two or three products.
Q: How can I make my style last longer between washes?
A: Dry shampoo refreshes roots on day two or three. Sleep on a silk pillowcase to reduce friction. Pull hair into a loose bun at night to maintain texture without flattening.
Q: Will these layers work with my curly hair?
A: Layers enhance curly hair beautifully. They prevent the triangle shape and add movement. Make sure your stylist knows how to cut curly hair. Dry cuts work better than wet cuts for curls.
Q: What’s the best way to add volume to my layers?
A: Blow-drying upside down creates maximum lift. Teasing at the crown also adds height. Volumizing mousse applied at damp roots provides lasting body throughout the day.
Q: Can I combine different styling methods?
A: Absolutely. You might blow-dry for volume then add waves with a curling iron. Or straighten most of your hair but leave face-framing pieces wavy. Mix techniques to create your own signature look.
Q: How do I prevent frizz with these styling methods?
A: Apply products to damp hair before styling. Use a heat protectant with hot tools. Finish with a smoothing serum on dry hair. Avoid touching your hair too much throughout the day.
Q: Which face shapes work best with this haircut?
A: The layered cut flatters most face shapes. Adjust the styling method to suit your features. Round faces benefit from volume at the crown. Long faces look great with side-swept layers.