Press-on nails have revolutionized home manicures, offering women a salon-worthy look without the hefty price tag. Red medium almond press-ons stand out as a practical choice, combining classic style with modern sophistication. These artificial nails provide the perfect balance between length and wearability, making them suitable for both special occasions and daily activities.
The key to stunning press-on nails lies in proper application and maintenance. Many ladies shy away from DIY nail applications, thinking they might damage their natural nails. However, with the right techniques and tools, applying press-on nails can be completely safe and gentle on your natural nails while still achieving professional-looking results.
Below every step to master red medium almond press-ons. From selecting quality nails and preparing your natural nail beds to applying them correctly and removing them safely – you’ll learn all the essential techniques.
What Makes Almond Press-On Nails Different?

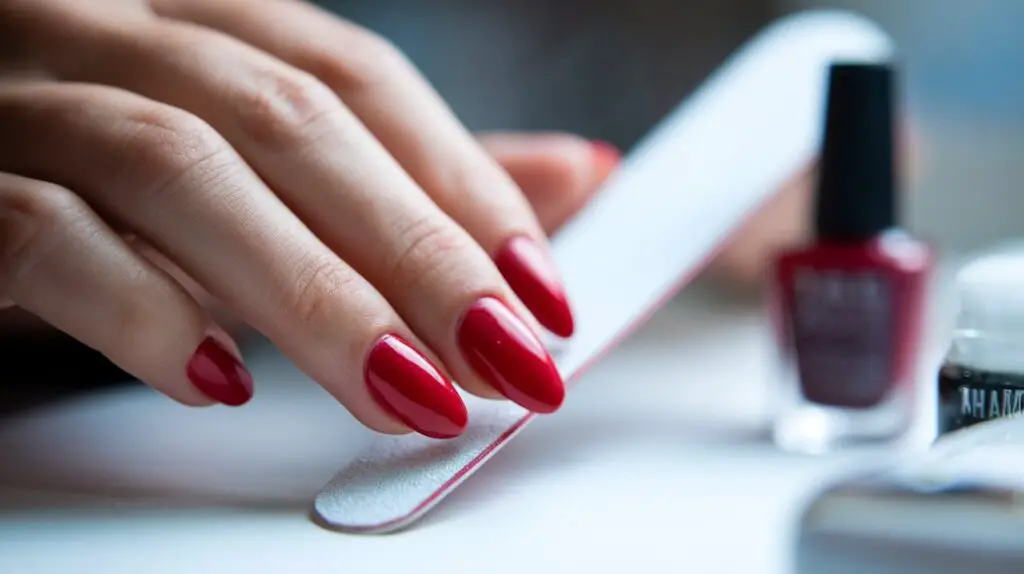
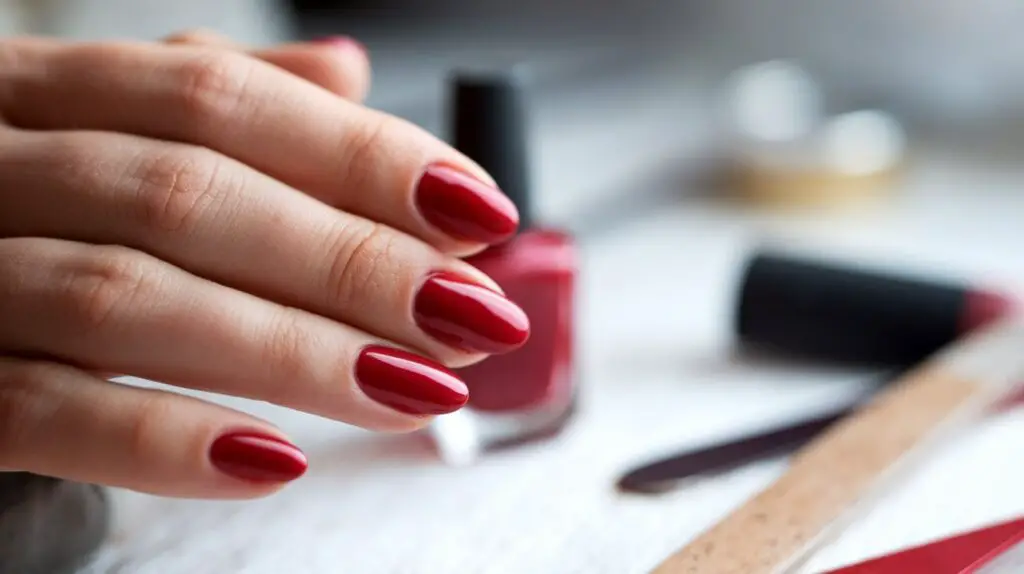
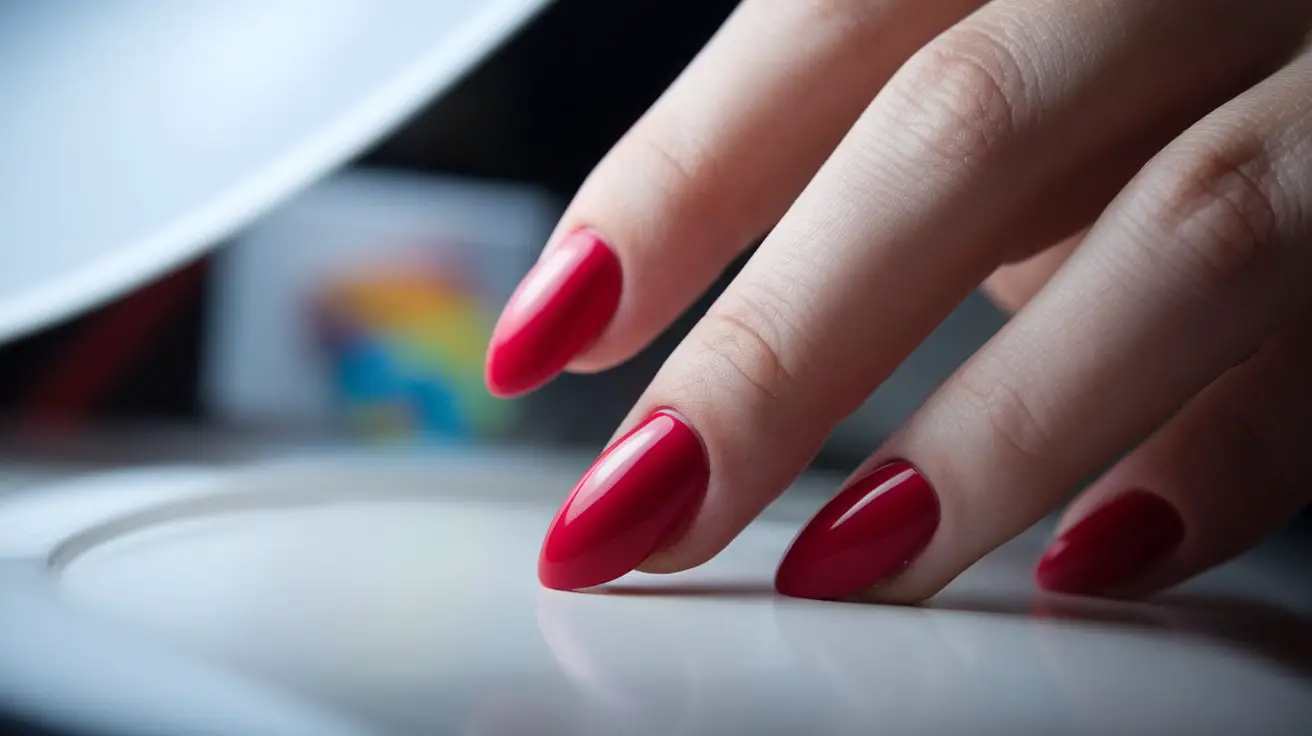
Almond press-on nails create an elegant, elongated appearance that naturally draws attention to your hands. The shape mirrors the graceful outline of an actual almond – wider at the base and tapering to a soft point at the tip. This sophisticated silhouette has gained popularity among women who want a refined yet practical nail enhancement option.
The distinctive almond nail shape explained
The magic of almond-shaped nails lies in their balanced proportions. Unlike pointy stiletto nails or wide square tips, this shape follows the natural curve of your fingertips while adding a subtle taper. The sides curve inward gradually, creating a slimming effect that makes fingers appear longer and more graceful.
Here’s what sets almond press-ons apart from other shapes:
- Gradual tapering from base to tip
- Softly rounded point
- Symmetrical side curves
- Natural-looking C-curve
- Balanced width-to-length ratio
Sizing and proportions for medium length
Finding the right size makes all the difference in how natural your press-on nails look. Medium length almond nails typically extend about 1/4 inch past your fingertip, striking the perfect balance between style and functionality. The width should match your natural nail bed exactly, while the length can be customized by filing if needed.
Proper curvature and structure
The side walls of quality almond press-ons feature a precise C-curve that mimics natural nail growth. This curved structure isn’t just for aesthetics – it adds strength and prevents the nails from appearing flat or artificial. The apex (highest point) should sit at roughly 1/3 of the nail length from the cuticle.
How to identify quality almond press-ons
High-quality press-on nails have several distinguishing features that set them apart. The plastic should be thick enough to prevent bending but thin enough to look natural. Check the underside for a smooth, well-defined curve that will hug your natural nail properly.
Professional-grade press-ons also have consistent thickness throughout the nail. This uniformity prevents weak spots that could lead to breaking or splitting. The surface should be completely smooth, without any bubbles or irregularities that might show through polish.
Advantages of medium length for daily wear
Medium length offers practical benefits that make these press-ons perfect for everyday activities. You can type, text, and handle small objects with ease – something that’s much harder with longer extensions. The moderate length also puts less stress on your natural nails, reducing the risk of damage or breakage.
The versatility of medium almond press-ons makes them suitable for both professional and casual settings. They’re long enough to create an elegant look but short enough to maintain comfort during daily tasks. This balance helps explain why so many women choose this particular combination of shape and length.
Your natural nail health remains a priority with medium-length press-ons. The reasonable length means less leverage against your natural nail plate, which decreases the chance of painful breaks or splits. Additionally, the shorter length makes application and removal much simpler, helping you maintain a consistent nail care routine.
How to Prep Your Natural Nails for Press-Ons

Proper preparation of your natural nails creates the foundation for long-lasting press-ons. Clean, well-maintained nails allow better adhesion and prevent lifting or premature falling off. The preparation process might take a few extra minutes, but these steps make a significant difference in how long your manicure will last.
Thorough cleaning and sanitizing steps
Start with completely bare nails, removing any old polish or residue. Wash your hands thoroughly with soap and warm water, paying special attention to the nail area. A nail brush helps remove hidden dirt under the free edge. After washing, use a cotton pad soaked in nail polish remover to eliminate any remaining oils or debris.
Your nail prep essentials should include:
- Antibacterial soap
- Nail polish remover (acetone-free)
- Clean cotton pads
- Nail brush
- Sanitizing solution
Proper nail filing techniques
Filing requires a gentle touch and specific motions to prevent nail damage. Hold the file at a 45-degree angle and move it in one direction only – never saw back and forth. This technique prevents splitting and weakening of your natural nails. Shape the free edge straight across, then slightly round the corners.
Two or three strokes in each spot should suffice. More than that risks over-filing and thinning your nails. Pay attention to any rough spots or snags, smoothing them carefully without applying too much pressure.
Cuticle care essentials
Healthy cuticles protect your nails from bacteria and infection. Apply a cuticle remover and wait 30 seconds for it to soften the skin. Using a wooden pusher, gently push back your cuticles. Avoid cutting them, as this can lead to infection and irregular growth.
If you notice any hangnails, clip them carefully with sanitized nippers. Clean away any loose skin or debris with a lint-free wipe. This creates a smooth surface for the press-on application while maintaining the protective function of your cuticles.
Buffing for optimal adhesion
Light buffing creates a textured surface that helps adhesive bond better to your natural nail. Use a fine-grit buffer block and apply minimal pressure – you’re not trying to thin the nail, just create a slightly rough texture. Focus on the center of the nail plate, avoiding the sides and cuticle area.
Dehydrating the nail plate
The final step involves removing all traces of oil and moisture from your nail plate. Swipe each nail with a lint-free pad soaked in nail dehydrator or rubbing alcohol. This step is crucial for maximum adhesion – any remaining oils can prevent the glue from bonding properly.
After dehydrating, avoid touching your nail surface with your fingers. Natural oils from your skin can transfer back onto the nails, compromising the adhesive bond. Keep your hands elevated and proceed with the application process right away.
The success of your press-on application heavily depends on this preparation phase. Each step builds upon the previous one, creating optimal conditions for the adhesive to form a strong bond. Taking shortcuts during prep often leads to premature lifting or pop-offs within the first few days.
Applying Red Medium Almond Press-Ons
The application process makes the difference between a salon-worthy manicure and one that peels off within hours. Your perfectly prepped nails now need careful attention to detail during the application phase to achieve long-lasting results.
Selecting the right adhesive method
Two main options exist for securing your artificial nails: nail glue and adhesive tabs. Nail glue creates a stronger bond that can last up to two weeks, while adhesive tabs offer easier removal but shorter wear time. For red medium almond press-ons, liquid nail glue typically works best since the length requires extra security.
A brush-on nail glue applicator helps prevent messy application and allows better control of the adhesive amount. Apply a thin layer to both your natural nail and the press-on for maximum bonding strength.
Perfect size matching techniques
Take time to lay out all your press-on nails and match them to each finger before starting the application. The nail should cover your entire natural nail without touching the skin on either side. Here’s what to check for proper sizing:
- Width matches your natural nail bed
- Sidewalls align perfectly with your nail edges
- No gaps between press-on and cuticle
- Center of press-on aligns with center of natural nail
- Consistent sizing across all fingers
Precise application positioning
Start with your dominant hand’s pinky finger and work toward your thumb. Hold the press-on at a 45-degree angle, positioning it about 1-2mm from your cuticle. Press down at the center first, then rock the nail side to side while maintaining downward pressure.
Securing without air bubbles
Air bubbles can lead to premature lifting and trapped moisture. To prevent this common issue, apply firm pressure from the center outward while holding the nail at a downward angle. Keep steady pressure for 15-20 seconds on each nail. If you spot any bubbles forming, quickly lift the nail and reapply.
Professional finishing touches
After applying all nails, examine each one under good lighting. Check for any lifting around the edges or visible gaps. Apply extra pressure to any spots that need it. File the free edges if necessary to maintain the perfect almond shape.
A quick swipe with a lint-free wipe removes any excess glue that may have squeezed out during application. This step prevents the glue from hardening and creating rough spots around your cuticles.
Your artificial nails need about two hours to achieve maximum bond strength. During this time, avoid contact with water and heavy hand activities. This waiting period allows the adhesive to cure completely, creating a water-resistant seal between your natural nail and the press-on.
The right application technique creates a foundation for long-lasting wear. Pay special attention to positioning and pressure points during application, as these factors directly affect how well your manicure holds up to daily activities.
Maintaining Your Red Almond Press-Ons
Your beautiful red almond press-ons need proper maintenance to stay gorgeous and intact. The first 24 hours after application are crucial – avoid water contact completely during this period to allow the adhesive to form a strong bond.
Daily care routine
Start each morning by checking each nail for any signs of lifting. A quick press-down on loose edges can prevent bigger issues later. Apply cuticle oil around the edges of your artificial nails, but avoid getting it under them. These simple habits can significantly extend the life of your manicure.
Watch for these early warning signs that your nails need attention:
- Clicking sounds when typing
- Visible gaps at the edges
- Slight movement when pressed
- Changes in nail appearance
- Any discomfort or pressure
Preventing lifting and damage
Keep your hands away from hot water and harsh chemicals. Always wear gloves while doing dishes or cleaning. After washing your hands, dry them thoroughly, paying special attention to the area around your nails. Avoid using your nails as tools for opening cans or scratching labels – this puts unnecessary stress on the adhesive bond.
Waterproofing techniques
A clear top coat creates an extra barrier against water damage. Apply it along the free edge and slightly underneath to seal the tip. This protective layer needs renewal every few days to maintain its effectiveness. Consider adding an extra layer before swimming or extended water exposure.
Touch-up strategies
Small fixes can prevent complete nail failures. Keep a small bottle of nail glue handy for quick repairs. If you notice any lifting, clean under the lifted area with alcohol, apply a tiny amount of glue, and press down firmly for 30 seconds.
Extension of wear time
Your artificial nails can last up to two weeks with proper care. Avoid exposing them to extreme temperatures, as this can affect the adhesive bond. Regular maintenance, like reapplying top coat and fixing minor issues promptly, helps achieve maximum longevity.
The way you use your hands affects how long your nails last. Type with the pads of your fingers rather than the tips of your nails. When reaching into bags or pockets, use the sides of your fingers instead of digging with your nails.
Moisture management plays a key role in maintaining your manicure. After showering, gently push back any water that might have gotten under the nails using a soft towel. This prevents water from getting trapped and weakening the adhesive.
Consider applying a fresh top coat every three days to maintain shine and protection. This simple step helps prevent chipping and maintains the vibrancy of your red shade while adding an extra layer of durability to your manicure.
Safe Removal Methods
Removing press-on nails requires patience and the right technique to protect your natural nails. Rushing the process or using force can damage your nail beds and cuticles, leading to weakness and breakage.
When to remove press-ons
The right time to remove your artificial nails depends on several factors. These signs indicate it’s time for removal:
- Visible lifting at the edges
- Growth gap larger than 2mm
- Changes in nail color underneath
- Trapped moisture or debris
- Discomfort or pressure
Gentle soaking techniques
Fill a small bowl with warm water and add a few drops of soap or cuticle oil. Soak your fingertips for 10-15 minutes, allowing the water to gradually penetrate the adhesive bonds. The temperature should be comfortable – too hot can damage your natural nails.
For nails applied with glue, acetone-based remover works faster. Pour the solution into a shallow dish and soak each finger for 5-7 minutes. Keep a towel nearby to pat your hands dry between soaking sessions.
Proper lifting procedures
After soaking, test the edges of each nail gently. If they resist, continue soaking rather than forcing them off. Starting from one corner, use an orange stick to carefully work under the artificial nail. Move slowly across the nail bed, maintaining a parallel angle to prevent natural nail damage.
Never peel or pull off artificial nails straight up. This motion can rip layers off your natural nail. Instead, work from side to side, allowing the loosened adhesive to release gradually. If you feel any resistance, stop and soak longer.
Natural nail aftercare
Your natural nails need recovery time after removal. Apply a strengthening treatment immediately after removing the artificial nails. Massage cuticle oil into the nail bed and surrounding skin to restore moisture and promote healing.
The nail plate might appear slightly rough or uneven. This temporary condition improves with proper care. Apply a nail strengthener daily for the first week after removal. This creates a protective barrier while your nails regain their natural oils.
Reuse preparation tips
Quality press-on nails can be reused several times with proper cleaning. Remove all old adhesive from the underside using acetone and a wooden stick. Buff the bonding surface lightly to create a fresh surface for new adhesive.
Store cleaned nails in their original container or a dedicated storage box. Keep them away from direct sunlight and heat, which can cause warping or color changes. Label each set with its size numbers to make future application easier.
Your natural nails benefit from a break between applications. Allow 24-48 hours before reapplying artificial nails. This rest period lets your nail bed breathe and recover, promoting stronger, healthier growth for your next application.
Your Perfect Red Almond Press-On Journey
Creating a stunning manicure with red medium almond press-ons combines artistry with practical techniques. The process starts with proper preparation, moves through careful application, and continues with smart maintenance habits. Each step builds upon the last, working together to give you beautiful, long-lasting results that protect your natural nails while providing the sophisticated look you want.
Your natural nails deserve gentle treatment throughout the entire process – from initial prep to final removal. By following these proven methods and giving attention to detail, you’ll master the skills needed for salon-worthy results at home. The combination of proper technique, regular maintenance, and careful removal allows you to enjoy your gorgeous manicure while keeping your natural nails healthy and strong for future applications.
Frequently Asked Questions
Q: How long should I wait before exposing press-on nails to water?
A: Wait 24 hours after application before exposing your press-on nails to water to allow the adhesive to form a complete bond.
Q: What’s the best adhesive method for medium-length almond press-ons?
A: Liquid nail glue provides the strongest bond and longest wear time, making it ideal for medium-length press-on nails.
Q: How do I prevent air bubbles during application?
A: Apply the nail at a 45-degree angle, press down at the center first, then rock side to side while maintaining downward pressure for 15-20 seconds.
Q: What signs indicate it’s time to remove press-on nails?
A: Remove press-ons when you notice visible lifting at the edges, a growth gap larger than 2mm, trapped moisture, or any discomfort.
Q: Can I reuse my press-on nails?
A: Yes, quality press-on nails can be reused multiple times if properly cleaned of old adhesive and stored in a cool, dry place.
Q: How long should I soak my nails for removal?
A: Soak for 10-15 minutes in warm soapy water, or 5-7 minutes in acetone-based remover for glue-on nails.
Q: How long should I wait between press-on nail applications?
A: Allow 24-48 hours between applications to let your natural nails breathe and recover.
Q: What’s the most important step in maintaining press-on nails?
A: Daily checking and immediate fixing of any lifting edges is crucial for extending wear time and preventing water damage.

