Hair masks have become essential in modern hair care routines, offering intensive treatment that goes beyond what regular shampoo and conditioner can provide. These concentrated formulas penetrate deep into the hair shaft, delivering nutrients and moisture where your strands need them most. Whether you’re dealing with damage from heat styling, chemical processing, or environmental stressors, the right hair mask can transform lackluster locks into healthy, vibrant hair.
The beauty of hair masks lies in their versatility and targeted approach to specific hair concerns. Unlike daily conditioners that provide surface-level benefits, these treatments work on a molecular level to repair, strengthen, and protect your hair from within. From protein-rich formulas that rebuild damaged structures to deeply hydrating options that quench thirsty strands, there’s a mask designed for every hair type and concern.
Here’s everything you need to know about selecting and using hair masks effectively. We’ll talk about the science behind these powerful treatments, different types available for various hair concerns, application techniques for optimal results, and even recipes to create your own masks at home. Plus, we’ll look at professional treatments that can take your hair care routine to the next level.
What Makes a Hair Mask Effective?
The effectiveness of a hair mask depends on several factors, starting with its formulation and how well it matches your specific hair needs. Understanding these elements helps you choose products that deliver real results rather than temporary cosmetic improvements.
Key ingredients to look for
The most powerful hair masks contain specific ingredients proven to penetrate and repair hair structure. Proteins like keratin and silk amino acids fill in microscopic gaps in damaged cuticles, creating smoother surfaces that reflect light better. Natural oils such as argan, coconut, and jojoba provide deep moisturization while creating protective barriers against future damage.
Humectants play a crucial role too. Ingredients like glycerin and hyaluronic acid attract moisture from the environment, helping hair maintain hydration levels between treatments. For those dealing with breakage, look for masks containing biotin, panthenol, and vitamin E, which strengthen hair fibers from within.
Some masks feature innovative ingredients like bond-building technology. These advanced formulas work by reconnecting broken disulfide bonds in the hair structure, essentially reversing damage at a molecular level. While more expensive, these treatments offer dramatic improvements for severely compromised hair.
How hair masks work differently than conditioners
Regular conditioners primarily smooth the hair’s outer layer, providing immediate but temporary benefits. They work on the surface, making hair feel softer and look shinier for a day or two. Hair masks, on the other hand, contain higher concentrations of active ingredients and smaller molecules that penetrate deeper into the hair cortex.
The thickness and richness of mask formulas allow them to adhere better to hair strands, ensuring ingredients have time to work their magic. This extended contact time – typically 5 to 30 minutes compared to conditioner’s 1-2 minutes – enables deeper penetration and more lasting results.
Think of it this way: if conditioner is like applying lotion to dry skin, a hair mask is like getting a professional facial. Both have their place in your routine, but masks provide intensive treatment that creates longer-lasting improvements in hair health and appearance.
Understanding your hair type
Selecting the right mask starts with honest assessment of your hair’s characteristics and needs. Fine hair requires lightweight formulas that won’t weigh down delicate strands, while thick, coarse hair can handle richer, more intensive treatments. Porosity – your hair’s ability to absorb and retain moisture – also influences which masks work best.
Consider your hair’s current condition too. Chemically processed hair often needs protein-rich treatments to rebuild structure, while virgin hair might benefit more from moisture-focused masks. Those with mixed conditions, like oily roots with dry ends, might need to apply different masks to different areas.
Pay attention to how your hair responds to various ingredients. Some people find coconut oil deeply nourishing, while others experience protein overload from too many strengthening treatments. Keep notes about which masks produce the best results for future reference.
Frequency of use
The ideal frequency for mask treatments varies significantly based on hair condition and mask type. Severely damaged hair might benefit from twice-weekly intensive treatments initially, gradually reducing frequency as hair health improves. Healthy hair typically needs masks only once every week or two for maintenance.
Protein treatments require particular caution. While essential for repairing damage, too much protein can make hair brittle and prone to breakage. Most people should limit protein-heavy masks to once or twice monthly, alternating with moisturizing treatments.
Environmental factors influence treatment frequency too. Those living in dry climates or spending lots of time in chlorinated pools may need more frequent masking sessions. Similarly, regular use of heat styling tools increases the need for protective and restorative treatments. Listen to your hair – it will tell you when it needs extra care through signs like increased tangling, dullness, or difficulty styling.
Types of Hair Masks for Different Hair Concerns
Hair masks aren’t one-size-fits-all solutions. Different formulations target specific issues, and choosing the right type can mean the difference between mediocre results and dramatic transformation. Understanding which masks address your particular concerns helps you invest wisely in products that actually work.
Masks for dry and damaged hair
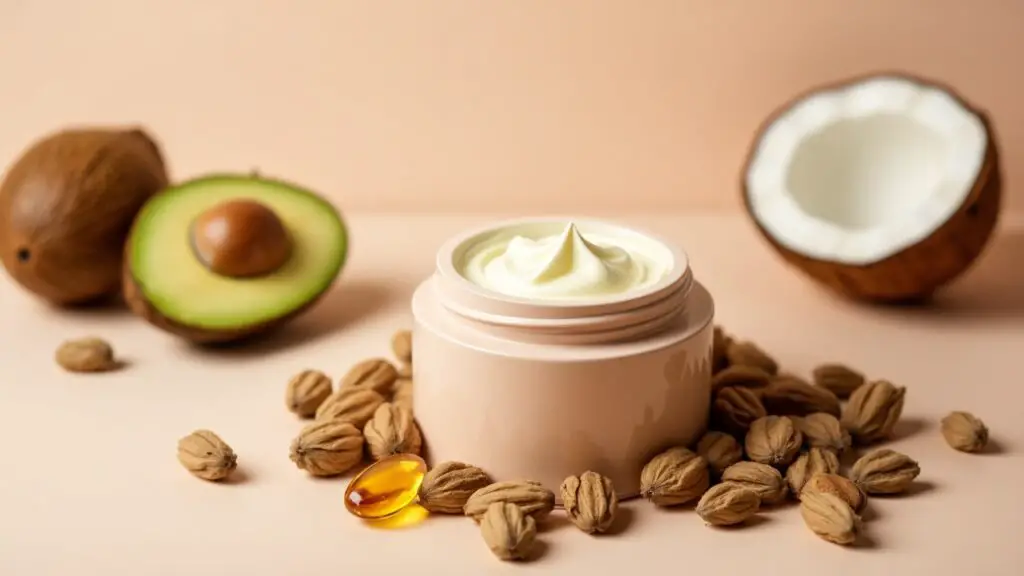
Dry, damaged hair craves intense moisture and repair. The most effective masks for this concern combine multiple hydrating agents with reconstructive proteins. Look for formulas featuring shea butter, which penetrates deeply while creating a protective film that locks in moisture. Avocado oil offers similar benefits, plus vitamins that nourish the scalp.
Masks containing hydrolyzed proteins work wonders on damaged strands. These proteins have been broken down into smaller molecules that can penetrate the hair shaft, filling in gaps and strengthening from within. Ceramides, naturally occurring lipids in healthy hair, help restore the protective barrier that damage compromises.
For severe damage from bleaching or excessive heat styling, seek out masks with olaplex-type technology or similar bond-building ingredients. These revolutionary formulas actually repair broken molecular bonds, reversing damage rather than just masking it. While pricier than standard masks, they deliver results that justify the investment.
Many women find success layering treatments for extremely dry hair. Start with a protein treatment to rebuild structure, follow with a deep moisturizing mask, then seal everything with a few drops of hair oil. This multi-step approach addresses damage comprehensively.
Masks for oily scalp and hair
Oily hair presents unique challenges, requiring masks that cleanse and balance without stripping natural oils completely. Clay-based masks excel at absorbing excess sebum while delivering minerals that promote scalp health. Bentonite and rhassoul clays gently detoxify without harsh chemicals.
Tea tree oil and peppermint feature prominently in masks for oily hair, offering antimicrobial benefits while stimulating circulation. These ingredients help regulate oil production over time rather than just removing surface oils temporarily. Aloe vera soothes any irritation while providing lightweight hydration.
Application technique matters especially for oily hair types. Focus masks primarily on mid-lengths and ends, avoiding the scalp area unless using a specifically designed scalp treatment. This prevents triggering increased oil production while still nourishing the parts of your hair that need it most.
Masks for color-treated hair
Color-treated hair requires special attention to maintain vibrancy while addressing the damage that processing causes. The best masks for colored hair combine color-protecting ingredients with intensive conditioning agents. Look for formulas containing UV filters that prevent sun-induced fading.
These specialized masks often include ingredients that seal the cuticle, locking in color molecules while creating brilliant shine:
Antioxidants: Protect against environmental damage that dulls color
Acidic pH: Helps close cuticles and preserve color molecules
Protein complexes: Repair chemical damage without stripping color
Natural oils: Provide moisture without weighing hair down
Violet pigments: Neutralize brassiness in blonde and gray hair
Timing becomes crucial with color-treated hair. Wait at least 48 hours after coloring before using any mask, allowing color molecules to fully set. Subsequently, use color-safe masks weekly to maintain health without compromising your investment in professional color services.
Masks for thinning hair
Thinning hair benefits from masks that strengthen existing strands while creating optimal scalp conditions for growth. Caffeine-infused formulas stimulate blood flow to follicles, potentially encouraging new growth. Biotin and niacin provide essential nutrients that support healthy hair production.
Volume-boosting masks for thinning hair typically contain lightweight proteins that plump up individual strands without weighing them down. Rice protein and quinoa extract offer strengthening benefits while maintaining body and movement. Avoid heavy oils or butters that can make thin hair appear even sparser.
Scalp health plays a crucial role in addressing thinning. Masks containing zinc pyrithione or salicylic acid gently exfoliate, removing buildup that can clog follicles. Regular use of these clarifying treatments creates an environment where new growth can thrive.
Natural vs. synthetic ingredients
The debate between natural and synthetic ingredients in hair masks often confuses consumers. Both categories offer benefits, and the best choice depends on individual needs and preferences. Natural ingredients like honey, egg proteins, and plant oils have proven track records spanning centuries.
Synthetic ingredients shouldn’t be automatically dismissed. Laboratory-created molecules can target specific hair concerns with precision that natural ingredients can’t match. Silicones, while controversial, provide immediate smoothing effects that many women appreciate. The key lies in finding the right balance for your hair.
Consider your lifestyle and values when choosing between natural and synthetic options. Those with sensitive scalps might prefer masks free from synthetic fragrances and preservatives. However, natural doesn’t always mean gentler – essential oils can irritate sensitive skin just as readily as synthetic compounds. Research ingredients thoroughly regardless of their origin, focusing on proven effectiveness for your specific concerns.
How to Apply Hair Masks for Maximum Benefits
Even the most expensive hair mask won’t deliver optimal results without proper application. The techniques you use, timing, and preparation all influence how well treatments penetrate and perform. Mastering these details transforms a basic hair care step into a spa-worthy treatment that delivers professional results at home.
Pre-application preparation
Preparing your hair correctly sets the stage for maximum mask absorption. Start by clarifying your hair if you haven’t done so recently. Product buildup creates barriers that prevent masks from penetrating properly. A gentle clarifying shampoo once monthly removes residue without stripping natural oils.
The debate about applying masks to wet versus damp hair has a simple answer: it depends on the mask. Cream-based masks typically work best on damp, towel-dried hair. The slight moisture helps distribute product evenly without diluting the formula. Oil-based treatments, however, often penetrate better on completely dry hair.
Detangling before application prevents uneven distribution and reduces manipulation when hair is in its most vulnerable state. Use a wide-tooth comb, working from ends upward to minimize breakage. This step becomes especially important for those with textured or easily tangled hair.
Water temperature matters more than most people realize. Lukewarm water opens the cuticle just enough to allow penetration without causing damage. Save the hot water for your body – your hair will thank you with improved texture and less frizz.
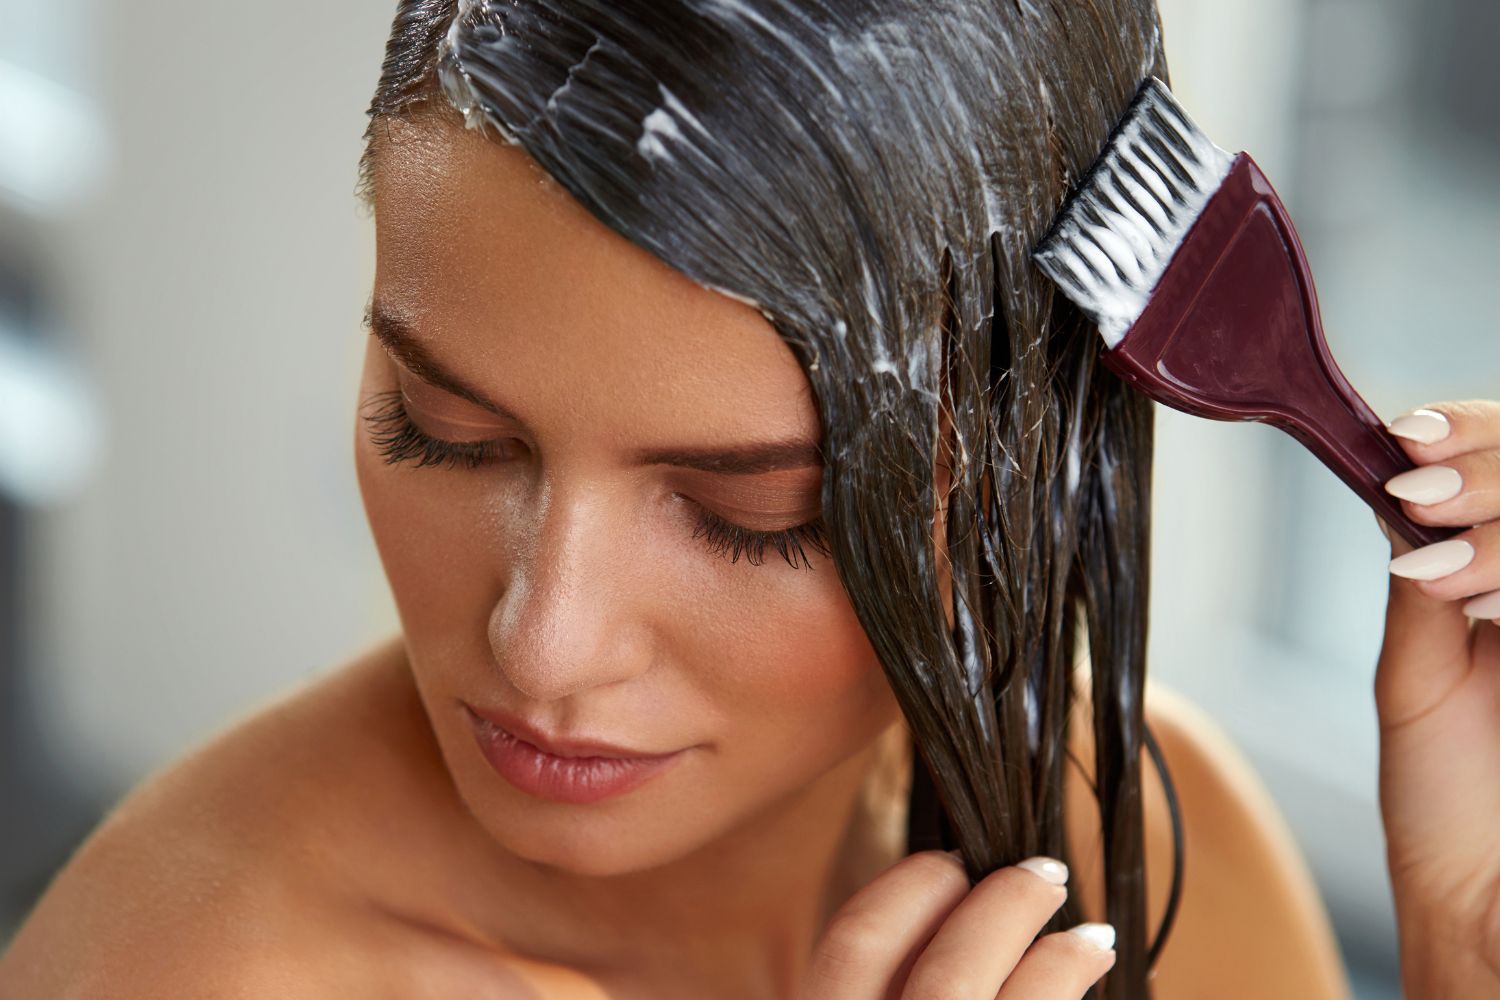
Application techniques
The way you apply your mask significantly impacts its effectiveness. Section your hair into manageable portions, typically four to six sections depending on thickness. This methodical approach ensures every strand receives treatment, preventing the common mistake of over-treating visible areas while neglecting underneath layers.
Start application at the ends, where hair is oldest and most damaged. Work your way up, using less product as you approach the roots. Most masks shouldn’t touch the scalp unless specifically designed for scalp treatment. This technique prevents greasiness while concentrating benefits where needed most.
Use your fingers to smooth mask through each section, followed by a wide-tooth comb for even distribution. The combing action helps the product penetrate while removing any excess that might weigh hair down. Pay special attention to the often-neglected nape area, which tends to be drier due to friction from clothing and pillows.
For longer hair, try the “praying hands” method: sandwich sections between palms and glide downward. This technique smooths the cuticle while ensuring thorough coverage. Don’t rush this process – proper application takes time but yields dramatically better results than haphazard slathering.
Timing and duration
Most masks provide recommended timing on their packaging, but these guidelines aren’t absolute. Your hair’s condition and the mask’s ingredients influence optimal duration. Protein treatments typically need just 5-10 minutes, as leaving them longer can cause brittleness. Moisturizing masks, conversely, often benefit from extended 20-30 minute sessions.
Very damaged hair might benefit from overnight treatments, but choose formulas specifically designed for extended wear. Regular masks can become too heavy or even cause hygral fatigue – damage from over-moisturization – if left on too long. When trying overnight treatments, protect your pillow with an old towel or specialized hair wrap.
Watch for signs that indicate proper timing. Hair should feel noticeably softer and more pliable when the mask has done its job. If strands feel mushy or overly elastic, you’ve likely left the treatment on too long. Keep notes about timing for different masks to optimize future applications.
Heat treatments and wrapping
Heat opens the hair cuticle, allowing deeper penetration of mask ingredients. Several methods can safely add heat to your treatment routine. A warm, damp towel wrapped around masked hair provides gentle, even heat. Microwave a damp towel for 30-45 seconds, checking temperature before applying to avoid burns.
Shower caps create a greenhouse effect, trapping body heat to enhance mask performance. For extra benefit, wrap a towel over the shower cap. This simple technique can double the effectiveness of many treatments without requiring special equipment.
Some women swear by sitting under hooded dryers or using heat caps designed for deep conditioning. While effective, use caution with direct heat on masked hair. Too much heat can actually cook certain ingredients, reducing their benefits. Limit heated treatments to 15-20 minutes maximum.
Rinsing properly
Proper rinsing technique often gets overlooked but significantly impacts results. Use cool water to seal the cuticle and lock in mask benefits. The temperature shock might feel uncomfortable initially, but the resulting shine and smoothness make it worthwhile.
Rinse thoroughly until water runs clear, which takes longer than most people expect. Mask residue left behind can make hair appear greasy or limp. Gently squeeze sections while rinsing to ensure complete removal from hair’s interior layers.
Some masks benefit from a gradual rinse process. Start with cool water to seal in nutrients, then briefly use lukewarm water to remove excess product. Finish with another cool rinse for maximum shine. This technique works particularly well with protein treatments, helping ingredients bond with hair structure.
Consider your styling plans when determining rinse thoroughness. If heat styling immediately after, ensure complete mask removal to prevent product buildup from baking onto hair. For air drying, leaving the tiniest amount of residue can provide extra protection and smoothness throughout the day.
DIY Hair Masks You Can Make at Home

Creating hair masks at home offers customization, cost savings, and the satisfaction of knowing exactly what goes on your hair. While store-bought masks have their place, DIY versions allow you to address specific concerns with fresh, natural ingredients from your kitchen.
Kitchen ingredients that work
Your pantry and refrigerator contain numerous ingredients with proven hair benefits. Honey acts as a natural humectant, drawing moisture into hair while providing antibacterial properties that benefit the scalp. Its sticky consistency might seem problematic, but when properly diluted, it spreads easily and rinses clean.
Eggs remain one of the most versatile mask ingredients. The yolk contains fats and proteins that moisturize and strengthen, while egg whites help remove excess oil. Use whole eggs for balanced treatment, just yolks for dry hair, or whites alone for oily strands. Always rinse with cool water to prevent cooking the egg in your hair.
Yogurt and sour cream provide protein and lactic acid, gently exfoliating the scalp while conditioning hair. Their creamy consistency makes them ideal mask bases, easily combining with other ingredients. Greek yogurt works particularly well due to its higher protein content and thicker texture.
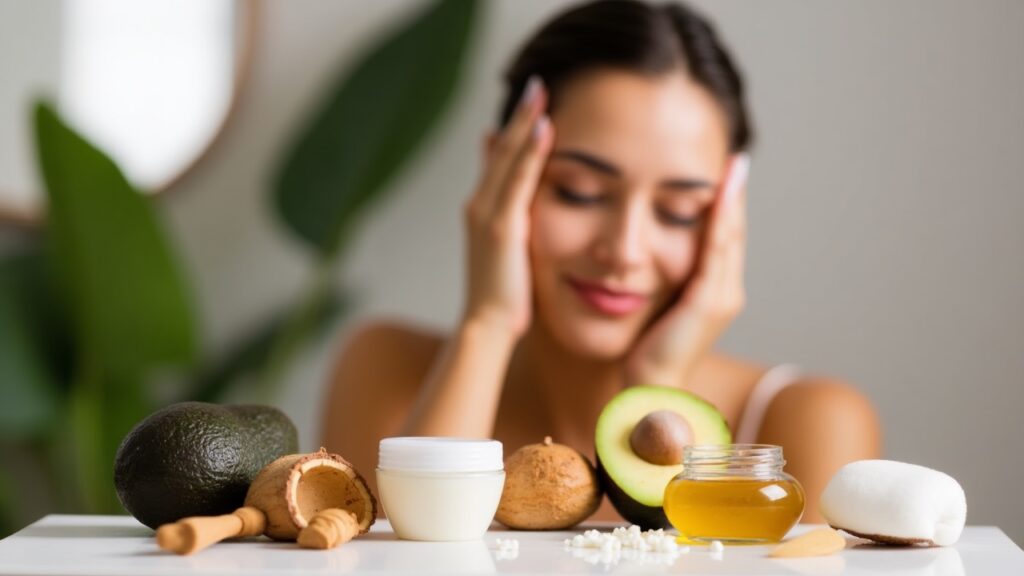
Avocados deserve their reputation as hair care superstars. Rich in vitamins, minerals, and natural oils, they deeply nourish without the heaviness of some commercial masks. Overripe avocados work perfectly for masks – a great way to avoid food waste while pampering your hair.
Simple recipes for different hair types
Creating effective masks doesn’t require complicated recipes or unusual ingredients. A basic moisturizing mask combines one mashed avocado, two tablespoons honey, and one tablespoon olive oil. This mixture suits most hair types, providing balanced nutrition and hydration. Apply to damp hair, leave for 20 minutes, then rinse thoroughly.
For oily hair, mix two tablespoons bentonite clay with enough apple cider vinegar to create a smooth paste. Add a few drops of tea tree oil for extra clarifying power. This mask removes buildup while balancing scalp oil production. Use plastic or wooden utensils when mixing clay masks, as metal can react with the clay.
Damaged hair responds well to a protein-rich mixture. Blend one egg, one tablespoon mayonnaise, and one teaspoon coconut oil. The combination provides intensive repair without overwhelming hair with too much protein. This mask works especially well for hair damaged by heat styling or chemical processing.
Those seeking volume can whip up a strengthening mask with surprising ingredients. Mix two tablespoons of rice water (from soaking rice), one tablespoon aloe vera gel, and a few drops of rosemary essential oil. This lightweight formula adds body without weighing down fine hair.
Safety considerations
While natural ingredients seem inherently safe, several precautions ensure positive experiences with DIY masks. Always perform a patch test before applying any new ingredient to your scalp, especially essential oils or acidic components like lemon juice. Wait 24 hours to check for reactions.
Food allergies translate to topical sensitivities. If you can’t eat something safely, don’t put it on your skin or hair. This rule particularly applies to common allergens like eggs, dairy, and nuts. Even without ingestion, allergic reactions can occur through skin contact.
Temperature awareness prevents accidents:
Hot ingredients: Let heated oils or honey cool before application
Cold sensitivity: Bring refrigerated ingredients to room temperature
Mixing temperatures: Never combine hot and cold ingredients rapidly
Scalp protection: Test temperature on your wrist first
Rinsing rules: Use cool water for egg or dairy-based masks
Essential oils require special caution. These concentrated plant extracts can cause burns or reactions when used improperly. Always dilute essential oils in carrier oils or other base ingredients, using just a few drops per mask. Pregnant women should avoid certain essential oils entirely.
Storage and shelf life
Fresh DIY masks generally don’t store well due to lack of preservatives. Most recipes should be mixed immediately before use, with leftovers discarded. However, some preparations can be made ahead with proper storage techniques.
Dry ingredients like clay, oatmeal, or powdered herbs can be pre-mixed and stored in airtight containers for several weeks. When ready to use, simply add wet ingredients to activate the mask. This approach saves time while maintaining ingredient freshness.
Oil-based masks without fresh ingredients can last up to a week when refrigerated in airtight containers. However, any mask containing eggs, dairy, or fresh fruits should be used immediately. The risk of bacterial growth outweighs any convenience of advance preparation.
Freeze individual portions of more stable masks in ice cube trays. Masks containing honey, oils, and aloe vera freeze reasonably well. Thaw one cube at a time for single-use treatments. This method works particularly well for those who want DIY benefits without frequent preparation time.
When to choose DIY vs. store-bought
DIY masks excel for those with sensitive scalps, specific allergies, or desires for complete ingredient control. They’re also ideal when you need a treatment immediately and have ingredients on hand. The customization possibilities are endless, allowing you to adjust recipes based on your hair’s changing needs.
Store-bought masks offer advantages DIY versions can’t match. Professional formulations include preservatives that ensure safety and stability. They also contain ingredients unavailable to home users, like specialized proteins or patented technologies. The convenience factor can’t be ignored – no mixing, measuring, or cleanup required.
Consider alternating between DIY and commercial masks for optimal results. Use DIY treatments for weekly maintenance and gentle care, reserving professional products for intensive monthly treatments. This balanced approach provides variety while addressing different aspects of hair health. Your budget also benefits from this combination strategy, as DIY masks cost mere pennies compared to high-end treatments.
Professional Hair Mask Treatments Worth Trying

While at-home treatments offer convenience and affordability, professional hair mask services provide expertise and access to exclusive formulations. Understanding when to splurge on salon treatments versus maintaining results at home helps you make informed decisions about your hair care investments.
Salon treatments vs. at-home options
Professional treatments offer several advantages over their at-home counterparts. Stylists assess your hair’s exact condition, customizing treatments to address multiple concerns simultaneously. They might layer different masks or combine treatments in ways that would be difficult to replicate at home.
Salon-exclusive products often contain higher concentrations of active ingredients than retail versions. Professional-grade keratin treatments, for example, use formulations that require expert application and specific processing techniques. These intensive treatments can produce results lasting months rather than days.
The application process itself differs significantly in salons. Stylists use techniques like steam treatments, infrared heat, or specialized massage methods that enhance product penetration. They ensure even distribution and optimal processing time, eliminating the guesswork involved in home application.
However, at-home treatments shouldn’t be dismissed. Regular maintenance between salon visits extends professional results while saving money. Many salons now offer take-home versions of their treatments, allowing you to benefit from professional formulations with DIY application.
Popular professional brands
Several professional brands have earned devoted followings for their exceptional mask treatments. Olaplex revolutionized hair care with its bond-building technology, offering both in-salon treatments and take-home options. Their masks actually repair molecular damage rather than simply coating hair with conditioning agents.
K18 represents another breakthrough in professional hair care. Their leave-in molecular repair mask works in just four minutes, using biomimetic peptides to repair damage. While pricey, many users find the results justify the cost, especially for severely compromised hair.
Brazilian Blowout and similar smoothing treatments remain popular for those seeking long-term frizz control. These professional services can keep hair smooth and manageable for months, though they require careful maintenance and specific aftercare products.
Smaller, specialized brands also deserve consideration. Many salons partner with local or boutique brands that offer unique formulations tailored to regional hair concerns. These hidden gems often provide exceptional results at more reasonable prices than internationally recognized names.
Cost considerations
Professional mask treatments range from $30 for basic conditioning services to several hundred dollars for intensive reconstruction treatments. Understanding what drives these costs helps you evaluate whether the investment makes sense for your situation.
Multi-step treatments naturally cost more due to time and product usage. A basic deep conditioning might take 30 minutes, while comprehensive restoration treatments can require two hours or more. The stylist’s expertise and time represent significant portions of the service cost.
Consider the longevity of results when evaluating prices. A $200 treatment that lasts three months might prove more economical than monthly $50 treatments. Factor in the reduced need for styling products and decreased styling time when calculating true value. Many women find professional treatments pay for themselves through simplified daily routines.
Package deals often provide better value than individual services. Many salons offer treatment series at discounted rates, encouraging regular maintenance while rewarding client loyalty. These packages typically include take-home products that extend results between visits.
How often to get professional treatments
Frequency depends on multiple factors including hair condition, lifestyle, and budget. Severely damaged hair might benefit from monthly professional treatments initially, tapering to quarterly maintenance once health improves. This aggressive approach jump-starts the restoration process.
Those with relatively healthy hair often find quarterly professional treatments sufficient. Timing these services with the seasons makes sense, as hair faces different challenges throughout the year. Summer treatments might focus on sun protection and moisture, while winter services address static and dryness.
Special occasions warrant consideration too. Many women schedule professional treatments before important events, ensuring their hair looks its absolute best. Wedding preparations often include a series of treatments leading up to the big day, creating optimal conditions for styling.
Your stylist can recommend an ideal schedule based on your specific needs. They’ll consider factors like:
Chemical services: How often you color or chemically treat your hair
Heat styling habits: Daily blow-drying requires more frequent treatments
Environmental exposure: Sun, chlorine, and pollution increase treatment needs
Hair goals: Growing out damage requires different timing than maintenance
Home care routine: Better daily care extends time between professional services
Maintaining results between sessions
The key to maximizing professional treatment value lies in proper home maintenance. Most salons recommend specific products designed to extend treatment results. While these products cost more than drugstore options, they’re formulated to work synergistically with professional services.
Adjust your styling routine to protect treatment benefits. This might mean reducing heat styling frequency, using lower temperatures, or investing in better heat protection products. Small changes in daily habits can dramatically extend treatment longevity.
Water quality significantly impacts how long treatments last. Hard water deposits minerals that can counteract treatment benefits. Installing a shower filter or using clarifying treatments helps maintain results. Some women find that simple changes like cooler water temperatures or silk pillowcases make noticeable differences.
Create a maintenance calendar to track treatment effects and plan future appointments. Note when benefits start fading and what factors might have accelerated this process. This information helps you and your stylist optimize treatment scheduling and adjust home care as needed. Regular communication with your salon ensures you’re getting maximum value from professional services while maintaining beautiful, healthy hair year-round.
Revitalize Your Hair Journey
Successfully rejuvenating your hair with masks requires understanding your specific needs and choosing the right treatments accordingly. Whether you opt for store-bought formulas, whip up DIY concoctions, or invest in professional services, consistency and proper technique make all the difference in achieving the lustrous, healthy hair you desire.
The path to beautiful hair isn’t complicated when you have the right knowledge. By selecting appropriate masks for your hair type, mastering application techniques, and maintaining a regular treatment schedule, you can transform damaged, lackluster strands into hair that radiates health and vitality. Remember that patience pays off – while some improvements appear immediately, the most dramatic transformations occur with dedicated care over time.
Frequently Asked Questions
Q: How do I know if I’m using too much hair mask?
A: Your hair will feel heavy, greasy, or limp even after thorough rinsing. You might also notice increased buildup or difficulty styling. Start with a quarter-sized amount and add more only if needed.
Q: Can I use a hair mask every day?
A: Daily use isn’t recommended for most hair types. This can lead to over-conditioning, making hair limp and potentially causing hygral fatigue. Stick to 1-2 times weekly for best results.
Q: Should I shampoo after using a hair mask?
A: No, shampooing after a mask removes the benefits you just applied. Always shampoo first, then apply your mask to clean, damp hair. Rinse thoroughly with cool water when done.
Q: What’s the difference between a hair mask and deep conditioner?
A: While terms are often used interchangeably, hair masks typically contain higher concentrations of active ingredients and require longer processing times. Deep conditioners fall somewhere between regular conditioners and intensive masks.
Q: Can hair masks fix split ends?
A: Hair masks can temporarily smooth split ends and prevent further splitting, but they cannot permanently repair already split hair. Regular trims remain the only way to eliminate split ends completely.
Q: Why does my hair feel worse after using a protein mask?
A: You might be experiencing protein overload. Your hair needs a balance of protein and moisture. Switch to moisturizing masks for a few weeks, then reintroduce protein treatments less frequently.
Q: Is it safe to sleep with a hair mask on?
A: Only use masks specifically designed for overnight use. Regular masks can over-moisturize hair or cause scalp irritation when left on too long. Always protect your pillow with a towel.
Q: How long before I see results from hair masks?
A: You’ll notice immediate improvements in texture and manageability, but significant changes in hair health typically take 4-6 weeks of consistent use. Severely damaged hair may need several months of regular treatments.