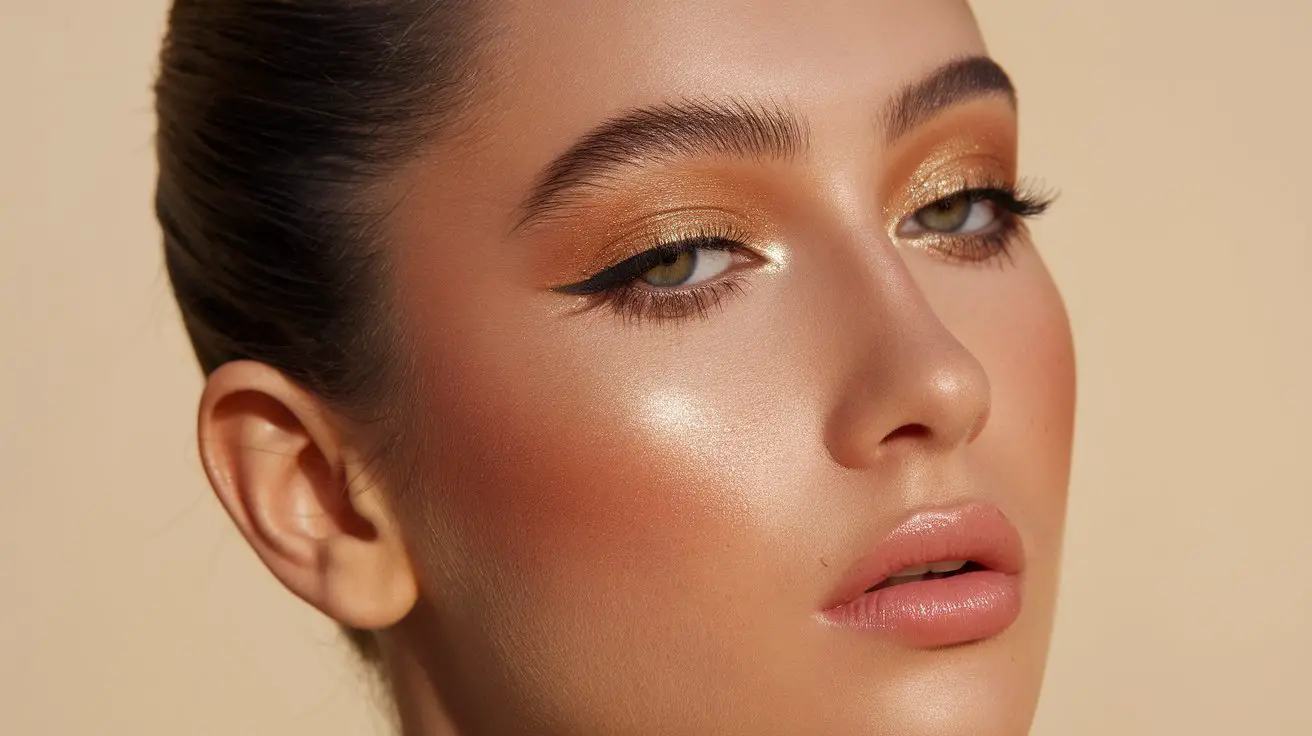
The airbrushed soft glam cat eye combines classic elegance with modern softness, creating a refined look that flatters every eye shape. This makeup technique transforms the traditional sharp cat eye into a beautifully diffused wing, perfect for both daily wear and special occasions. The result is a sophisticated yet approachable style that enhances natural eye features without appearing too dramatic.
Creating this eye makeup look requires specific techniques and the right selection of products. The key lies in choosing fine-quality brushes, blendable eyeshadows, and long-lasting eyeliners that work together to achieve that coveted airbrushed finish. Unlike traditional cat eye methods, this technique focuses on gradual building and careful blending to create seamless transitions between colors.
Below how to master this eye makeup technique. From selecting the proper tools to perfecting the wing shape and achieving that characteristic soft-focus effect, you’ll discover professional techniques to create this stunning look.
- What Makes an Airbrushed Cat Eye Different from Traditional Techniques?
- How Do You Prep Your Eyes for a Flawless Airbrushed Look?
- Master the Perfect Airbrushed Wing Technique
- Creating the Signature Soft Glam Effect
- Pro Tips for Long-Lasting Airbrushed Cat Eyes
- Perfect Your Airbrushed Look Every Time
- Frequently Asked Questions
What Makes an Airbrushed Cat Eye Different from Traditional Techniques?
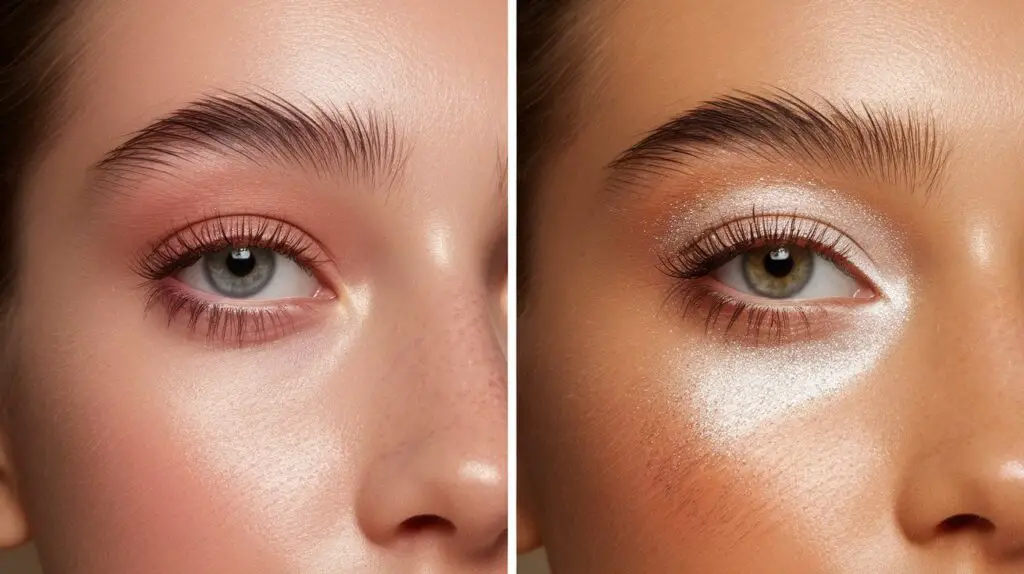
The airbrushed cat eye offers a modern spin on the classic winged liner, creating a softer, more diffused appearance that appears professionally done. This technique uses specific application methods to achieve a seamless blend between colors and lines, resulting in a sophisticated yet wearable look.
The Signature Characteristics of an Airbrushed Finish
The most notable feature of this style is its smooth, gradient-like appearance that mimics the effect of professional airbrush makeup. Unlike traditional sharp lines, this technique creates a soft-focus effect that appears to melt into the skin. The finish appears more refined and polished, with no harsh edges or visible demarcations.
What makes this finish so special? The secret lies in the layering process. Starting with a light application and gradually building intensity creates depth without heaviness. This method produces a dimensional effect that catches light beautifully and adds subtle definition to the eyes.
How Diffused Edges Create the Soft Glam Effect
The magic of this technique happens at the edges, where colors blend imperceptibly into each other. Think of it as creating a gentle fog rather than drawing sharp lines. The key is using circular motions with a fluffy brush to soften any harsh edges, creating that coveted airbrushed appearance.
Here’s what you need to achieve those perfectly diffused edges:
- A small, dense brush for initial color placement
- A clean, fluffy blending brush for softening edges
- Neutral transition shades in matte finishes
- Setting powder to prevent smudging
- High-quality eye primers for longevity
Differences in Application Methods and Tools
Traditional cat eye techniques typically rely on liquid liners and precise, steady hands. The airbrushed version requires a different approach, using eyeshadows and multiple brushes to create a gradient effect. This method proves more forgiving and allows for easier adjustments during application.
The application process focuses on building layers gradually rather than creating one bold line. You’ll need to work with both cream and powder products, using them strategically to achieve different levels of intensity throughout the look.
Understanding Color Gradients and Transitions
Creating smooth color transitions forms the foundation of this eye makeup style. Start with lighter shades near the inner corner, progressively moving to deeper tones toward the outer edge. This gradual shift in color intensity creates the illusion of depth and dimension.
The placement of each shade matters significantly. Position your darkest color at the outer corner, then blend inward with progressively lighter shades. This technique creates a natural gradient that enhances your eye shape while maintaining that characteristic soft finish.
Key Elements That Define the Airbrushed Look
The success of this eye makeup style depends on three main factors: product selection, tool choice, and application technique. Opt for finely-milled eyeshadows that blend easily and resist patchiness. Your brushes should include both precise and fluffy options for different stages of application.
The final look should appear effortless, as if the colors naturally fade into each other. Pay special attention to the wing’s shape, ensuring it complements your eye shape while maintaining that signature diffused edge that sets this style apart from traditional techniques.
How Do You Prep Your Eyes for a Flawless Airbrushed Look?
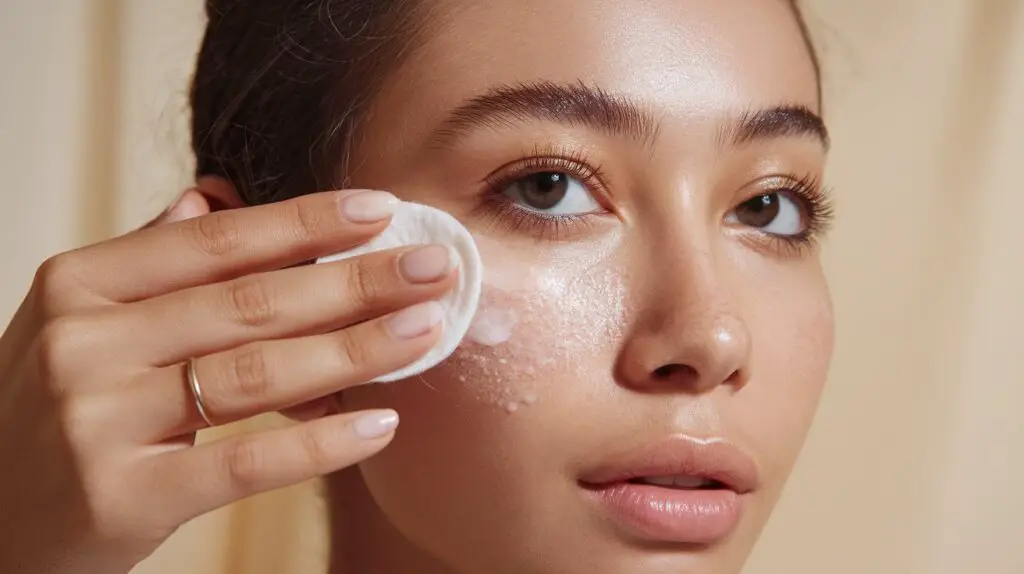
A well-prepped eye area serves as the foundation for any successful makeup application. The right preparation techniques can make the difference between makeup that fades quickly and a look that stays fresh throughout the day.
Proper Eye Area Cleansing Techniques
Clean skin creates the perfect starting point for flawless makeup application. Use a gentle, oil-free cleanser specifically formulated for the eye area. Massage the product in circular motions, working from the inner corner outward to remove any residual oils or products.
The temperature of your cleansing water matters more than you might think. Lukewarm water helps open the pores and remove impurities, while a final splash of cool water tightens the skin and reduces puffiness. Here are the essential steps for proper eye cleansing:
- Remove all traces of previous makeup with a dedicated remover
- Use gentle, circular motions with a soft cotton pad
- Avoid rubbing or pulling the delicate eye area
- Pat dry with a clean, soft towel
- Wait two minutes before applying any products
Strategic Concealer Application
The right concealer application creates an even base for eyeshadow and prevents creasing. Start with a small amount of product and build coverage gradually. A common mistake? Applying too much product at once, which can create texture and emphasize fine lines.
Color correction plays a vital role in concealing. Peach or orange-tinted concealers neutralize blue-purple undereye circles, while yellow-based ones work well for brownish discoloration. Apply color corrector first, then follow with your regular concealer.
Setting Products for Long-lasting Wear
The key to preventing eyeshadow from creasing lies in proper setting techniques. After concealer application, apply a thin layer of translucent powder using a small brush or powder puff. This creates a smooth surface for subsequent products.
A setting spray specifically designed for the eye area can provide additional longevity. Spray it onto a small brush rather than directly onto your face for more precise application and better control of the product amount.
Creating the Ideal Canvas Texture
The texture of your eye area affects how products blend and stay put. Hydration plays a crucial role – apply a lightweight eye cream and allow it to fully absorb before moving forward with makeup application. This step prevents products from pilling or separating on the skin.
Exfoliation should be gentle and infrequent around the eye area. Once a week, use a mild chemical exfoliant specifically formulated for this delicate zone. This helps remove dead skin cells that can cause makeup to appear patchy.
Essential Eye Primers and Bases
Eye primers create a barrier between your skin’s natural oils and your makeup. Choose a primer that matches your skin type – mattifying formulas work best for oily lids, while hydrating ones suit dry skin better.
The application method of your primer significantly impacts its effectiveness. Use your ring finger to pat (never rub) the product onto your lid. Start from the inner corner and work your way out, including the area under your brow bone.
Allow each layer of product to set completely before moving on to the next step. This patience pays off with smoother application and extended wear time of your final look.
Master the Perfect Airbrushed Wing Technique
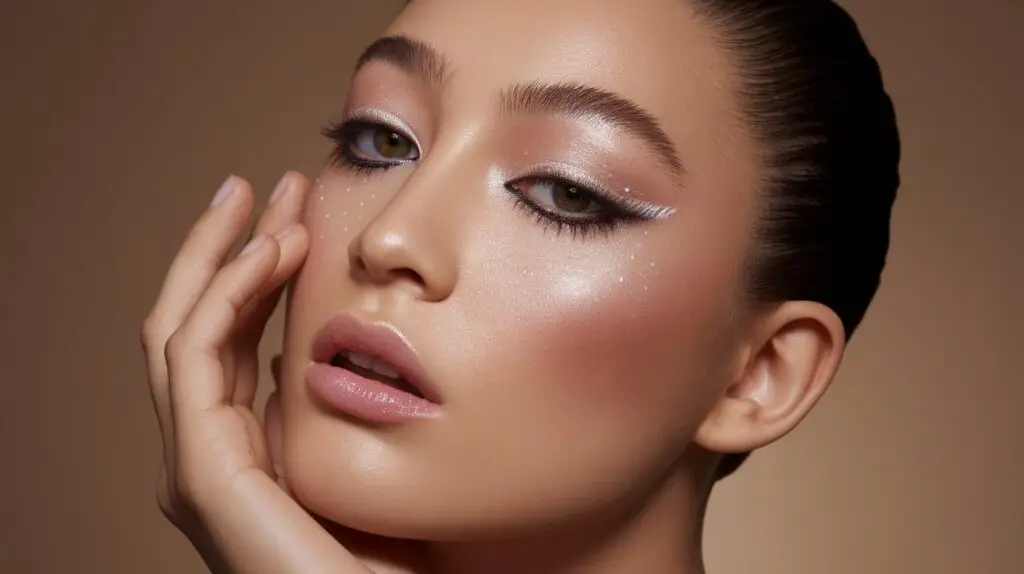
Creating a perfect wing starts with understanding your eye shape and working with your natural features. The airbrushed technique requires patience and specific steps to achieve that professional, diffused look.
Mapping Your Eye Shape for Optimal Placement
Your eye shape determines the most flattering wing angle and length. Take a close look at your eyes in good lighting and identify your natural eye line. Using a soft pencil, mark three key points: the outer corner of your eye, where you want the wing to end, and the highest point of your arch.
Follow these guidelines for precise wing mapping:
- Draw a dot at the outer corner of your eye
- Place another dot at a 45-degree angle from your lower lash line
- Mark a third dot slightly above your crease
- Connect these points with light, feathered strokes
- Adjust the angle based on your eye shape
Gradient Application Methods
Start with the lightest shade closest to your inner corner. Use a small, dense brush to apply the first layer of color, focusing on creating a smooth base. The gradient effect requires at least three complementary shades that blend seamlessly into each other.
Working with one eye at a time helps maintain control over the color intensity. Apply each shade in small circular motions, overlapping slightly with the previous color to create natural transitions. This technique prevents harsh lines and creates that signature airbrushed effect.
Blending Techniques for Seamless Edges
The secret to achieving perfectly blended edges lies in your tool selection and motion. Use a clean, fluffy brush specifically for blending – this brush should never have product on it. Work in small, circular movements along the edges of each color.
Take extra time blending where different shades meet. The goal is to create an imperceptible transition between colors. If you notice any harsh lines, use your clean blending brush to soften them immediately.
Building Intensity Gradually
Layer your products slowly to achieve the desired intensity. Begin with a light application and assess the color before adding more. This method prevents over-application and maintains the soft, airbrushed appearance.
The outer corner typically requires more product to create depth. Add small amounts of your darkest shade to this area, blending inward with decreasing pressure. This creates a natural gradient that enhances your eye shape.
Perfecting Symmetry Between Both Eyes
Creating identical wings on both eyes often proves challenging. Start by comparing the angle and length of each wing regularly throughout the application process. Step back from the mirror occasionally to check your progress from different angles.
If one wing appears slightly different, resist the urge to add more product immediately. Instead, use your clean blending brush to adjust the shape and intensity. Sometimes, removing a small amount of product creates better symmetry than adding more.
A steady hand produces the best results. Rest your elbow on a flat surface while applying and blending products. This simple trick helps maintain control and creates more precise lines.
Creating the Signature Soft Glam Effect
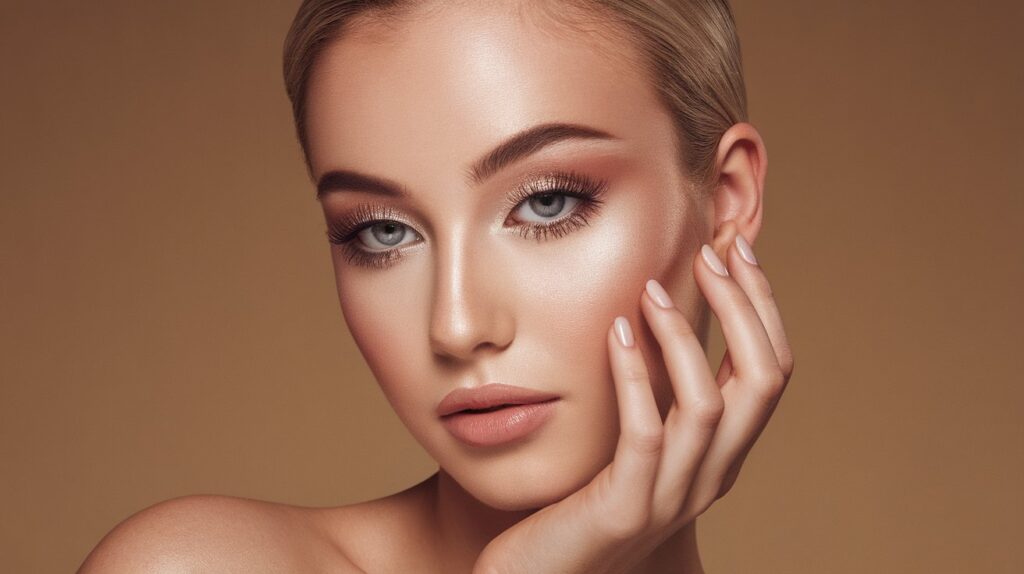
The soft glam effect creates a refined, polished appearance that looks effortless and sophisticated. This makeup style combines careful product selection with specific application techniques to achieve a seamless blend of colors and textures.
Selecting the Right Eyeshadow Textures
The foundation of a soft glam look starts with choosing the correct eyeshadow formulations. Powder shadows with a buttery texture blend more easily and create smoother transitions. Consider these essential texture characteristics for your eye makeup collection:
- Finely-milled powder shadows for base colors
- Creamy mattes for transition shades
- Soft-pressed pigments for intensity
- Buildable formulas for gradual application
- Silky shadows for easy blending
Transitional Shade Placement
Your transition shade serves as the bridge between lighter and darker colors. Apply this mid-tone color slightly above your crease, using windshield-wiper motions to distribute the product evenly. This creates a natural gradient that softens the overall look.
The placement of transition shades requires precision and patience. Start with a small amount of product on your brush, focusing the application on the outer third of your eye. Gradually work the color inward, using decreasing pressure as you move toward the inner corner.
Multiple transition shades can add depth to your look. Layer two or three complementary colors, starting with the lightest and building up to the darkest. This creates dimension without harsh lines or obvious color changes.
Techniques for Achieving a Diffused Outer Corner
Creating a soft, diffused outer corner requires specific brushing techniques. Use a small, dense brush to apply the darkest shade in a V-shape at the outer corner. Then, switch to a clean, fluffy brush to blend the edges in circular motions.
The key to achieving this effect lies in the pressure applied during blending. Start with firm pressure at the outer corner, gradually lightening your touch as you work the color outward. This creates a natural fade that appears airbrushed.
Balancing Matte and Shimmer Finishes
Combining different finishes adds dimension to your eye makeup. Place matte shades in the crease and outer corner to create depth, while using shimmers on the lid for subtle light reflection. This contrast helps define the eye shape without appearing too dramatic.
The ratio of matte to shimmer affects the overall sophistication of your look. Use approximately 70% matte shadows and 30% shimmer for the most flattering balance. Apply shimmer shadows with your fingertip for maximum color payoff and minimal fallout.
Methods for Eliminating Harsh Lines
Harsh lines can disrupt the soft glam aesthetic. Use a clean blending brush to soften any visible edges between colors. Work in small, circular motions along the borders where different shades meet.
If you notice any stubborn lines, apply a small amount of your base shadow near the harsh edge. This acts as an eraser, helping to blur the line and create a more seamless transition between colors.
The final step involves using a large, fluffy brush with no additional product. Sweep this brush over your entire eye area using light, circular motions. This final blending step unifies all the colors and creates that signature soft-focus effect.
Pro Tips for Long-Lasting Airbrushed Cat Eyes
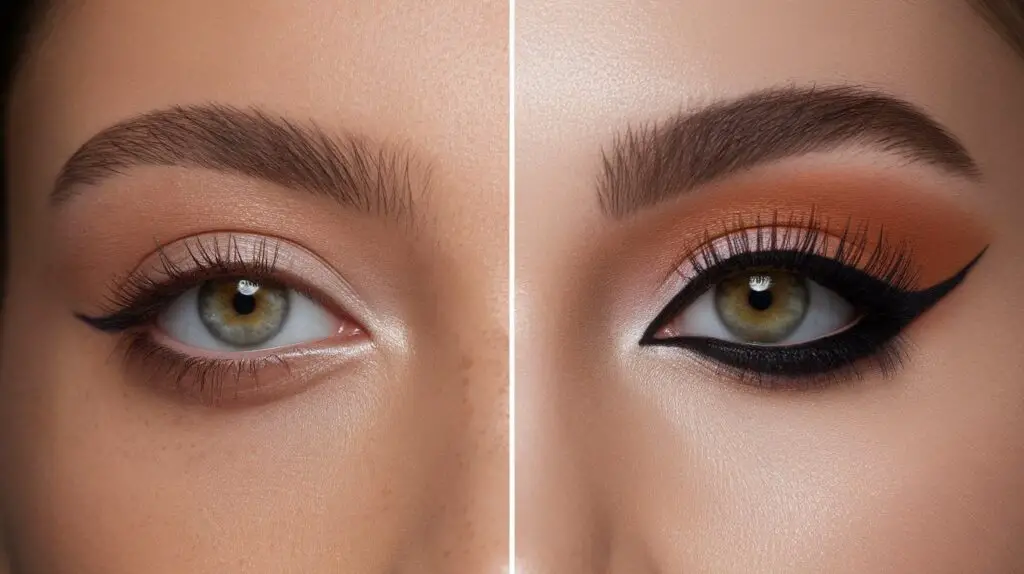
Creating long-lasting eye makeup requires specific techniques and the right product selection. A well-executed airbrushed cat eye can stay fresh and crisp throughout your busy day with these professional strategies.
Setting Techniques for Extended Wear
The secret to making your eye makeup last starts with proper setting methods. Apply a thin layer of translucent powder before any eye makeup application. This creates a smooth canvas and absorbs excess oils that could cause smudging. Follow these essential setting steps:
- Use oil-absorbing powder before shadow application
- Set cream products immediately with matching powder
- Apply setting spray in layers between products
- Focus on the outer corners where makeup tends to fade
- Use a pressing motion rather than sweeping motions
Touch-up Strategies Throughout the Day
Keep your look fresh with strategic touch-ups that won’t disturb your existing makeup. A small concealer brush and cotton swabs can help clean any fallout or smudges. For midday maintenance, blot excess oil instead of wiping, which can smear your carefully crafted lines.
Waterproof Product Recommendations
Selecting the right waterproof products makes a significant difference in longevity. High-quality waterproof eyeliners with a quick-drying formula prevent transfer and smudging. The Stila Stay All Day Waterproof Liquid Eyeliner proves particularly effective for creating precise lines that last.
Layering Methods for Intensity
Building intensity requires careful layering techniques. Start with cream products as your base, then layer powder products on top. This double-layer method creates depth and increases wear time significantly. Allow each layer to set for 30 seconds before applying the next.
For the most striking results, use complementary shades in your layering process. A darker powder shadow over a lighter cream base creates dimension while maintaining the soft, airbrushed effect.
Finishing Touches for a Polished Look
The final steps can make or break your long-lasting eye look. A setting spray specifically designed for the eye area helps lock everything in place. Hold the spray 8-10 inches from your face and apply in a cross pattern for even coverage.
Consider using a waterproof mascara as your last step. This prevents any moisture from your lashes affecting the rest of your eye makeup. The Mary Kay Waterproof Eyeliner can provide additional definition without compromising the overall look.
Your makeup kit should include specific tools for touch-ups throughout the day. Small cotton swabs, blotting papers, and a mini setting powder can help maintain the fresh appearance of your eye makeup for hours.
Perfect Your Airbrushed Look Every Time
The airbrushed cat eye technique offers a sophisticated approach to eye makeup that works for any occasion. With proper preparation, the right products, and careful application methods, you can create a flawless look that stays fresh from morning to night. The key lies in understanding your eye shape, selecting quality products, and mastering the essential techniques for seamless blending and precise wing creation.
Your makeup routine becomes more efficient with practice and attention to detail. Focus on building thin layers, taking time to blend properly, and setting each step thoroughly. This methodical approach results in a polished, professional appearance that enhances your natural features while maintaining that coveted soft-focus effect throughout the day.
Frequently Asked Questions
Q: What makes an airbrushed cat eye different from a regular cat eye?
A: An airbrushed cat eye features soft, diffused edges instead of sharp lines, created through gradual blending techniques and multiple shadow layers rather than liquid liner.
Q: How long should I wait between applying different eye makeup layers?
A: Wait approximately 30 seconds between layers to allow each product to set properly, preventing smudging and ensuring better longevity.
Q: What’s the best way to prevent creasing in the eye makeup?
A: Apply a thin layer of translucent powder before eyeshadow application, followed by an eye primer, and set each layer with corresponding powder products.
Q: How do I fix uneven wings without starting over?
A: Use a clean blending brush to adjust the shape and intensity, removing small amounts of product rather than adding more, which can create thickness inconsistencies.
Q: What’s the ideal ratio of matte to shimmer shadows for a soft glam look?
A: Use approximately 70% matte shadows and 30% shimmer to create dimension while maintaining a sophisticated appearance.
Q: How far should I hold the setting spray from my face?
A: Hold the setting spray 8-10 inches away from your face and apply in a cross pattern for even coverage.
Q: What’s the best method for cleaning up fallout without ruining the look?
A: Use a small concealer brush or cotton swab to precisely remove fallout, and always blot instead of wiping to prevent smearing.
Q: How do I maintain the airbrushed effect throughout the day?
A: Carry blotting papers, a mini setting powder, and cotton swabs for touch-ups, focusing on absorbing oil rather than adding more product.

