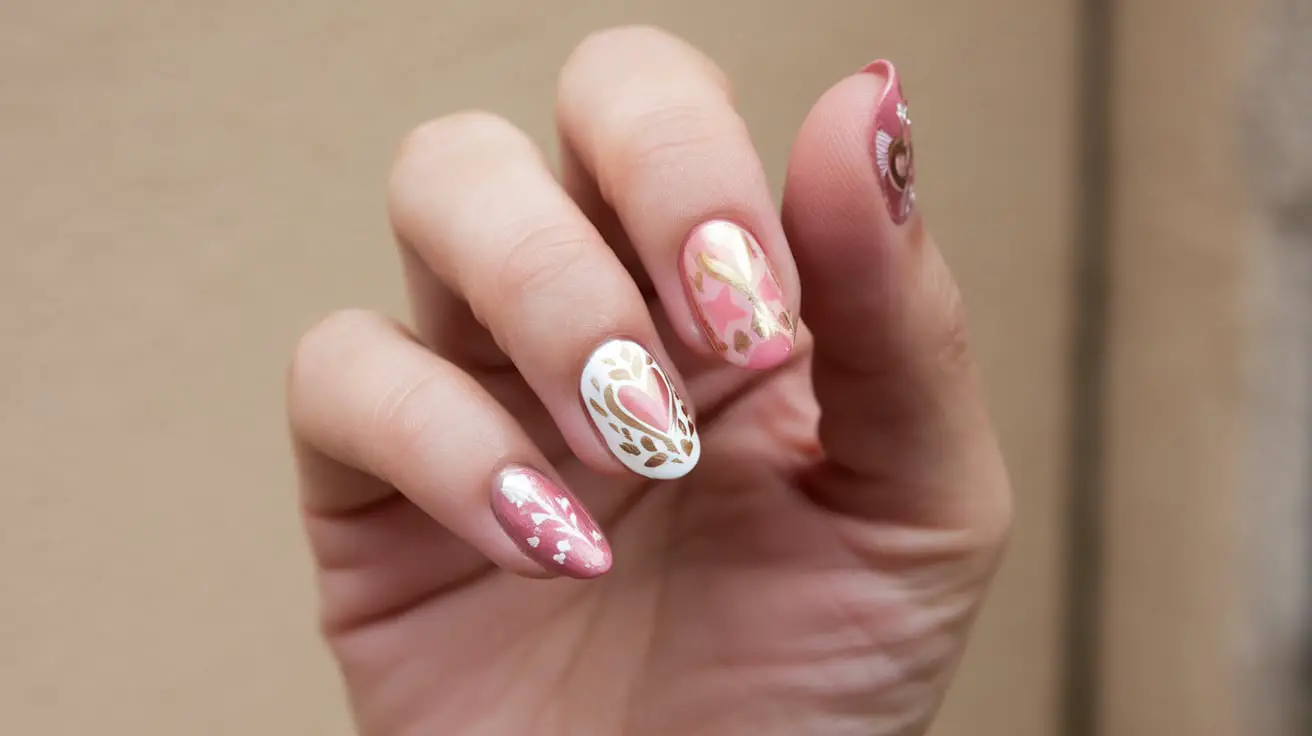
Nail art doesn’t have to be complicated or time-consuming. In fact, creating stunning nail designs can be quick and easy, perfect for women with busy schedules or those new to DIY manicures. These simple techniques allow you to express your style without spending hours at a salon or struggling with intricate patterns.
DIY nail designs offer numerous benefits. They save money, provide a creative outlet, and allow for endless customization. Plus, the satisfaction of sporting a self-made manicure is unmatched. With practice, you’ll develop skills that rival professional nail artists, all from the comfort of your home.
Below seven easy nail ideas that take less than 10 minutes to create. We’ll cover essential tools, the best polish colors for quick designs, and simple techniques like French manicures and geometric patterns. You’ll also learn how to apply glitter accents and nail art stickers efficiently.
- What are the best nail polish colors for quick designs?
- How can you create a French manicure in under 10 minutes?
- What are some simple geometric nail art ideas?
- How to achieve a glitter accent nail quickly?
- What are the easiest ways to add nail art stickers?
- Sparkling Tips for Swift Nail Transformations
- Frequently Asked Questions
What are the best nail polish colors for quick designs?
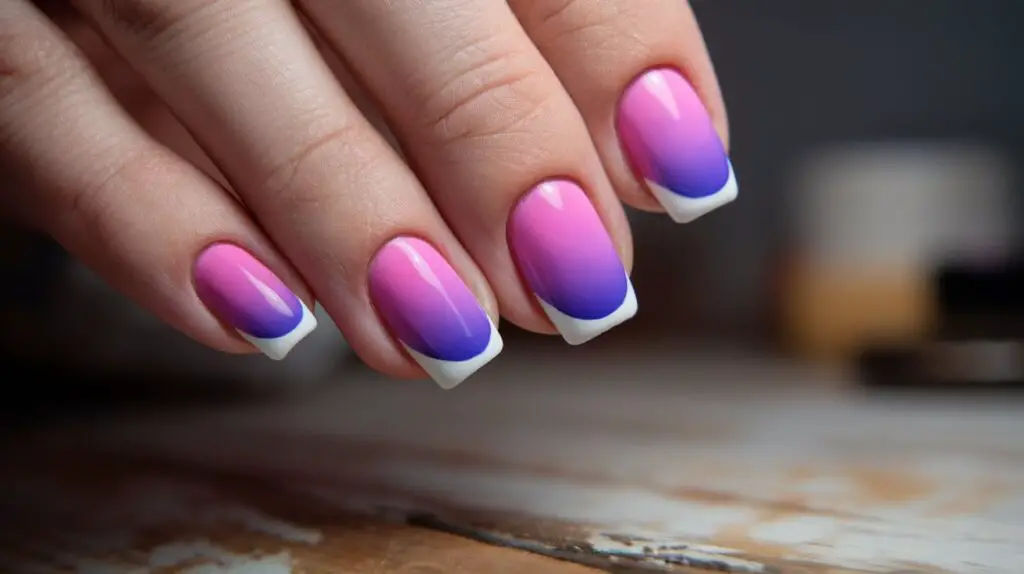
Choosing the right nail polish colors can make or break your quick nail design. The perfect shade not only complements your style but also enhances the overall look of your manicure. Let’s explore some of the best nail polish colors that work wonderfully for speedy nail art creations.
Versatile neutral shades
Neutral colors are a go-to option for many women seeking a polished look in minutes. These shades are easy to work with and pair well with various outfits and occasions. Beige, taupe, and light gray are excellent choices for a sophisticated appearance. They also serve as an ideal base for more intricate designs if you decide to add some flair later.
Have you ever wondered why neutral shades are so popular? The answer lies in their versatility. These colors can transition seamlessly from day to night, making them perfect for busy women who need their manicure to last through various activities.
Bold and vibrant hues
For those who prefer to make a statement with their nails, bold and vibrant colors are the way to go. These eye-catching shades can create a stunning look with minimal effort. Consider opting for:
- Electric blue
- Neon pink
- Sunshine yellow
- Emerald green
- Vibrant orange
These colors are perfect for summer or when you want to add a pop of color to your outfit. Remember, a single coat of a bright shade can instantly elevate your look without requiring complex nail art techniques.
Metallic and glitter polishes
Metallic and glitter polishes are secret weapons for creating quick yet impressive nail designs. These shades add instant glamour and can make your nails look like you spent hours at a salon. Gold, silver, and rose gold metallics are particularly versatile and can complement a wide range of skin tones.
Glitter polishes, on the other hand, are perfect for adding sparkle to your nails in seconds. They can be used as an accent on one or two nails or applied to all nails for a dazzling effect. The best part? Any minor imperfections in application are often masked by the glitter, making these polishes very forgiving for DIY manicures.
Classic red and pink options
Red and pink nail polishes are timeless choices that never go out of style. These classic colors can instantly add a touch of elegance to your nails. A bright red polish can make a bold statement, while a soft pink offers a more subtle, feminine look.
Why are these colors so popular? Red nails exude confidence and sophistication, while pink shades are often associated with femininity and grace. Both colors work well for various occasions, from casual outings to formal events.
Seasonal color trends
Staying up-to-date with seasonal color trends can help you keep your nail game fresh and exciting. Spring often brings pastel shades like lavender and mint green. Summer calls for bright, tropical hues such as coral and turquoise. Fall is perfect for rich, warm tones like burgundy and deep orange, while winter often features deep blues and forest greens.
Incorporating these seasonal trends into your quick nail designs can help you stay fashionable without spending too much time on your manicure. Remember, you don’t need to follow every trend – choose the colors that resonate with your personal style and make you feel confident.
When selecting nail polish colors for quick designs, consider your skin tone, the occasion, and your personal preferences. Don’t be afraid to experiment with different shades and finishes. The key is to find colors that make you feel good and are easy to apply.
Lastly, invest in high-quality nail polishes. They often have better coverage, dry faster, and last longer, which is crucial when you’re aiming for quick and easy nail designs. With the right colors in your collection, you’ll be ready to create stunning nail art in no time.
How can you create a French manicure in under 10 minutes?
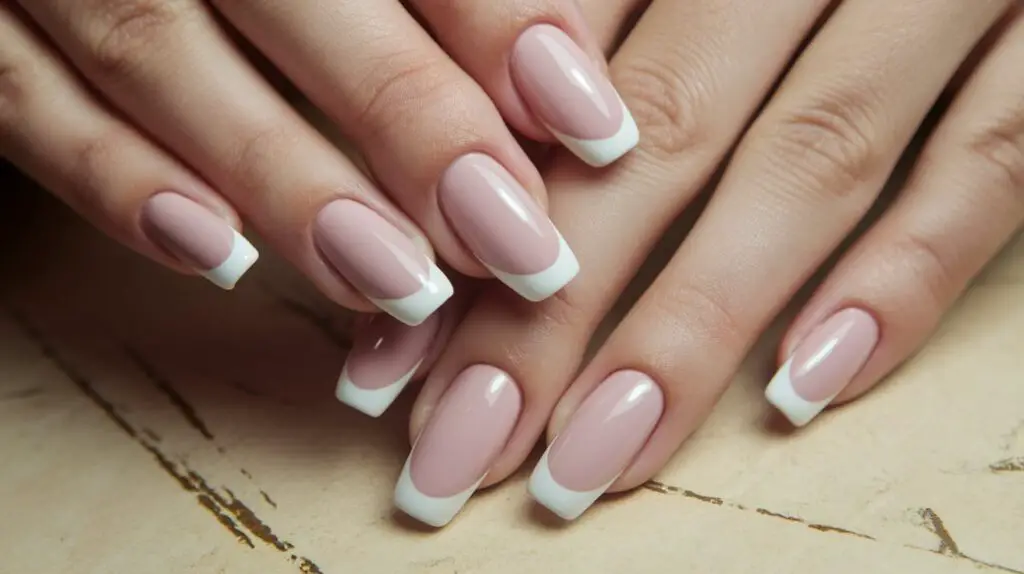
The French manicure is a timeless classic that exudes elegance and sophistication. You might think it requires a professional touch, but with a few simple tricks, you can create this look at home in under 10 minutes. Let’s explore how to achieve a flawless French manicure quickly and easily.
Choosing the right base color
Your base color sets the foundation for your French manicure. Traditionally, a pale pink or nude shade is used to mimic the natural color of your nails. However, don’t be afraid to experiment with different hues to suit your style or the occasion.
For a quick application, opt for a sheer polish that doesn’t require multiple coats. This saves time and reduces the risk of smudges. If you’re in a hurry, you can even skip the base color entirely and work directly on your natural nails for an ultra-fast French look.
Mastering the thin French tip technique
The signature white tip is what makes a French manicure stand out. But how can you create that perfect line without spending ages on it? Here’s a quick method:
- Use a white nail art pen or a thin brush dipped in white polish
- Start from one corner of your nail and draw a curved line to the other corner
- If you make a mistake, quickly wipe it off with a small brush dipped in nail polish remover
- Practice on a piece of paper first to get comfortable with the motion
Remember, perfection isn’t necessary. Slight imperfections can add character to your manicure and often go unnoticed.
Using nail tape for precision
For those who find freehand techniques challenging, nail tape is a game-changer. This thin, adhesive tape helps create crisp lines with minimal effort. Here’s how to use it:
- Apply your base color and let it dry completely
- Place the nail tape across your nail tip, leaving the desired amount of nail exposed
- Paint the exposed tip with white polish
- Carefully remove the tape before the polish dries
- Clean up any edges with a small brush dipped in nail polish remover
This method can significantly reduce the time spent on each nail while giving you professional-looking results.
Quick-dry topcoat application
A fast-drying topcoat is crucial for a speedy French manicure. It not only seals your design but also helps prevent smudges and chips. When applying the topcoat, use long, smooth strokes and cover the entire nail, including the tip. This helps blend the white tip with the base color for a seamless finish.
Some quick-dry topcoats can dry your nails in as little as 60 seconds. Look for products that promise rapid drying times to cut down on your overall manicure duration.
Tips for a long-lasting French manicure
Creating a French manicure quickly is great, but you also want it to last. Here are some tips to extend the life of your speedy creation:
- Start with clean, oil-free nails to help the polish adhere better
- Use a base coat to protect your nails and prevent staining
- Apply thin layers of polish, allowing each to dry slightly before the next
- Seal the free edge of your nails with topcoat to prevent chipping
- Reapply topcoat every few days to refresh the shine and protection
By following these steps, your quick French manicure can look fresh for up to a week or more.
Have you ever wondered why French manicures have remained popular for so long? The answer lies in their versatility. This style complements any outfit or occasion, from casual everyday wear to formal events. It’s a go-to choice for many women who want a polished look without bold colors or intricate designs.
With practice, you’ll find that creating a French manicure in under 10 minutes becomes second nature. The key is to find the techniques that work best for you and your schedule. Whether you’re preparing for a last-minute event or just want to refresh your nails quickly, these tips will help you achieve a classic, elegant look in no time.
What are some simple geometric nail art ideas?
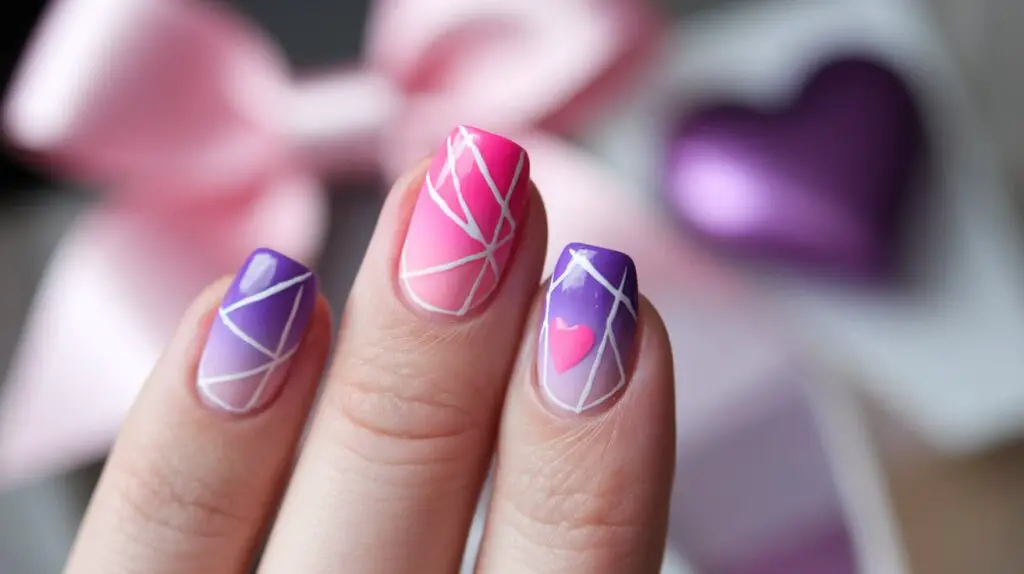
Geometric nail art offers a modern and stylish way to decorate your nails without spending hours on intricate designs. These simple patterns can be created quickly, making them perfect for busy women who want to add a touch of creativity to their look. Let’s explore some easy geometric nail art ideas that you can master in no time.
Minimalist line designs
Straight lines are the foundation of geometric nail art. You can create stunning designs using just a few well-placed lines. Start with a base color of your choice, then use a thin brush or nail art pen to draw lines across your nails. Experiment with vertical, horizontal, or diagonal lines to find what suits you best.
Try this simple technique: paint a single line diagonally across each nail. This asymmetrical look is both eye-catching and easy to achieve. For a more complex design, intersect two or three lines to create interesting shapes.
Easy triangle patterns
Triangles are versatile shapes that can create various looks. You can make them point up, down, or sideways for different effects. Here’s a quick way to create triangle nail art:
- Paint your nails with a base color
- Use tape to create a triangle shape on your nail
- Paint over the exposed area with a contrasting color
- Remove the tape before the polish dries
For a more playful look, try creating multiple small triangles at the base of your nail, gradually decreasing in size as they move towards the tip.
Quick dot arrangements
Dots are perhaps the easiest geometric element to create, and they can be arranged in countless ways. You don’t need any special tools – the end of a bobby pin or toothpick works perfectly for creating dots.
Why not try a polka dot gradient? Start with a few dots at the base of your nail, then gradually space them out as you move towards the tip. This creates an illusion of fading that’s visually interesting and simple to execute.
Simple stripe combinations
Stripes can be combined in various ways to create geometric patterns. You can use thin or thick stripes, place them vertically, horizontally, or diagonally. The key is to keep it simple and clean.
One easy idea is to create a chevron pattern:
- Paint your nails with a base color
- Once dry, place two pieces of tape in a V-shape on your nail
- Paint over the exposed area with a different color
- Carefully remove the tape before the polish dries
This creates a sharp, modern look that’s surprisingly easy to achieve.
Two-tone color blocking techniques
Color blocking is a fantastic way to create geometric designs with minimal effort. This technique involves using two contrasting colors to create bold, graphic shapes on your nails.
A simple yet effective color blocking idea is the half-and-half nail. Paint half of your nail one color and the other half a contrasting color. You can do this vertically, horizontally, or diagonally. For added interest, try using a metallic shade as one of your colors.
Another option is to create a frame around your nail. Paint your entire nail one color, then use a contrasting shade to create a thin border around the edges of your nail. This looks particularly striking with dark and light color combinations.
Have you ever wondered how to make your geometric nail art last longer? The secret lies in the preparation and finishing touches. Always start with clean, oil-free nails and use a good base coat. After creating your design, seal it with a high-quality top coat to prevent chipping and extend the life of your manicure.
Remember, practice makes perfect. Don’t be discouraged if your first attempts aren’t flawless. With time, you’ll develop steady hands and create crisp, clean lines effortlessly. The beauty of geometric nail art is its forgiving nature – slight imperfections often add character to the overall design.
Geometric nail art allows for endless creativity. Mix and match these ideas to create your own unique designs. You might combine dots with stripes, or triangles with color blocking. The possibilities are limitless, and the best part is that these designs can be created quickly, fitting perfectly into your busy schedule.
How to achieve a glitter accent nail quickly?
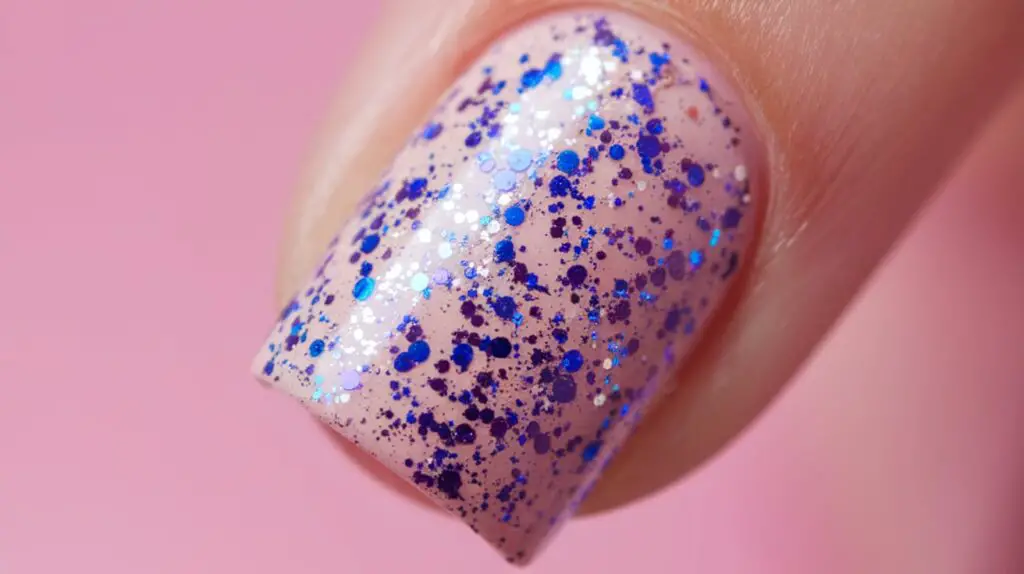
Glitter accent nails add a touch of sparkle to your manicure without overwhelming your entire look. This quick and easy technique can elevate your nail game in minutes. Let’s explore how to achieve this eye-catching effect with minimal effort.
Selecting the perfect glitter polish
The key to a stunning glitter accent nail lies in choosing the right polish. Opt for a formula with a clear base and densely packed glitter particles. This allows for better coverage and a more intense sparkle. Consider the size of the glitter flakes as well – larger chunks create a bolder look, while fine glitter offers a more subtle shimmer.
Some top picks for glitter polishes include:
- Olive and June’s “Exclamation Point” for a dazzling silver
- Zoya’s “Nahla” for a warm gold sparkle
- NAILS INC.’s “Get Out of My Space” for a holographic effect
Applying a glitter gradient effect
Want to add dimension to your accent nail? Try a glitter gradient. Start by applying a base color to your nail. Once dry, dab a small amount of glitter polish at the tip of your nail. Using a makeup sponge, gently pat the glitter towards the base of your nail, gradually decreasing the intensity as you go. This creates a beautiful fade effect that catches the light beautifully.
Creating a glitter French tip
For a modern twist on the classic French manicure, why not incorporate glitter? Paint your entire nail with a neutral shade and allow it to dry completely. Then, using a thin brush or the polish applicator, carefully apply a line of glitter polish along the tip of your nail. This technique works particularly well with chunky glitters for added impact.
Mastering the glitter ombre look
The glitter ombre is a step up from the gradient effect, offering a more dramatic transition. Begin with a light base color on your entire nail. Next, apply your chosen glitter polish from the tip of your nail, covering about a third of the surface. Use a small brush to blend the glitter upwards, creating a seamless fade into the base color. This technique requires a bit more patience but yields stunning results.
How do you prevent the glitter from looking patchy? The secret is in the application technique. Instead of brushing the glitter on, use a dabbing motion to deposit the sparkles evenly across the nail.
Quick cleanup techniques for glitter polish
Glitter can be notoriously difficult to remove, but there are ways to make the process easier. Before you start painting, apply a thin layer of school glue around your cuticles. Once your manicure is complete and dry, simply peel off the glue to remove any stray glitter.
Another helpful tip: use a lint roller to pick up loose glitter from your skin and work surface. This saves time and prevents sparkles from spreading to unwanted areas.
For removing glitter polish from your nails, try the foil method:
- Soak a cotton ball in nail polish remover
- Place it on your nail
- Wrap your fingertip in aluminum foil
- Wait 5-10 minutes
- Slide the foil and cotton ball off your nail, taking the glitter with it
This technique softens the polish, making it easier to wipe away without excessive scrubbing.
Glitter accent nails offer a quick way to add pizzazz to your manicure. Whether you choose a full glitter nail, a gradient effect, or a sparkling French tip, this technique allows you to express your style efficiently. With these tips and tricks, you can create eye-catching designs in no time, perfect for special occasions or everyday glamour.
What are the easiest ways to add nail art stickers?
Nail art stickers offer a quick and easy way to elevate your manicure without the need for intricate painting skills. These adhesive designs can transform your nails in minutes, giving you a salon-worthy look from the comfort of your home. Let’s explore the simplest methods to add these decorative elements to your nails.
Choosing the right nail stickers
The first step in creating stunning nail art is selecting the perfect stickers. Consider your personal style, the occasion, and your nail size when making your choice. Nail stickers come in various forms:
- Plain stickers with adhesive backing
- Lace nail art stickers
- 3D nail stickers
- Water transfer decals
- Full nail wraps
For beginners, opt for simple designs that are easy to apply. As you gain confidence, you can experiment with more complex patterns and textures.
Proper nail preparation for sticker application
Before applying nail stickers, it’s crucial to prepare your nails properly. This step ensures better adhesion and longevity of your nail art. Start by cleaning your nails thoroughly, removing any old polish or oils. Gently push back your cuticles and shape your nails as desired.
Next, apply a base coat to protect your natural nails and create a smooth surface for the stickers. Allow the base coat to dry completely before moving on to the next step.
Positioning and applying stickers efficiently
Now comes the fun part – applying the stickers! Begin by carefully peeling the sticker from its backing. If you’re having trouble, use tweezers for more precision. Hold the sticker with tweezers and position it on your nail, starting from the cuticle and moving towards the tip.
Once you’re happy with the placement, gently press down on the sticker, smoothing out any air bubbles or wrinkles. Work from the center outwards to ensure even application. For larger stickers or full nail wraps, you may need to trim the excess with small scissors or a nail file.
Sealing stickers with a topcoat
To make your nail art last longer, it’s essential to seal the stickers with a topcoat. This step not only protects your design but also gives your nails a glossy, professional finish. Apply a thin layer of topcoat, being careful not to drag the brush over the edges of the stickers, which could cause them to lift.
For 3D stickers or those with textured elements, you might want to apply the topcoat around the sticker rather than directly over it to preserve its dimensional effect.
Removing nail art stickers without damage
When it’s time to change your nail art, removing the stickers properly is key to maintaining healthy nails. Here’s a gentle method to take off your nail stickers:
- Apply cuticle oil around your nails to soften the adhesive.
- Soak your nails in warm, soapy water for 5-10 minutes.
- Gently lift the edge of the sticker with an orange stick or cuticle pusher.
- Slowly peel off the sticker, applying more oil if needed.
- If any residue remains, use a cotton pad soaked in nail polish remover to clean it off.
By following these steps, you can easily remove your nail art stickers without damaging your natural nails.
Nail art stickers provide an accessible way to express your creativity and style through your manicure. With a little practice, you’ll be able to apply them quickly and effortlessly, giving you the freedom to change up your nail look whenever the mood strikes. Whether you prefer subtle accents or bold, full-nail designs, there’s a nail art sticker out there to suit your taste and skill level.
Sparkling Tips for Swift Nail Transformations
Nail art stickers and quick design techniques offer women a world of creative possibilities for their manicures. From geometric patterns to glitter accents, these methods allow for stunning results without the need for advanced skills or hours of effort. By mastering simple techniques like French tips, color blocking, and sticker application, you can elevate your nail game in minutes.
The beauty of these quick nail ideas lies in their versatility and accessibility. Whether you’re preparing for a special event or simply want to refresh your everyday look, these techniques can be adapted to suit any style or occasion. With practice, you’ll develop a repertoire of go-to designs that you can execute swiftly and confidently, allowing you to express your personality through your nails without sacrificing precious time in your busy schedule.
Frequently Asked Questions
Q: What are some quick and easy nail art ideas that take less than 10 minutes?
A: Some quick and easy nail art ideas include French manicures, geometric patterns, glitter accent nails, and using nail art stickers. These can all be achieved in under 10 minutes with a little practice.
Q: How can I create a French manicure quickly?
A: To create a quick French manicure, use nail tape to create a clean line, paint the tip with white polish, and remove the tape before the polish dries. Finish with a fast-drying top coat.
Q: What’s the easiest way to apply glitter polish for an accent nail?
A: The easiest way to apply glitter polish for an accent nail is to dab the polish onto the nail rather than brushing it. This ensures even coverage and a more intense sparkle.
Q: How do I choose the right nail stickers?
A: Choose nail stickers based on your personal style, the occasion, and your nail size. For beginners, opt for simple designs that are easy to apply. As you gain confidence, you can experiment with more complex patterns.
Q: What’s the best way to remove glitter polish?
A: The best way to remove glitter polish is using the foil method. Soak a cotton ball in nail polish remover, place it on your nail, wrap your fingertip in aluminum foil, wait 5-10 minutes, then slide the foil and cotton ball off your nail.
Q: How can I make my nail art last longer?
A: To make your nail art last longer, always start with clean, oil-free nails, use a base coat, apply thin layers of polish, and seal your design with a top coat. Reapply the top coat every few days to refresh the shine and protection.
Q: What are some simple geometric nail art designs I can try?
A: Simple geometric nail art designs include single diagonal lines, intersecting lines to create shapes, triangles using tape as a guide, and polka dot gradients using a dotting tool or bobby pin.
Q: How do I remove nail art stickers without damaging my nails?
A: To remove nail art stickers without damage, apply cuticle oil around your nails, soak them in warm soapy water for 5-10 minutes, then gently lift the edge of the sticker with an orange stick. Slowly peel off the sticker, applying more oil if needed.

