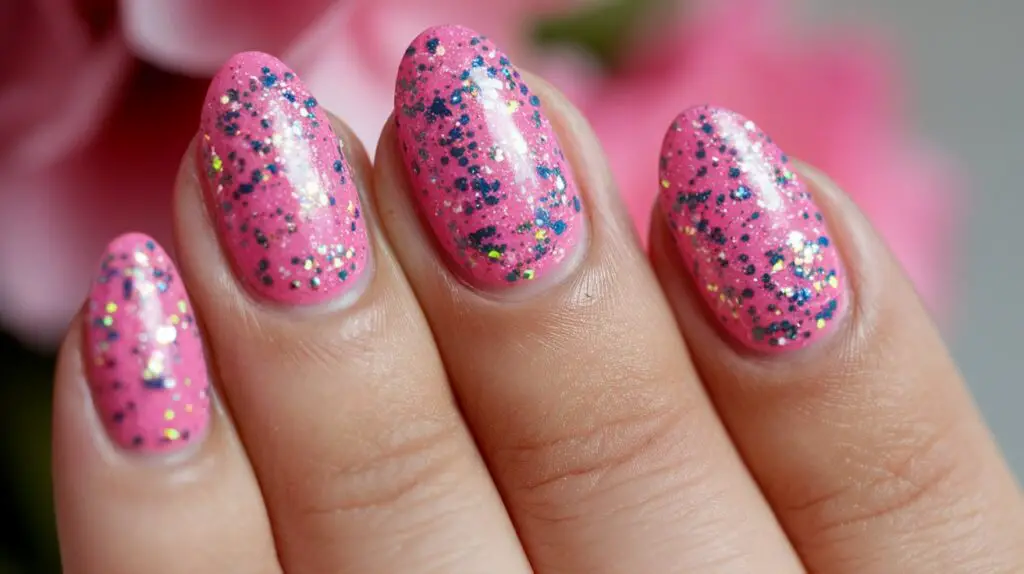
Pink glitter nails have become a go-to choice for women who want their manicure to sparkle with personality. This shimmering style combines the softness of pink with the eye-catching brilliance of glitter, creating a look that works for everything from casual weekends to special celebrations. Whether you prefer subtle shimmer or bold sparkle, these nail designs offer endless possibilities for expressing your personal style.
The beauty of this nail trend lies in its versatility. You can choose from countless shades ranging from barely-there blush to vibrant fuchsia, while glitter options span from fine dust to chunky sequins. Different application techniques create completely different effects, allowing you to customize your manicure to match any outfit or occasion. The result is always a polished look that catches light beautifully and adds instant glamour to your hands.
In the following sections, we’ll share five stunning nail designs that showcase the best ways to wear this dazzling combination. From classic French tips with a glittery twist to bold geometric patterns and gradient effects, you’ll discover techniques that suit every skill level and style preference. Each design offers its own unique take on this sparkling trend, giving you plenty of inspiration for your next manicure. Keep reading to find the perfect pink glitter look that speaks to you.
Classic Pink Glitter French Tips
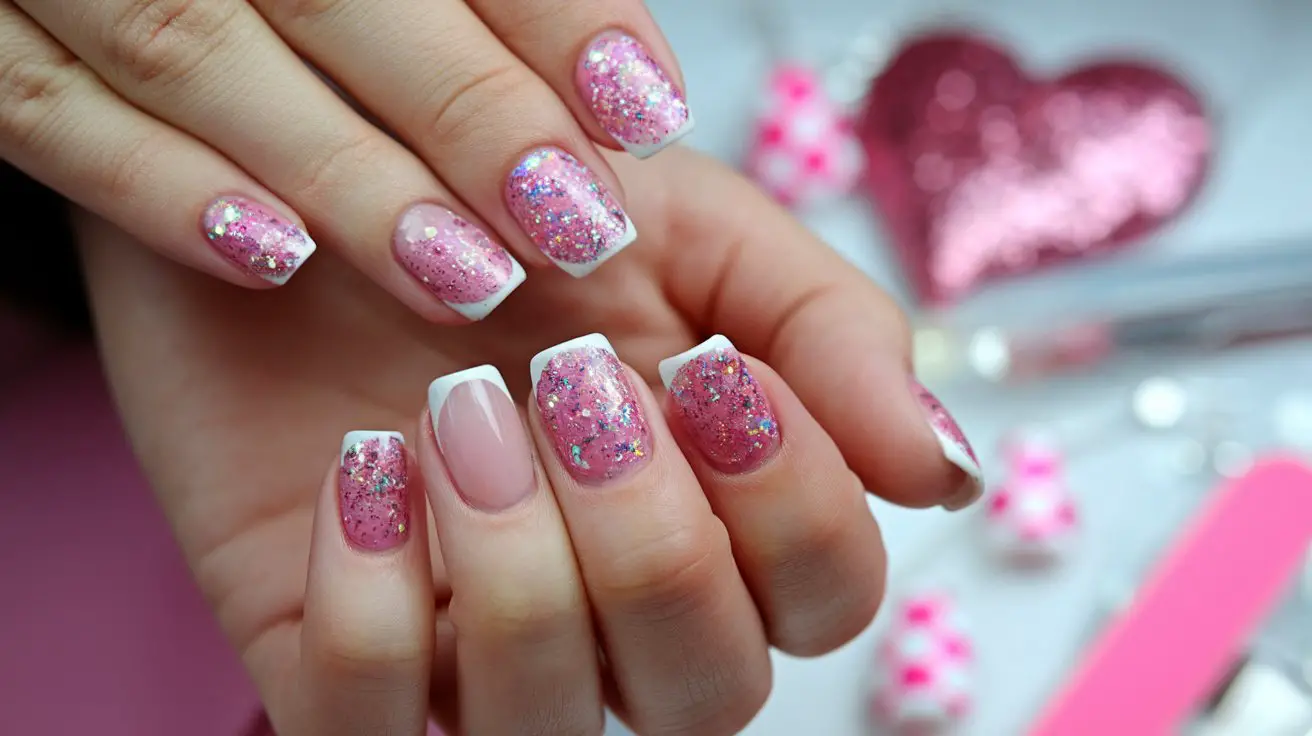
Pink glitter French tips offer a fresh update to the traditional French manicure that women have loved for decades. This design maintains the elegance of the classic style while adding modern sparkle that transforms your nails into miniature works of art. The combination creates a sophisticated look that transitions seamlessly from office meetings to evening events, making it one of the most practical nail designs you can choose.
How to achieve the perfect glitter tip placement
Getting the placement right makes all the difference in creating professional-looking French tips at home. Start by applying a clear base coat to protect your natural nails and create a smooth surface. Once dry, use nail guides or tape to mark where you want the tips to begin – typically following the natural white portion of your nail creates the most flattering proportion.
The key to flawless application lies in patience and thin layers. Apply your chosen pink glitter polish in gentle strokes, starting from one side of the nail and sweeping across to the other. Build the intensity gradually with two to three thin coats rather than attempting full coverage in one thick application. This technique prevents pooling and creates an even distribution of sparkle.
Which pink glitter shades work best for French tips
Rose gold glitter creates an especially luxurious effect that complements all skin tones beautifully. This warm-toned option adds richness without overwhelming the natural nail bed. For a more subtle approach, choose fine champagne-pink glitter that catches light delicately.
Cooler pink tones like ballet slipper pink mixed with silver glitter suit those who prefer a contemporary twist. These shades create striking contrast against the natural nail while maintaining sophistication. Hot pink glitter works wonderfully for women who want their French tips to make a bold statement – perfect for summer events or when you simply want your nails to be conversation starters.
What base colors complement pink glitter tips
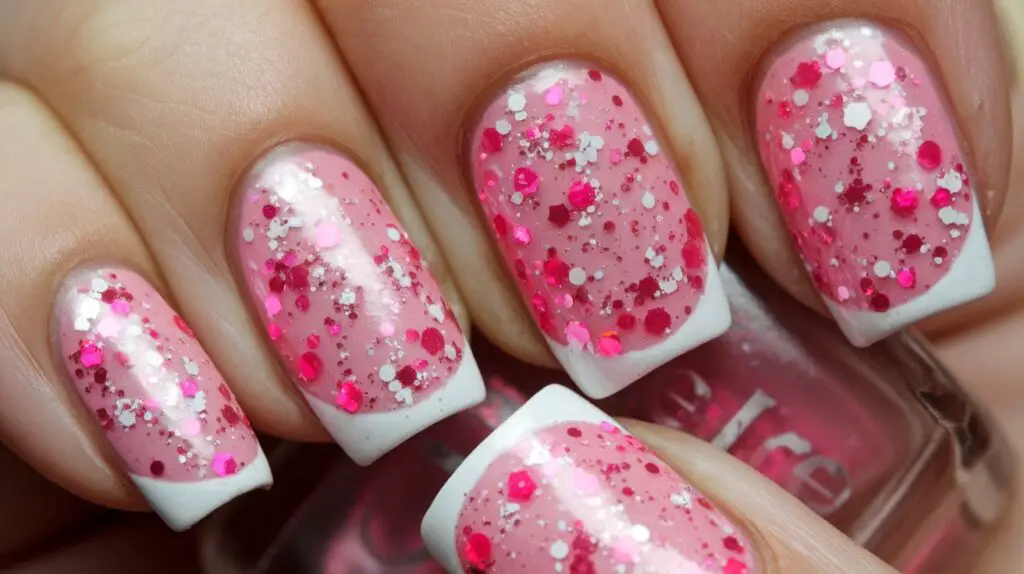
The foundation color dramatically impacts your final look. A nude or sheer pink base creates the most traditional French manicure appearance, allowing the glittered tips to take center stage. This combination feels timeless yet updated.
White or off-white bases provide maximum contrast, making the sparkly tips pop dramatically. This high-contrast approach works particularly well with deeper pink glitters. For something unexpected, try a soft gray or taupe base – these neutral shades create a modern, editorial feel that fashion-forward women appreciate.
Matching the base to your skin tone creates the illusion of longer fingers. Choose bases one or two shades lighter than your natural skin color for the most flattering effect. This technique makes the glitter tips appear to float elegantly at your fingertips.
Tips for making your French glitter manicure last longer
Proper preparation extends wear time significantly. Push back cuticles gently and buff nail surfaces lightly to remove oils that prevent polish adhesion. Always wrap the tips by running your brush along the nail edge – this simple step prevents chipping where nails experience the most wear.
Quality matters when selecting products for your manicure. Invest in a good base coat specifically designed for glitter polishes, as these formulas grip textured finishes better than standard versions. Apply thin, even coats and allow complete drying between layers. Rushing this process leads to smudging and reduced longevity.
Consider these maintenance strategies for extended wear:
Daily care: Apply cuticle oil around nail edges to prevent polish from lifting due to dryness.
Protection methods: Wear gloves during household tasks to shield your manicure from harsh chemicals and hot water.
Quick fixes: Keep a small bottle of matching glitter polish for touching up minor chips immediately.
Top coat routine: Reapply clear top coat every three days to refresh shine and seal edges.
Gentle removal: Use acetone-free remover when it’s time for a change to minimize nail damage.
How to customize French tips for different occasions
Casual everyday wear calls for narrower glitter tips that add interest without feeling overdone. Keep the sparkle band to approximately 2-3 millimeters for a refined daytime look. This subtle approach works perfectly in professional settings where you want personality without breaking dress codes.
Special events deserve more dramatic interpretations. Extend the glitter portion further down the nail for added impact, or create a gradient effect where the sparkle fades gradually into the base color. Adding small rhinestones at the base of each tip creates an extra luxe finish for weddings or formal occasions.
Pink Glitter Ombre Designs
The gradient effect of ombre nails creates a mesmerizing transition that draws eyes to your hands. This technique blends colors seamlessly, and when you incorporate pink glitter into the mix, the result becomes truly magical. The sparkle intensifies or fades depending on your chosen direction, offering multiple styling options within one design concept.
Creating the perfect pink glitter gradient
Achieving a smooth gradient requires specific techniques that differ from standard polish application. Begin with a makeup sponge slightly dampened with water – this prevents the sponge from absorbing too much polish. Paint stripes of your chosen colors directly onto the sponge, overlapping them slightly where you want the blend to occur.
Press the sponge onto your nail using a gentle rolling motion, reloading with fresh polish between applications. The first impression might look patchy, but building layers creates the seamless transition you’re after. Work quickly while polish remains wet for the best blending results.
Temperature affects your success rate significantly. Room temperature polish blends more smoothly than cold bottles straight from storage. Warm your polish bottles between your hands for a minute before starting. This small preparation step makes the gradient process noticeably easier.
Clean-up becomes essential with this technique since sponging deposits polish on surrounding skin. Use a small brush dipped in acetone to perfect the edges once your gradient dries. Liquid latex or tape around nails before sponging saves clean-up time considerably.
Best color combinations with pink glitter
Pink to white ombre creates an ethereal effect reminiscent of cotton candy clouds. Start with opaque white at the tips, transitioning through pale pink in the middle, then adding concentrated glitter at the base. This reverse approach feels fresh and unexpected.
Purple to pink gradients offer rich depth that photographs beautifully. Begin with deep plum at the cuticle, blend through magenta, then finish with light pink sparkle at the tips. This combination suits women who want drama without venturing too far from traditional pink tones.
Nude to pink transitions provide subtle sophistication perfect for professional environments. The barely-there base color gradually intensifies into sparkling rose tips. This understated approach lets you enjoy glitter nails while maintaining a polished, appropriate appearance.
Which tools create the smoothest ombre effect
Beyond the basic sponge, several tools improve your gradient results. Silicone makeup wedges create smoother blends than traditional sponges because they don’t absorb as much product. Their non-porous surface transfers more polish to your nail, reducing the number of layers needed.
Different ombre directions and their impact
Vertical ombre runs from one side of the nail to the other, creating an unusual effect that elongates nail beds visually. This direction works especially well on shorter nails where traditional horizontal gradients might look compressed. Apply your gradient sideways using the same sponging technique.
Diagonal gradients add dynamic movement to your manicure. Starting from one corner and blending to the opposite corner creates an artistic feel. This approach requires more precision but delivers striking results that stand out from typical nail designs.
How to seal and protect glitter ombre nails
Glitter gradients need extra protection due to their textured surface. Standard top coats might not provide adequate coverage, leaving your sparkly finish feeling rough. Apply two to three thin coats of quality gel-effect top coat, allowing each layer to dry completely.
The first top coat layer should focus on filling gaps between glitter particles. Use generous amounts without creating pools. Subsequent layers build the smooth, glass-like finish that makes your gradient look professionally done. Pay special attention to tips where glitter concentration typically increases.
Some women prefer using gel top coat with UV lamp curing for ultimate durability. This option provides weeks of wear without dulling the sparkle. If choosing this route, ensure your regular polish completely dries first – typically waiting 24 hours prevents wrinkling or bubbling under the gel layer. Regular maintenance with cuticle oil keeps the surrounding skin healthy and prevents the sealed edges from lifting prematurely.
Pink Glitter Accent Nails
Strategic placement of glitter on select nails creates visual interest without overwhelming your entire manicure. This approach lets you enjoy sparkle while maintaining versatility, as accent nails complement rather than dominate your overall look. The technique works beautifully whether you’re new to nail art or an experienced enthusiast looking for sophisticated restraint.
Choosing which nails to accent for maximum impact
Ring finger accents remain the most popular choice, and for good reason – this placement naturally draws attention when wearing rings or gesturing. The single accent creates a focal point that feels intentional rather than random. Many women find this option perfect for testing bolder glitter shades they might hesitate to wear on all ten nails.
Alternating nails offer more sparkle while maintaining balance. Try accenting your thumb, middle finger, and pinky for an every-other pattern that distributes glitter evenly across both hands. This arrangement prevents the design from feeling lopsided when your hands are together.
The thumb-and-ring-finger combination provides accent nails visible from multiple angles. Your thumb catches attention during phone use and everyday tasks, while the ring finger shines during more formal hand positions. This dual approach maximizes the impact of your glitter investment.
Pattern ideas for pink glitter accent nails
Geometric shapes on accent nails create modern appeal. Paint triangular sections of glitter at the base, creating a half-moon design that feels architectural. Straight lines made with tape guides help achieve clean edges that separate glitter from solid colors.
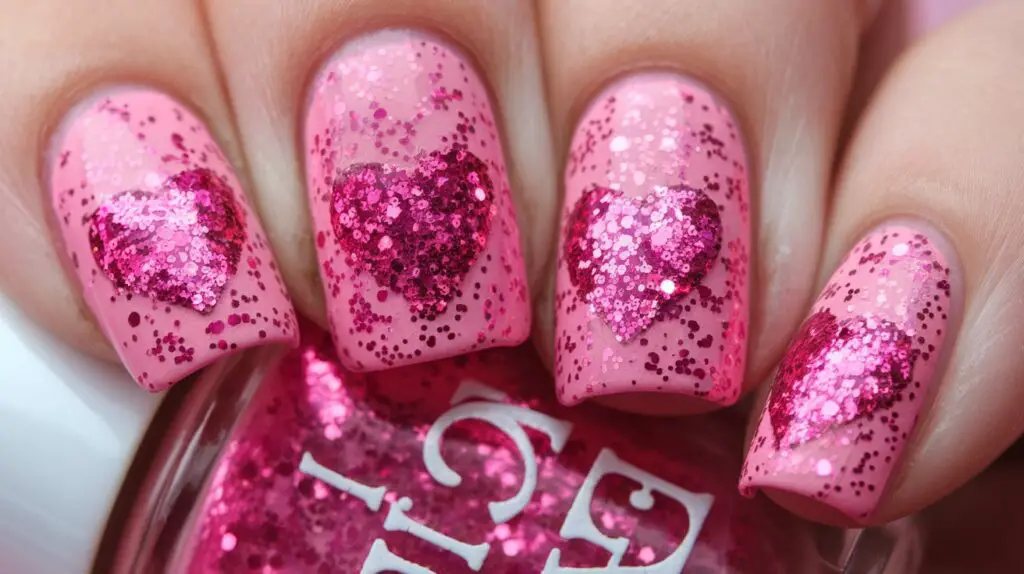
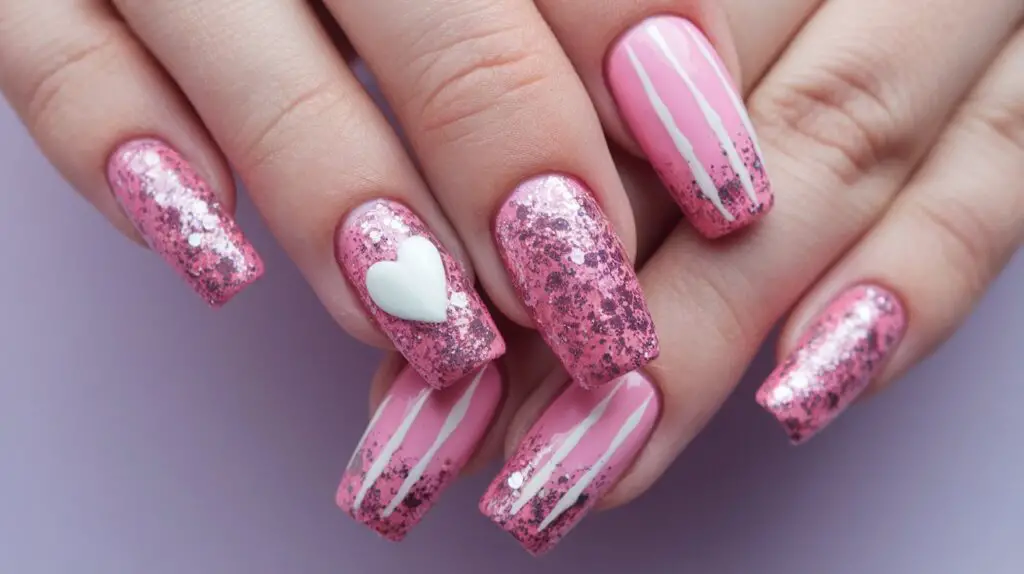
Negative space designs incorporate bare nail into your accent pattern. Leave strategic portions unpolished while applying glitter to create hearts, stars, or abstract shapes. This technique feels especially fresh when combined with sheer pink polish on non-accent nails.
Combining matte and glitter finishes
The contrast between matte and sparkly textures adds sophisticated dimension to your manicure. Apply matte top coat to all nails except your chosen accents, creating a velvety backdrop that makes glitter appear even more brilliant. This combination feels editorial and fashion-forward.
Matte pink on most nails with glitter accents creates subtle luxury. The understated base allows sparkly nails to shine without competing textures. This approach works particularly well in professional settings where full glitter might feel inappropriate.
For added complexity, try matte and glitter on the same nail. Paint half the nail with matte pink, then add glitter to the other half, separated by a clean line. This split design doubles your textural interest while maintaining cohesion through color matching.
Consider these textural combinations for variety:
Velvet and sparkle: Matte deep pink with rose gold glitter creates rich contrast
Satin and shimmer: Semi-matte finish with fine glitter offers subtle variation
Cream and chunky glitter: Glossy solid pink with large glitter particles maximizes texture difference
Pearl and holographic: Pearlescent pink with color-shifting glitter adds dimension
Suede and metallic: Textured matte with metallic pink glitter feels luxurious
Color coordination between accent and base nails
Monochromatic schemes using various pink shades create harmony. Paint base nails in solid dusty rose while accenting with matching rose gold glitter. This tonal approach feels sophisticated and pulled-together.
Complementary colors add energy to your manicure. Pair nude or beige base nails with bright pink glitter accents for unexpected pop. The neutral foundation lets sparkle stand out while preventing the overall look from feeling too bold.
Tips for precise glitter application on accent nails
Precision becomes crucial when only certain nails receive glitter treatment. Use liquid latex or school glue around nail edges before applying glitter polish. This barrier peels away easily, leaving perfectly clean lines without tedious cleanup.
Small brushes provide better control than standard polish brushes for detailed work. Fan brushes work wonderfully for placing loose glitter exactly where wanted. Dip the brush in clear polish first, then into loose glitter, and apply with gentle patting motions.
Patience during drying prevents smudging between accent and regular nails. Complete all solid color nails first, allowing them to dry thoroughly. Then move to glitter application, reducing the risk of accidentally transferring sparkle to non-accent nails. Quick-dry drops or spray accelerate the process without compromising your design quality.
Pink Glitter Geometric Patterns
Sharp lines and defined shapes paired with sparkling pink glitter create striking nail art that balances structure with glamour. Geometric designs offer endless creative possibilities while remaining achievable for those without professional training. These patterns transform simple manicures into miniature artistic statements that reflect your attention to detail.
Creating clean lines with glitter polish
Achieving crisp edges with glitter polish requires different techniques than regular lacquer. The textured nature of glitter tends to create fuzzy borders unless you employ specific strategies. Start by outlining your intended shape with regular pink polish that matches your glitter shade – this creates a guide and helps define edges.
Striping tape becomes your best friend for geometric designs. Apply tape to completely dry base polish, pressing edges firmly to prevent glitter from seeping underneath. Remove tape while the glitter polish remains slightly tacky for the sharpest lines. Waiting too long causes the polish to chip along tape edges.
For freehand geometric work, use a thin nail art brush barely loaded with glitter polish. Outline your shape first, then fill in the center. This method provides more control than attempting to create shapes with standard polish brushes. Clean your brush frequently with acetone to prevent glitter buildup that compromises precision.
Popular geometric shapes for pink glitter nails
Triangles offer versatility in both size and placement. Create a single triangle at the nail base for a modern half-moon variation, or scatter multiple small triangles across the nail for a confetti-like effect. Inverted triangles at tips create an edgy take on French manicures.
Stripes never go out of style and adapt easily to different nail lengths. Diagonal stripes create the illusion of longer nails, while horizontal bands make narrow nails appear wider. Varying stripe widths within one manicure adds visual rhythm. Mix glitter and solid stripes for textural interest that prevents the design from feeling too uniform.
Diamond shapes and chevron patterns bring Art Deco glamour to your fingertips. These angular designs feel sophisticated when executed in soft pink glitter against nude or white backgrounds. The contrast between harsh geometric lines and feminine pink sparkle creates appealing tension.
Tools and techniques for precise geometric designs
Nail vinyl stencils provide foolproof geometric shapes without artistic skill. These adhesive guides come in countless patterns from basic shapes to complex designs. Apply them to dry base color, paint over with glitter polish, then remove to reveal perfect geometry.
Dotting tools create consistent circles and dots that form geometric patterns. Dip the tool in glitter polish and press gently onto the nail. Various tip sizes create different dot dimensions. Arrange dots in grids, lines, or clusters for structured designs that maintain geometric appeal.
Mixing negative space with pink glitter geometry
Negative space designs incorporate unpainted nail portions into your geometric pattern. This technique feels modern and prevents geometric designs from appearing too heavy. Leave strategic triangular sections bare while filling others with concentrated glitter.
The key to successful negative space lies in planning your design before starting. Sketch your intended pattern on paper first, identifying which areas remain bare. This preparation prevents mistakes that require complete removal and starting over. Use reinforcement stickers (those paper rings for binder holes) to create perfect circles of negative space within glitter fields.
Clear base coats in negative space areas still protect your natural nail while maintaining the bare look. Choose ridge-filling formulas if your natural nails have imperfections you’d prefer to minimize. The smooth surface also helps glitter sections adhere better at edges where painted and unpainted areas meet.
Balance becomes crucial with negative space geometry:
Equal distribution: Spread negative and positive space evenly across the nail
Asymmetrical interest: Place negative space off-center for modern appeal
Gradient geometry: Increase negative space from base to tip gradually
Framed designs: Use negative space as borders around glitter shapes
Floating elements: Create glitter shapes that appear to float on bare nails
Color blocking techniques with glitter
Color blocking combines multiple polish shades in distinct geometric sections. Pair different pink glitter intensities within one design – light pink glitter might fill half the nail while hot pink glitter covers the other half. This technique creates depth without introducing new colors.
Complementary color blocks add sophistication. Combine pink glitter sections with solid nude, white, or gray blocks. The interplay between sparkle and solid creates visual interest while maintaining wearability. This approach lets you experiment with bolder geometric patterns without overwhelming the overall look.
Pink Glitter Full Coverage Styles
Sometimes subtlety takes a back seat to full-on glamour, and covering entire nails in pink glitter delivers maximum impact. This bold approach demands attention and works perfectly when you want your manicure to be the star of your look. Full glitter coverage might seem simple, but achieving a smooth, professional finish requires specific techniques and careful product selection.
Achieving smooth, even glitter coverage
Full glitter application presents unique challenges compared to regular polish. The particles can create uneven texture if not applied properly. Start with a ridge-filling base coat that creates a perfectly smooth foundation. This step becomes even more important with full coverage since every imperfection shows through glitter.
Your application technique determines the final texture. Instead of traditional brushstrokes, use a patting motion to distribute glitter evenly. This method prevents dragging that creates bald spots or glitter clumps. Load your brush generously and work from cuticle to tip in vertical sections.
Three thin coats typically achieve full opacity without excessive thickness. Resist the temptation to apply heavy coats thinking it will save time – thick layers never dry properly and chip easily. Allow each coat to dry completely before adding the next. This patience pays off with a durable, even finish.
The type of glitter affects coverage requirements. Fine glitter particles provide fuller coverage with fewer coats, while chunky glitter might need four or five layers. Some women prefer mixing fine and chunky glitters for dimension – apply fine glitter first for coverage, then add sparse chunky glitter on top for extra sparkle.
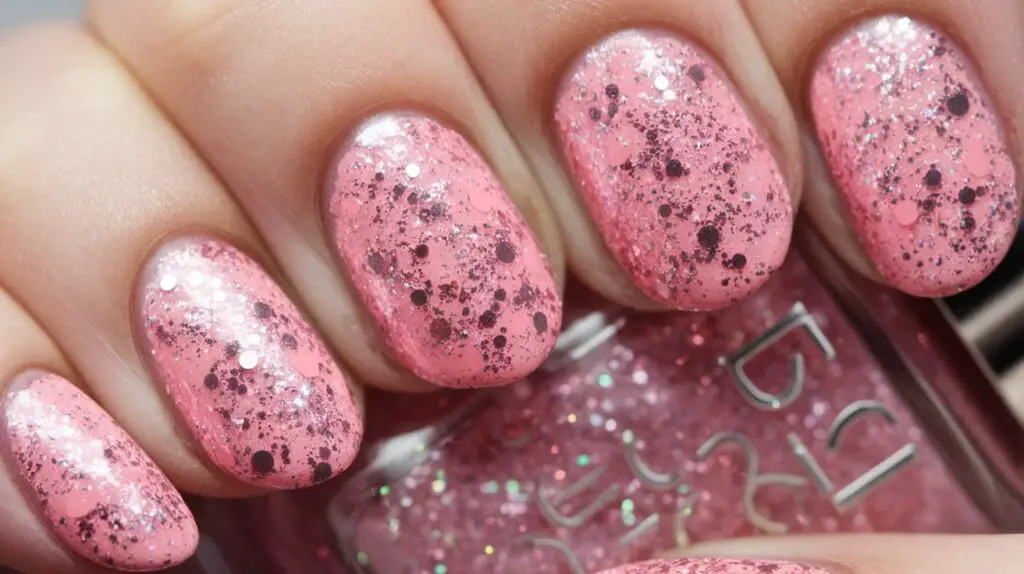
Best pink glitter formulas for full nail coverage
Suspended glitter polishes where particles float in colored base provide the easiest full coverage. These formulas distribute evenly and build opacity quickly. Look for bottles where glitter appears densely packed rather than sparse – vigorous shaking should create a snow globe effect.
Metallic pink glitters offer exceptional coverage with mirror-like finish. These formulas contain superfine reflective particles that create seamless coverage. Rose gold metallics particularly suit those wanting full glamour with sophisticated edge. The warmth of rose gold flatters all skin tones while delivering maximum shine.
Holographic pink glitters add color-shifting properties that mesmerize. These polishes contain special particles that reflect rainbow hues while maintaining pink as the primary color. The effect changes with hand movement and lighting, creating dynamic nails that never look the same twice.
Dealing with glitter polish thickness
Glitter formulas naturally become thick and goopy, especially after repeated use. Thin them with polish thinner specifically designed for glitter – never use acetone or remover, which break down the formula. Add thinner drop by drop, rolling the bottle between your hands to mix rather than shaking, which creates bubbles.
Store bottles properly to maintain consistency. Keep them upright in a cool, dark place away from direct sunlight. Extreme temperatures cause formula separation. Before each use, roll bottles between your hands for 30 seconds to redistribute settled glitter without creating bubbles that mar your finish.
How to prevent glitter from looking bulky
Even with careful application, full glitter coverage can create thick-looking nails. Combat this by keeping natural nails short to medium length. Longer nails emphasize thickness, while shorter lengths maintain proportion. File nails into rounded or squoval shapes that complement the textured finish.
Strategic top coat application smooths texture significantly:
First layer: Apply generously to fill gaps between glitter particles
Second layer: Focus on creating even surface across entire nail
Third layer: Build glass-like finish that minimizes texture appearance
Final touch: Run brush along nail tips to seal and prevent chipping
Drying time: Wait 10 minutes between each top coat layer
The wrap technique prevents tip wear on full glitter nails. After applying your final coat, run the brush horizontally across the nail tip, sealing the edge. This creates a protective cap that extends wear significantly. Reapply top coat to tips every few days since this area experiences the most stress.
Removing full glitter coverage properly
Full glitter manicures require special removal techniques to prevent nail damage. Never peel or pick at glitter polish – this removes layers of natural nail along with polish. The foil method works best for stubborn glitter removal.
Soak cotton pads in pure acetone and place one on each nail. Wrap fingertips in aluminum foil to hold pads in place and prevent acetone evaporation. Let nails soak for 10-15 minutes. The combination of acetone and gentle heat from wrapped fingers dissolves even the most stubborn glitter.
After soaking, press down on the cotton and slide toward the tip in one motion. Most glitter should come off easily. For remaining particles, rewrap affected nails for five more minutes rather than scrubbing, which damages nail plates. Follow removal with cuticle oil and hand cream to restore moisture that acetone strips away.
Sparkle That Speaks to You
Pink glitter nails offer extraordinary versatility, from delicate French tips that whisper elegance to bold full-coverage designs that shout confidence. Each technique we’ve explored opens doors to countless variations, allowing you to customize these ideas to match your personal style and skill level. The beauty of working with this sparkling combination lies in its ability to transform any manicure from ordinary to extraordinary with just the right application technique.
Your perfect pink glitter manicure awaits, whether you gravitate toward subtle accent nails for everyday wear or dramatic geometric patterns for special occasions. The techniques and tips shared here provide the foundation for creating salon-quality results at home. With practice, patience, and quality products, these dazzling designs become achievable additions to your nail art repertoire. The shimmer and shine of pink glitter nails continue to captivate women worldwide, proving that this trend has staying power beyond seasonal fads.
Frequently Asked Questions
Q: How long does pink glitter nail polish typically last compared to regular polish?
A: Pink glitter polish generally lasts 5-7 days longer than regular polish due to its textured nature that resists chipping. The glitter particles create a more durable surface, though proper base and top coat application remains essential for maximum longevity.
Q: Can I apply pink glitter polish without a base coat?
A: Always use a base coat under glitter polish to prevent staining and create better adhesion. Skipping this step can result in yellow discoloration of natural nails and difficulty during removal.
Q: What’s the easiest way to clean up glitter polish mistakes around the cuticles?
A: Use a small angled brush dipped in acetone to remove excess glitter from skin. Apply liquid latex or petroleum jelly around nails before polishing to create a barrier that makes cleanup much simpler.
Q: Should I use regular or gel glitter polish for longer wear?
A: Gel glitter polish lasts 2-3 weeks compared to 7-10 days for regular glitter polish. Choose gel if you want extended wear and don’t mind the removal process, or regular polish if you prefer changing designs frequently.
Q: How many coats of top coat should I apply over glitter nails?
A: Apply 2-3 thin coats of top coat over glitter for a smooth finish. The first coat fills gaps between particles, while subsequent coats create the glossy, sealed surface that extends wear time.
Q: What’s the difference between fine and chunky pink glitter for nail art?
A: Fine glitter provides smoother, more opaque coverage with fewer coats and feels less textured. Chunky glitter creates more dramatic sparkle but requires additional coats and top coat for smoothness.
Q: Can I mix different shades of pink glitter on the same nail?
A: Yes, layering different pink glitter shades creates beautiful depth and dimension. Apply lighter shades first, then add darker or different-toned glitters on top for complex, custom effects.
Q: How do I make pink glitter nails appropriate for work?
A: Choose fine, subtle pink glitters in nude-pink tones and limit application to accent nails or French tips. Avoid chunky glitters or hot pink shades in conservative office environments.