Nail art has become a popular way for women to express their style and creativity. However, professional manicures can be expensive and time-consuming. That’s where easy nail designs come in, offering a perfect solution for those who want to look fabulous without breaking the bank or spending hours at the salon.
DIY nail art brings numerous benefits to the table. It allows women to experiment with different styles in the comfort of their own homes, saving both time and money. Plus, it’s a fun activity that can be enjoyed alone or with friends, providing a sense of accomplishment when you create a beautiful design with your own hands.
Below some easy nail designs that are both quick to create and budget-friendly. These techniques require minimal tools and expertise, making them accessible to everyone, from beginners to seasoned nail enthusiasts. You’ll discover trending designs, learn how to achieve chic looks with minimal effort, and find out which tools are essential for your at-home nail art kit.
- What Makes a Nail Design Quick and Budget-Friendly?
- Which Easy Nail Designs Are Trending This Year?
- How Can You Create a Chic Look with Minimal Effort?
- What Are the Must-Have Tools for Quick Nail Designs?
- How to Maintain Your DIY Nail Art?
- Nail Art Mastery: Your Path to Effortless Elegance
- Frequently Asked Questions
What Makes a Nail Design Quick and Budget-Friendly?
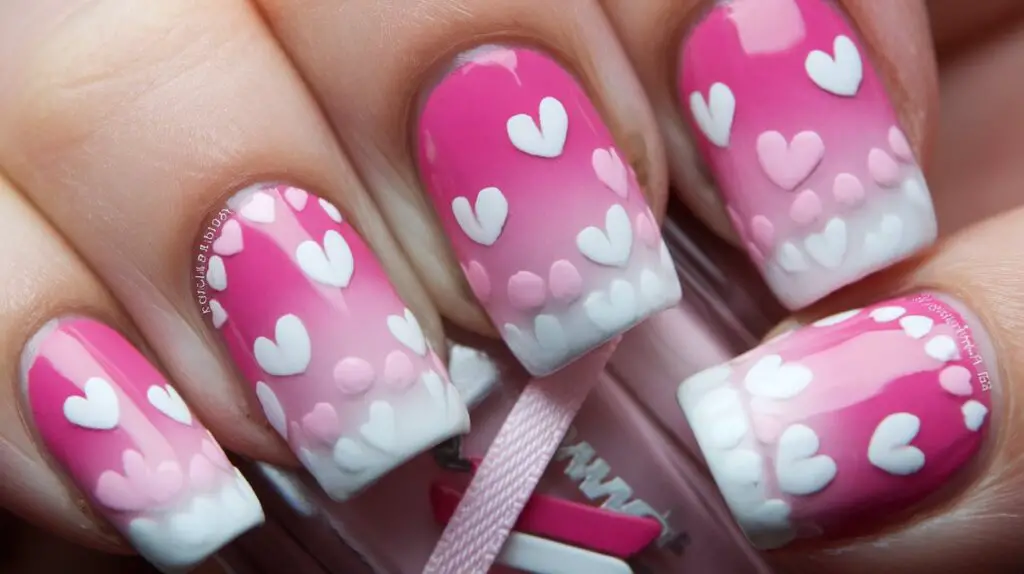
Creating stunning nail designs doesn’t have to be a time-consuming or expensive process. Quick and budget-friendly nail art is all about efficiency and simplicity. Let’s explore what makes a nail design both speedy and cost-effective.
Simplicity in execution
The key to fast and affordable nail art lies in its simplicity. Complex designs with intricate details can be challenging and time-consuming, especially for beginners. Instead, opt for straightforward patterns and techniques that you can master quickly. Simple doesn’t mean boring – even basic designs can look stylish and sophisticated when done well.
For instance, a single-color manicure with an accent nail can be both elegant and easy to achieve. You might also try a two-tone French tip or a minimalist geometric pattern using tape as a guide. These designs require little skill but can make a big impact.
Minimal tools required
Another factor that contributes to quick and budget-friendly nail art is the use of minimal tools. You don’t need a professional-grade kit to create beautiful designs at home. In fact, many stunning looks can be achieved with just a few basic items:
- Nail polish in your chosen colors
- A base coat and top coat
- A few thin brushes or dotting tools
- Nail tape or stickers
- A clean-up brush and acetone
With these simple tools, you can create a wide variety of designs without breaking the bank.
Time-efficient application process
Time is precious, and a nail design that takes hours to complete isn’t practical for most women. Quick nail art should be achievable in 30 minutes or less. This means choosing designs that don’t require multiple layers or long drying times between steps.
One-stroke techniques, where you apply the design in a single swipe, are perfect for saving time. Alternatively, you could use fast-drying polishes or quick-dry drops to speed up the process.
Long-lasting results
What good is a quick and cheap nail design if it chips or fades within a day? Long-lasting results are crucial for truly budget-friendly nail art. To achieve this, start with a good base coat to protect your nails and help the polish adhere better.
After applying your design, seal it with a high-quality top coat. This not only adds shine but also protects your artwork from chips and scratches. With proper application and care, your DIY nail art can last for a week or more, rivaling professional manicures.
Versatility for various occasions
The best quick and budget-friendly nail designs are those that work for multiple occasions. A versatile design saves you time and money by eliminating the need for frequent changes.
Consider neutral colors or classic patterns that can transition easily from day to night, work to weekend. For example, a subtle glitter gradient or a pastel ombre can look appropriate in both casual and formal settings.
You might wonder: How can I make my nail art more versatile? Here are some tips:
- Choose a color palette that complements most of your wardrobe
- Opt for designs that can be easily modified (e.g., adding a glitter topcoat for evening events)
- Master a few basic techniques that can be mixed and matched for different looks
By focusing on these aspects, you can create nail designs that are not only quick and affordable but also stylish and long-lasting. With a bit of practice and creativity, you’ll be able to achieve salon-worthy nails without the salon price tag or time commitment.
Which Easy Nail Designs Are Trending This Year?
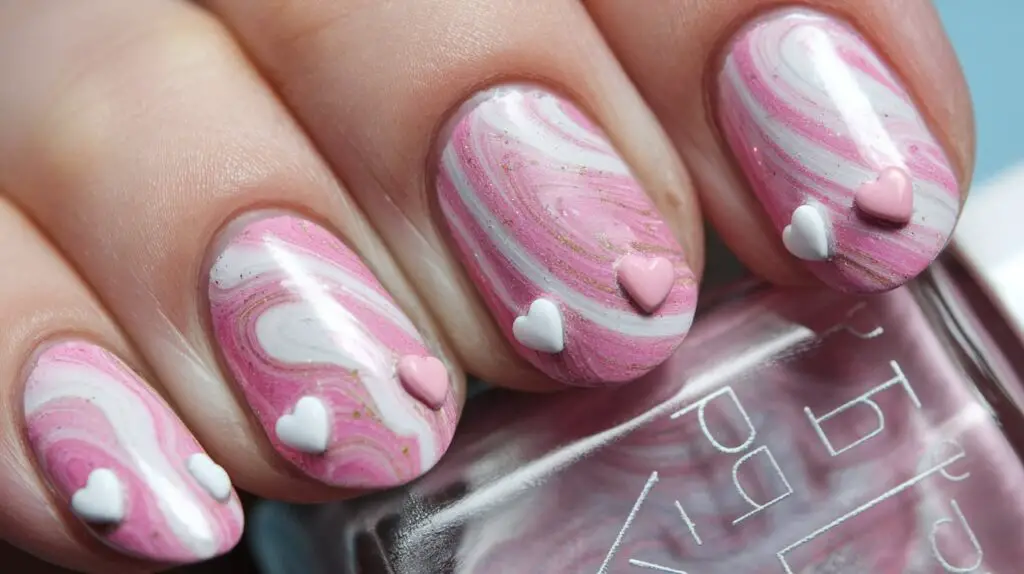
Nail art trends are constantly evolving, offering fresh and exciting ways to express your style. This year, the focus is on simple yet striking designs that anyone can recreate at home. Let’s explore some of the most popular easy nail designs that are making waves.
Micro French tips with a twist
The classic French manicure has received a modern update. Micro French tips feature a much thinner line at the nail’s edge, creating a more subtle and refined look. But why stop there? Add a twist to this timeless style by using unconventional colors or incorporating small designs.
For example, try a pastel blue tip instead of traditional white, or add tiny dots along the tip line. These small changes can transform a basic French manicure into a eye-catching design that’s still easy to achieve.
Minimalist geometric patterns
Geometric patterns are a hit this year, especially when kept simple and minimalist. These designs often use clean lines and basic shapes to create visually appealing nail art. The best part? You don’t need to be an artist to pull them off.
Here are some ideas to get you started:
- Thin diagonal lines across the nail
- Small triangles at the base of the nail
- A single circle or square as an accent
Use tape or nail stickers to create crisp lines, and stick to one or two colors for a sleek, modern look.
Negative space designs
Negative space nail art is a technique where parts of the nail are left unpainted, creating interesting patterns and shapes. This trend has gained popularity due to its striking appearance and relatively easy application.
One simple way to try this trend is by painting half of your nail and leaving the other half bare. You could also create a diagonal split or use nail tape to create more complex shapes. The contrast between the painted and unpainted areas creates a bold, graphic effect that’s sure to turn heads.
Pastel color blocking
Color blocking with pastel shades is a fun and easy way to add a pop of color to your nails. This technique involves using two or more colors in distinct sections on each nail. Pastels are particularly popular this year, offering a soft and feminine touch to your manicure.
To create this look, start with a base coat of one pastel shade. Once dry, use tape to section off part of the nail and apply a second color. Remove the tape while the polish is still wet for clean lines. You can experiment with different color combinations and shapes to find your perfect pastel palette.
Glitter accent nails
Who doesn’t love a bit of sparkle? Glitter accent nails are a simple way to add some glamour to your manicure without going overboard. This trend involves applying glitter polish to one or two nails on each hand, while keeping the rest of your nails a solid color.
For a cohesive look, choose a glitter polish that contains flecks of the same color as your base polish. Alternatively, go for contrast with a bold glitter shade against a neutral base. The key is to keep it simple – let your glitter nails be the star of the show.
You might wonder how to apply glitter polish smoothly. Here’s a quick tip: Instead of brushing it on, try dabbing the polish onto your nail. This technique helps distribute the glitter more evenly and creates a denser sparkle effect.
These trending nail designs prove that you don’t need advanced skills or expensive tools to create beautiful nail art. With a steady hand and a bit of creativity, you can easily recreate these looks at home. Remember, practice makes perfect, so don’t be discouraged if your first attempts aren’t salon-perfect. Keep experimenting with different colors and techniques to find the styles that work best for you.
Whether you prefer the subtle elegance of micro French tips or the bold statement of negative space designs, there’s a trendy, easy nail design waiting for you to try. So grab your nail polish and let your creativity shine!
How Can You Create a Chic Look with Minimal Effort?
Creating a chic nail look doesn’t have to be complicated or time-consuming. With a few simple techniques and tools, you can achieve stunning results that look professional without spending hours on your manicure. Let’s explore some easy methods to elevate your nail game with minimal effort.
Mastering the one-stroke wonder
The one-stroke technique is a game-changer for quick and stylish nail art. This method involves loading a brush with multiple colors and creating a design in a single stroke. It’s perfect for floral patterns, leaves, or abstract designs.
To try this technique, start by placing two or three nail polish colors side by side on a palette or piece of foil. Dip a flat brush into all the colors at once, then gently press and drag the brush across your nail. The result? A multi-colored design that looks intricate but takes seconds to create.
Practice makes perfect with this technique. Try different color combinations and brush movements to discover your favorite effects.
Perfecting the dotting technique
Dots are versatile and easy to create, making them a go-to for quick nail designs. You don’t need special tools – a toothpick, bobby pin, or the end of a small makeup brush can work as a dotting tool.
Here’s how to create perfect dots:
- Dip your tool into the polish
- Gently touch it to your nail, applying light pressure
- Lift straight up to create a clean dot
Experiment with dot sizes and patterns. You can create flowers, geometric designs, or even polka dot patterns with this simple technique.
Utilizing nail stickers and decals
For those days when you’re short on time or patience, nail stickers and decals are your best friends. These pre-made designs can be applied quickly and easily, giving you instant nail art with zero drying time.
To apply stickers or decals, start with clean, dry nails. Use tweezers to carefully place the sticker on your nail, then smooth it down with a cuticle stick. Finish with a clear top coat to seal the design and add shine.
Nail stickers come in countless designs, from simple shapes to intricate patterns. Keep a variety on hand for quick nail makeovers.
Experimenting with ombre effects
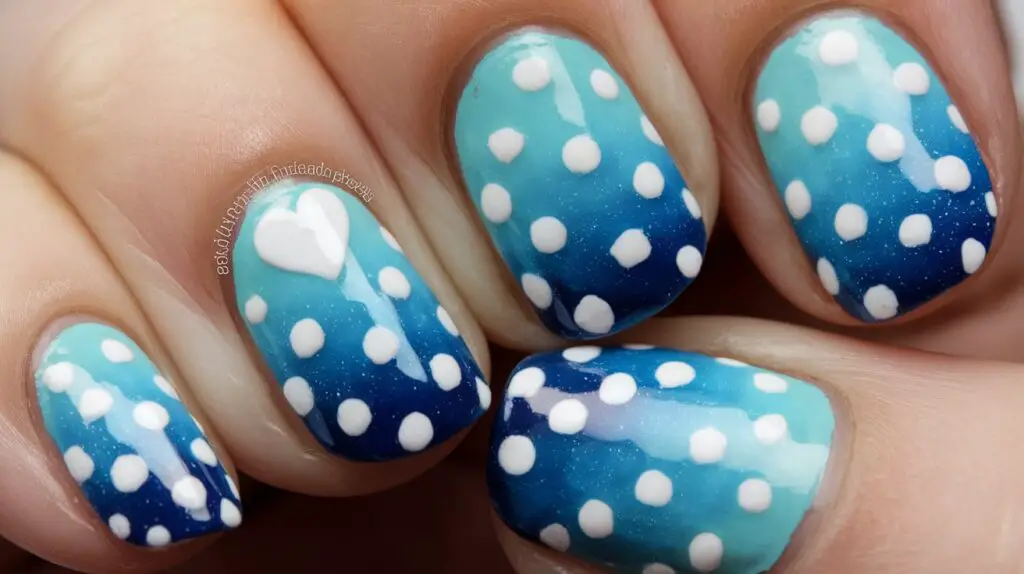
Ombre nails look sophisticated but are surprisingly easy to create. This gradient effect can be achieved with just a makeup sponge and two or more nail polish colors.
To create an ombre effect:
- Paint your nail with the lightest color and let it dry.
- On a makeup sponge, apply stripes of your chosen colors, with the lightest at the bottom.
- Dab the sponge onto your nail, rolling it slightly to blend the colors.
- Repeat until you achieve the desired intensity.
- Clean up around the edges and apply a top coat.
This technique works well with similar shades for a subtle effect, or contrasting colors for a bold look.
Trying out easy stamping methods
Nail stamping is a fantastic way to add intricate designs to your nails quickly. While it might seem daunting at first, with a bit of practice, you’ll be creating salon-worthy designs in no time.
You’ll need a stamping plate (a metal plate with etched designs), a stamper, and special stamping polish. Here’s a quick guide to stamping:
- Apply a base color to your nails and let it dry completely.
- Apply stamping polish to your chosen design on the plate.
- Scrape excess polish off the plate with a scraper or old gift card.
- Roll the stamper over the design to pick it up.
- Quickly roll the stamper onto your nail to transfer the design.
- Seal with a top coat.
Stamping allows you to add complex patterns and images to your nails in seconds. It’s an excellent technique for creating themed manicures or adding a pop of interest to solid-colored nails.
By incorporating these techniques into your nail care routine, you can create chic, eye-catching designs without spending hours on your manicure. Mix and match these methods to discover new looks that suit your style. With a little creativity and these simple tricks, you’ll have Instagram-worthy nails in no time.
What Are the Must-Have Tools for Quick Nail Designs?
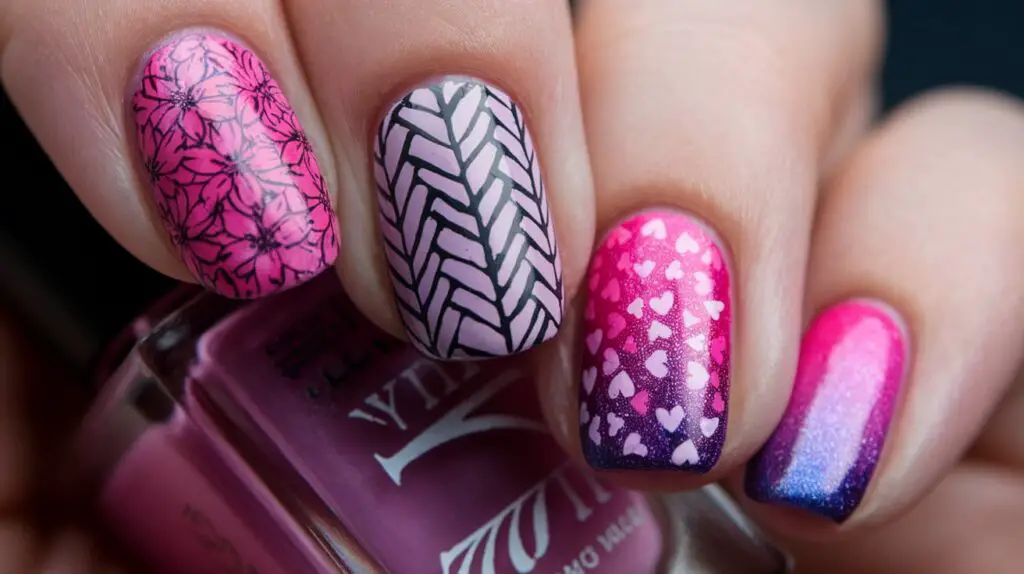
Creating quick and stylish nail designs doesn’t require a professional kit. With a few essential tools, you can achieve salon-worthy results at home. Let’s explore the must-have items for speedy nail art.
Essential brushes for beginners
Brushes are the backbone of nail art. But which ones do you really need? For starters, a thin striper brush is indispensable. This tool allows you to create fine lines, intricate patterns, and delicate details with ease.
Next, consider a dotting tool. Despite its name, this versatile implement can do more than just dots. Use it to create flowers, swirls, or even tiny hearts. Many dotting tools come with dual ends of different sizes, giving you more options for your designs.
A fan brush might seem unconventional, but it’s perfect for creating gradient effects or applying glitter. Sweep it gently across your nail for a subtle ombre look or use it to dust off excess powder.
Importance of a good base and top coat
You might wonder: why bother with base and top coats? These unsung heroes of nail care play crucial roles in your manicure’s longevity and appearance.
A quality base coat acts as a primer, smoothing out ridges and creating an even surface for polish application. It also prevents staining, especially important when using dark or vibrant colors. Some base coats even strengthen your nails, promoting healthier growth.
Top coats, on the other hand, seal your design and add shine. They protect against chipping and extend the life of your manicure. For quick designs, a fast-drying top coat is a game-changer, reducing the risk of smudges and allowing you to get on with your day faster.
Selecting the right nail polish formulas
Not all nail polishes are created equal. For swift application and stunning results, opt for formulas designed for easy use. One-coat polishes can save time without compromising on color payoff. These highly pigmented options provide full coverage in a single layer.
Gel-like polishes offer the durability of gel manicures without the need for UV lamps. They tend to dry faster and resist chipping better than traditional formulas.
Quick-dry polishes are another time-saving option. These formulations set rapidly, reducing the risk of smudges and allowing you to layer colors or add designs sooner.
Affordable alternatives to professional tools
Professional nail art tools can be pricey, but there are budget-friendly alternatives that work just as well. Here are some clever substitutions:
- Use a toothpick instead of a dotting tool
- Repurpose an old eyeliner brush for fine details
- Cut up a kitchen sponge for gradient effects
- Use tape or stickers to create clean lines and shapes
- Try a bobby pin for tiny dots or to place small embellishments
Time-saving clean-up techniques
Even the steadiest hands make mistakes. Efficient clean-up techniques can transform a messy manicure into a polished look in minutes. One of the quickest methods is using a small, angled brush dipped in acetone to tidy up the edges of your nails.
For a mess-free application, try applying a thin layer of petroleum jelly around your nails before polishing. Any stray polish will wipe away easily, saving you time on clean-up.
Another pro tip: wait until your polish is completely dry before attempting to clean up. This prevents smearing and gives you a cleaner edge.
With these tools and techniques at your disposal, you’re well-equipped to create stunning nail designs in no time. Remember, practice makes perfect, so don’t be discouraged if your first attempts aren’t flawless. Keep experimenting, and soon you’ll be crafting beautiful manicures with speed and confidence.
How to Maintain Your DIY Nail Art?
You’ve created a beautiful DIY nail design, and now you want it to last. Maintaining your nail art doesn’t have to be complicated or time-consuming. With a few simple strategies, you can keep your manicure looking fresh for days.
Tips for extending the life of your manicure
The key to a long-lasting manicure starts before you even apply the polish. Prep your nails properly by gently pushing back your cuticles and buffing the nail surface. This creates a smooth canvas for your design.
After applying your nail art, seal it with a high-quality top coat. Reapply the top coat every two to three days to refresh the shine and add an extra layer of protection. This simple step can significantly extend the life of your manicure.
Moisturize your hands and cuticles daily. Dry skin and cuticles can lead to peeling and chipping of your nail polish. Use a hand cream and cuticle oil to keep the area hydrated and healthy.
Quick touch-up tricks
Even with the best care, chips and wear can happen. But don’t worry – you don’t need to redo your entire manicure. Here are some quick fixes:
- For small chips, dab a tiny amount of matching polish on the spot and seal with top coat.
- If the chip is at the tip, file the nail slightly and touch up the edge with polish.
- For glitter designs, pat a small amount of glitter over any imperfections to camouflage them.
Keep a small touch-up kit in your bag with a mini bottle of your current nail color, a clear top coat, and a nail file. This way, you’re always prepared for quick fixes on the go.
Proper removal techniques
When it’s time to change your nail art, resist the urge to pick or peel off the polish. This can damage your nails and make future manicures less durable. Instead, use a gentle, acetone-free nail polish remover.
Soak a cotton pad in the remover and press it against your nail for a few seconds. This allows the remover to break down the polish. Then, gently wipe away the color. For stubborn glitter or dark colors, you might need to repeat this process.
After removal, wash your hands and apply a nourishing hand cream to counteract any drying effects of the remover.
Nail care between applications
Giving your nails a break between manicures can improve their health and the longevity of future nail art. During this time, focus on nourishing and strengthening your nails.
Apply a nail strengthener or growth treatment. These products often contain ingredients like keratin or biotin that support nail health. Use them consistently for best results.
Don’t forget about your diet. Eating foods rich in biotin, such as eggs, nuts, and sweet potatoes, can promote nail strength from the inside out.
Protecting your design during daily activities
Your hands go through a lot in a day, and your nail art can take a beating. To protect your design:
- Wear gloves when doing dishes or cleaning.
- Use tools instead of your nails to open cans or scratch off labels.
- Apply hand cream after washing your hands to prevent drying.
- Be mindful when typing or texting – use the pads of your fingers, not your nails.
- Avoid prolonged exposure to water, which can cause polish to lift.
By incorporating these habits into your routine, you can significantly extend the life of your DIY nail art. Remember, a little daily care goes a long way in maintaining your beautiful designs. With these tips, you’ll be able to enjoy your creative manicures for longer periods, making the most of your nail art efforts.
Nail Art Mastery: Your Path to Effortless Elegance
Creating stunning nail designs at home is now within your reach. With the techniques, tools, and tips shared in this guide, you can transform your nails into miniature works of art without breaking the bank or spending hours at a salon. From mastering the one-stroke wonder to utilizing affordable alternatives for professional tools, you’ve learned how to craft eye-catching manicures with minimal effort.
Remember, practice makes perfect. Don’t be discouraged if your first attempts aren’t flawless – every nail artist started somewhere. As you experiment with different designs and techniques, you’ll develop your own style and preferences. Keep your nails healthy between manicures, protect your designs during daily activities, and enjoy the creative process. Your journey to becoming a DIY nail art expert has just begun, and the possibilities are as limitless as your imagination.
Frequently Asked Questions
Q: What are some easy nail designs for beginners?
A: Some easy nail designs for beginners include micro French tips, minimalist geometric patterns, negative space designs, pastel color blocking, and glitter accent nails.
Q: How can I make my DIY manicure last longer?
A: To make your DIY manicure last longer, apply a high-quality top coat, reapply it every 2-3 days, moisturize your hands and cuticles daily, and protect your nails during daily activities.
Q: What are some affordable alternatives to professional nail art tools?
A: Affordable alternatives include using a toothpick instead of a dotting tool, repurposing an old eyeliner brush for fine details, and using tape or stickers to create clean lines and shapes.
Q: How do I create an ombre effect on my nails?
A: To create an ombre effect, apply stripes of chosen colors on a makeup sponge, dab the sponge onto your nail, rolling it slightly to blend the colors, and repeat until you achieve the desired intensity.
Q: What’s the best way to remove nail polish without damaging my nails?
A: Use a gentle, acetone-free nail polish remover. Soak a cotton pad in the remover, press it against your nail for a few seconds, then gently wipe away the color. Repeat if necessary for stubborn polish.
Q: How often should I give my nails a break between manicures?
A: It’s beneficial to give your nails a break between manicures to improve their health. During this time, focus on nourishing and strengthening your nails with treatments containing ingredients like keratin or biotin.
Q: What’s the one-stroke technique in nail art?
A: The one-stroke technique involves loading a brush with multiple colors and creating a design in a single stroke. It’s perfect for creating floral patterns, leaves, or abstract designs quickly and easily.
Q: How can I fix a chipped nail polish without redoing my entire manicure?
A: For small chips, dab a tiny amount of matching polish on the spot and seal with top coat. If the chip is at the tip, file the nail slightly and touch up the edge with polish.

