Learning to braid hair opens up a world of styling possibilities that can transform your daily routine. Whether you’re looking to create quick everyday styles or prepare for special occasions, braiding skills give you the versatility to achieve countless looks with just your hands and a few simple tools. The art of braiding has been passed down through generations, and now it’s your turn to master these timeless techniques.
Many women feel intimidated by braiding, assuming it requires years of practice or naturally nimble fingers. The truth is that anyone can learn to braid with the right guidance and a bit of patience. Starting with basic techniques and gradually building your skills, you’ll discover that creating beautiful braids is more about understanding the process than having any special talent. Your first attempts might feel awkward, but muscle memory develops quickly with practice.
In the following sections, we’ll walk through everything from gathering the right tools to mastering various braiding styles. You’ll learn the fundamentals of three-strand braiding, progress to French and Dutch techniques, and even tackle the trendy fishtail braid. Each technique builds on the previous one, creating a natural progression that makes learning feel manageable rather than overwhelming. Ready to transform your hair game? Let’s get started.
Essential Tools and Preparation for Braiding
Having the right tools makes the difference between a frustrating braiding experience and a smooth, enjoyable one. You don’t need to invest in expensive equipment, but a few key items will significantly improve your results. A rat-tail comb helps create clean parts and sections, while small clear elastics secure your braids without creating bulk. Hair clips or small claw clips keep sections separated as you work, preventing tangles and confusion.
Choosing the right hair tools
Your tool selection depends partly on your hair type and the styles you want to create. Fine hair benefits from texturizing spray and smaller elastics that won’t weigh down delicate strands. Thick hair requires stronger hold products and possibly larger sectioning clips. A hand mirror helps you check your progress from different angles, especially when braiding the back of your head. Some women find a spray bottle filled with water helpful for managing flyaways or adding grip to slippery hair.
Preparing your hair for braiding
Clean, dry hair provides the best foundation for most braiding styles. However, slightly dirty hair often braids more easily because natural oils add grip and texture. If your hair is freshly washed and too slippery, try adding some dry shampoo or texturizing powder at the roots. Detangle thoroughly before starting any braid – knots will only become more problematic once you begin braiding.
The way you prepare your hair also depends on your desired outcome. For sleek, polished braids, apply a smoothing cream or light gel to tame flyaways. For more casual, textured styles, skip heavy products and work with your hair’s natural texture. Consider your hair’s length too – shorter hair might need more product to keep pieces from escaping the braid.
Setting up your braiding workspace
Creating a comfortable braiding station prevents arm fatigue and helps you see what you’re doing. Position yourself in front of a mirror with good lighting – natural light works best, but a well-lit bathroom mirror serves perfectly. Keep all your tools within easy reach to avoid disrupting your rhythm once you start braiding.
Hair products that make braiding easier
Different products serve specific purposes in braiding. Here are the most useful ones:
Texturizing Spray: Adds grip to slippery hair, making sections easier to hold
Light Hold Gel: Smooths flyaways without creating stiffness
Dry Shampoo: Provides texture and volume at the roots
Leave-in Conditioner: Prevents breakage in fragile or damaged hair
Hair Oil: Adds shine to finished braids and tames frizz
Remember that less is more with products – too much will make your hair heavy or greasy. Start with small amounts and add more only if needed. Your hair type and the climate you live in will influence which products work best for your braiding needs.
Basic Three-Strand Braid Technique

The three-strand braid forms the foundation of almost every other braiding technique you’ll learn. Once this basic movement becomes second nature, more complex styles suddenly seem achievable. Think of it as learning to walk before you run – mastering this fundamental skill opens doors to endless creative possibilities.
Understanding the fundamental braiding motion
The three-strand braid works by alternating outer sections over the middle section in a consistent pattern. You divide hair into three equal parts: left, middle, and right. The magic happens through a simple crossing motion – take the right section, cross it over the middle (making it the new middle), then take the left section and cross it over the current middle. This alternating pattern continues down the length of your hair.
What makes this technique so brilliant is its simplicity. Your hands develop a rhythm: right over middle, left over middle, right over middle, left over middle. The repetition creates the characteristic woven appearance that defines a braid. Each crossing adds another link in the chain, building your braid one step at a time.
Step-by-step process for your first braid
Start by gathering your hair into a ponytail – this makes learning easier by eliminating the challenge of holding loose hair. Divide the ponytail into three sections as equal as possible. Hold the left section in your left hand, the right section in your right hand, and let the middle section hang free. Now begin the crossing pattern: move your right hand toward the center, placing the right section over the middle. The previous middle section becomes your new right section.
Next, move your left hand toward the center, crossing the left section over what’s now in the middle. Continue alternating sides, maintaining even tension throughout. As you work down the ponytail, you’ll see the braid pattern emerging. Secure the end with an elastic when you reach your desired length. Don’t worry if your first attempts look uneven – consistent section sizes and tension come with practice.
Common mistakes beginners make
Most beginners struggle with the same challenges, and recognizing these helps you avoid frustration. Uneven sections create lopsided braids where one side appears thicker than the other. Taking time to divide hair equally at the start prevents this issue. Another frequent problem involves tension – pulling too tight creates a painful, stiff braid, while too loose results in a braid that falls apart.
Many beginners also rush the process, trying to braid quickly before mastering the basic motion. Speed comes naturally once your hands know the pattern. Focus on consistency rather than speed during your learning phase. Losing track of which section goes where is normal initially. If you get confused, pause and identify your three sections again before continuing.
Practicing until it becomes natural
Building muscle memory requires repetition, but practice doesn’t have to feel tedious. Try braiding while watching TV or listening to music, letting your hands work while your mind relaxes. Practice on different textures too – a silk scarf, yarn, or even three ribbons tied together can help your fingers learn the motion without the complexity of managing actual hair.
Set realistic goals for your practice sessions. Start with completing one full braid without stopping, then work on creating even tension throughout. Once you can braid your own hair comfortably, practice on friends or family members. Braiding someone else’s hair uses different angles and hand positions, expanding your skills further. Within a few weeks of regular practice, you’ll find yourself braiding without conscious thought about each movement.
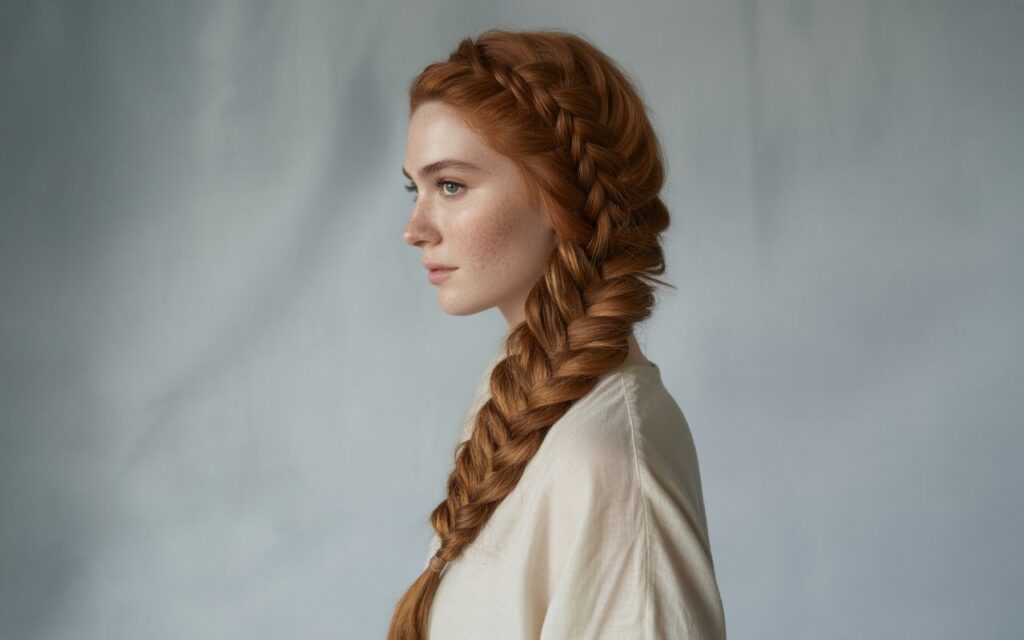
French Braid Made Simple
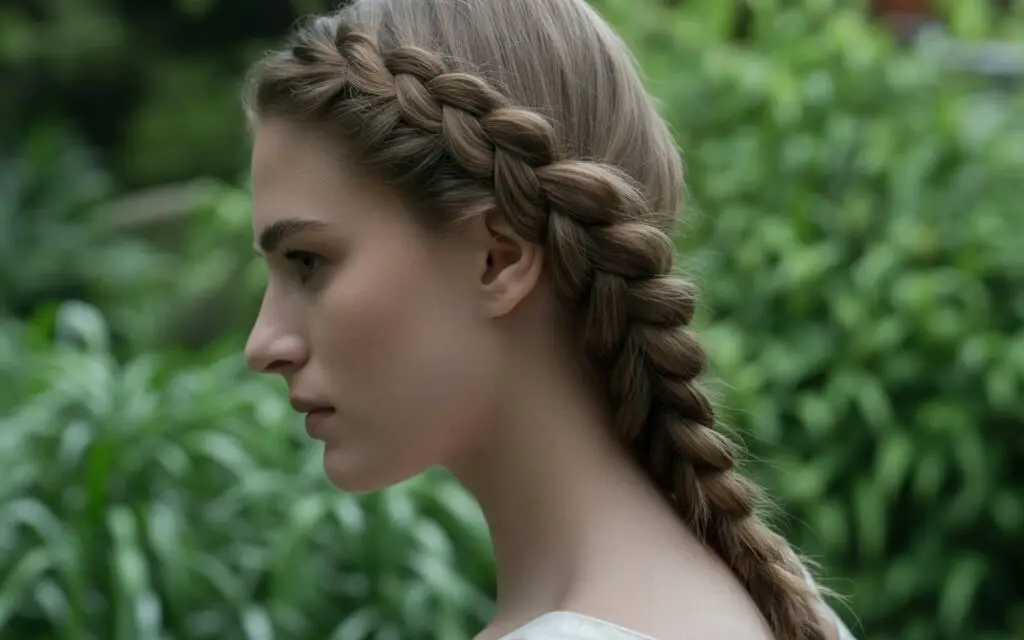
The French braid elevates your braiding skills by incorporating new hair as you work down the head. This technique creates a beautiful braid that sits flat against the scalp, perfect for keeping hair secure during activities or adding elegance to any look. While it might seem complicated watching someone else’s quick fingers, breaking down the process makes it surprisingly manageable.
How French braids differ from regular braids
Unlike a basic braid that starts with all hair gathered together, French braiding begins with a small section at the crown and gradually incorporates more hair. You’re essentially creating a three-strand braid while simultaneously gathering loose hair into it. This creates the signature look where the braid appears to grow from the scalp itself rather than starting at a fixed point.
The technique requires coordination between braiding and gathering, which is why many find it challenging initially. Your hands perform two jobs simultaneously – maintaining the braiding pattern while picking up new sections. Think of it as braiding and collecting at the same time, creating a beautiful woven path down your head.
Breaking down the French braid technique
Begin by taking a section of hair from the crown area, about the width of your thumb. Divide this into three equal pieces, just like starting a regular braid. Make one complete crossing sequence – right over middle, left over middle – to establish your braid base. Now comes the French braid element: before crossing the right section over again, gather a small amount of loose hair from the right side of your head and add it to that right section.
Cross this enlarged right section over the middle as normal. Repeat on the left side – gather some loose hair from the left side of your head, add it to the left section, then cross over the middle. Continue this pattern: gather, add, cross. Each time you prepare to cross a section, first incorporate new hair from that same side. Work your way down the head, picking up hair until you’ve incorporated all loose strands.
Tips for keeping sections even
Maintaining consistent section sizes throughout your French braid creates the most polished result. Use your pinky finger as a guide when gathering new hair – this helps you pick up similar amounts each time. Run your finger along the scalp parallel to your braid path, creating a clean line that separates the hair you’re adding from what remains loose.
Keep your hands close to the scalp while braiding to maintain control and create a tighter, neater appearance. If you work too far from the head, the braid becomes loose and sections become uneven. Some women find success by slightly tilting their head forward, making it easier to see and control the sections they’re gathering. Pay attention to the hair at your hairline too – these shorter pieces often try to escape but can be secured with a light mist of hairspray.
Troubleshooting loose or uneven braids
When your French braid looks bumpy or has loops sticking out, tension inconsistency is usually the culprit. Each section needs similar tension to create a smooth, even braid. If you notice looseness developing, gently tug the outer edges of your braid to tighten it retroactively. This works best when done section by section as you go, rather than trying to fix the entire braid at once.
Uneven gathering creates a lopsided appearance where one side looks fuller than the other. This often happens when you can’t see what you’re doing, particularly at the back of your head. Practice developing a feel for equal sections rather than relying solely on sight. Training your fingers to recognize similar amounts of hair takes time but eventually becomes instinctive. If sections repeatedly slip from your grip, your hair might need more texture – try adding dry shampoo or working with day-old hair for better grip.
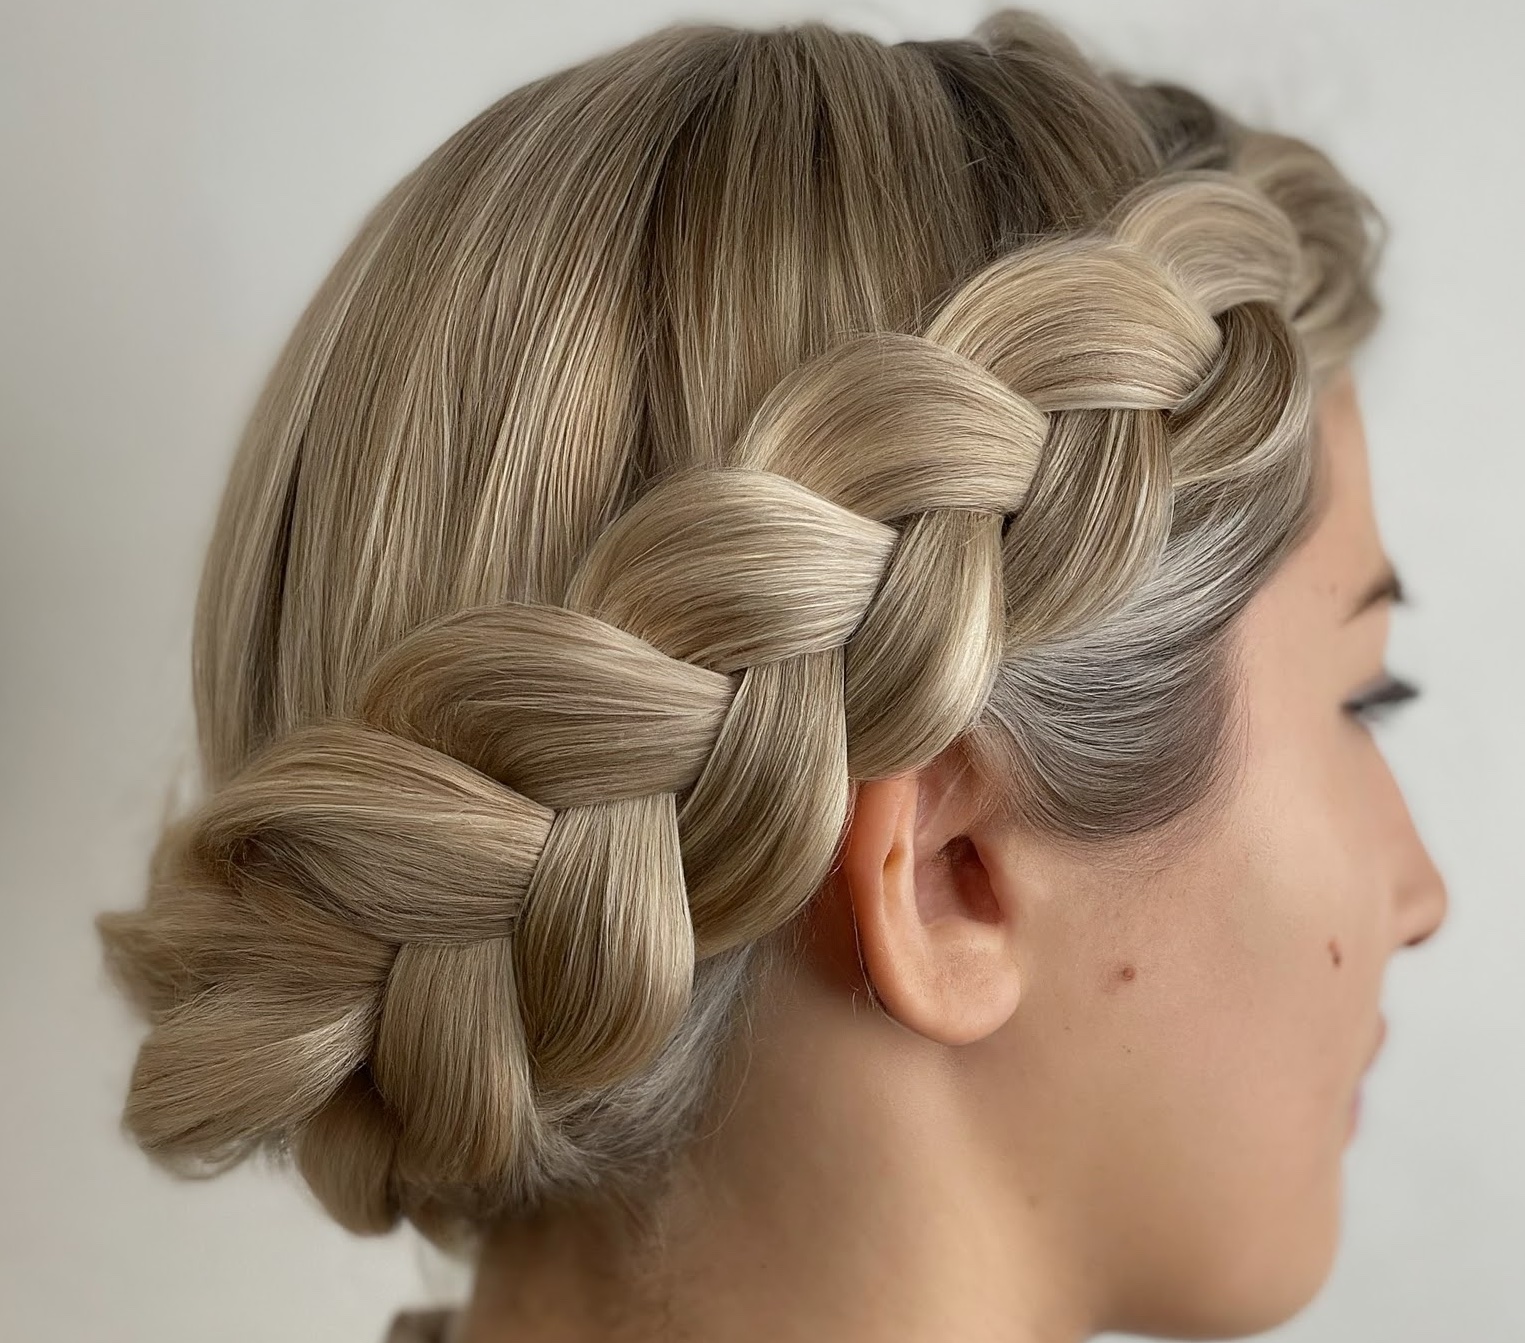
Dutch Braid for Beginners
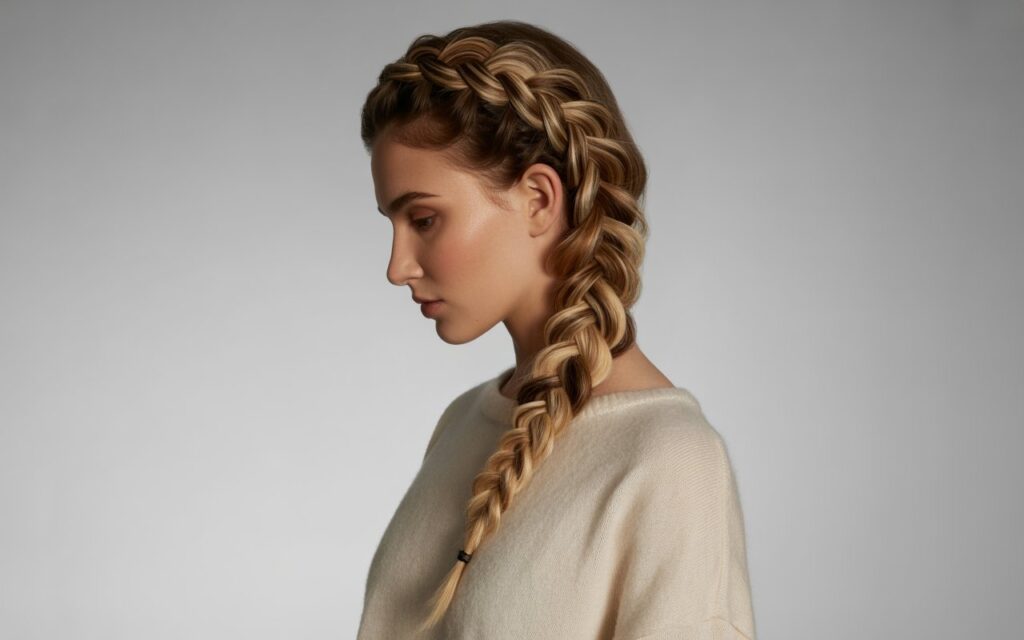
The Dutch braid, sometimes called an inverted or reverse braid, creates a stunning raised effect that makes your braid appear to sit on top of your hair rather than sink into it. This eye-catching style uses the same principles as French braiding but with one key difference that changes everything. Once you understand this simple switch, Dutch braiding becomes just as achievable as any other technique.
What makes Dutch braids unique
Instead of crossing sections over each other like in French and basic braids, Dutch braiding crosses sections underneath. This under-motion pushes the braid outward, creating the characteristic raised appearance that makes Dutch braids so striking. The braid stands proud from your head, almost like a decorative rope laid on top of your hair.
This three-dimensional effect makes Dutch braids perfect for creating the illusion of thicker, fuller hair. The raised structure catches light differently than flat braids, adding visual interest and dimension to any style. Many women prefer Dutch braids for special occasions because they photograph beautifully and maintain their shape longer than traditional braids.
Mastering the underhand technique
Starting a Dutch braid follows the same initial steps as a French braid – take a section from the crown and divide it into three parts. Here’s where the technique diverges: instead of crossing the right section over the middle, cross it underneath. Move your right hand below the middle section, threading that right piece under to become the new middle. Repeat with the left side, crossing under rather than over.
Adding new hair follows the same pattern as French braiding, but maintaining the under-motion throughout. Before crossing the right section under, gather hair from the right side and add it to that section. Then cross the combined section underneath the middle. The motion might feel awkward initially because it goes against the natural over-movement most people default to. Some find it helpful to think “under, under, under” while braiding to maintain the correct pattern.
Your hand position shifts slightly for Dutch braiding. While French braiding keeps hands above the working area, Dutch braiding requires threading sections from below, so your hands work at a lower angle. This adjustment period is normal – your muscle memory from other braiding might initially interfere. With practice, the underhand motion becomes as natural as any other braiding technique.
Creating volume with Dutch braids
Dutch braids naturally create volume, but you can enhance this effect through strategic techniques. Gently tug at the edges of your completed braid, starting from the bottom and working upward. This “pancaking” technique loosens the braid slightly, making it appear fuller and more dramatic. Pull evenly on both sides to maintain symmetry.
For maximum volume, incorporate these strategies:
Pre-braid Teasing: Lightly backcomb sections before braiding for built-in volume
Strategic Pulling: Focus on pulling the outer loops rather than the entire braid
Product Placement: Apply volumizing mousse at roots before starting
Section Size: Take slightly smaller sections for a more detailed, voluminous look
The beauty of Dutch braids lies in their versatility. Create two parallel Dutch braids for a sporty look, or wrap a single Dutch braid around your head for a crown effect. The raised structure works particularly well for updos, adding texture and interest to otherwise simple styles.
When to choose Dutch over French braids
Different occasions and hair types benefit from different braiding choices. Dutch braids excel when you want maximum visual impact or need to disguise thinner hair. The raised effect creates an optical illusion of thickness that French braids can’t match. For athletic activities, Dutch braids often stay more secure because the outward structure locks hair more firmly in place.
Consider Dutch braids for photography-heavy events too. The dimensional quality photographs beautifully, creating shadows and highlights that make your hairstyle pop in pictures. French braids tend to blend more seamlessly into hair, while Dutch braids demand attention. Your hair texture also influences the choice – fine, slippery hair often holds better in Dutch braids because the under-technique provides more grip.
Fishtail Braid Basics
The fishtail braid looks incredibly intricate but actually uses a simpler technique than traditional three-strand braiding. Working with just two sections instead of three, this style creates a gorgeous herringbone pattern that appears far more complicated than the actual process. Perfect for both casual beach days and elegant events, the fishtail braid adds a romantic, bohemian touch to any look.
Understanding the two-strand technique
Unlike traditional braids that work with three sections, fishtail braiding divides hair into only two parts. The magic happens by taking tiny pieces from the outer edge of one section and passing them to the inside of the opposite section. This continuous exchange creates the characteristic woven pattern that resembles fish scales or a herringbone design.
Starting with two equal sections, you pinch a small piece from the outer edge of the right section. This piece crosses over to join the left section on its inner side. Then take a small piece from the outer edge of the left section and pass it to the inner side of the right section. The smaller the pieces you transfer, the more intricate your fishtail appears. This back-and-forth movement continues all the way down your hair.
Creating your first fishtail braid
Begin by gathering your hair into a low ponytail – this makes learning easier by eliminating loose hair management. Divide the ponytail into two equal sections. Hold the left section in your left hand and the right in your right hand. Using your right index finger and thumb, pinch a small strand from the outer right edge of the right section. Pull this strand over the right section and add it to the inner side of the left section.
Now switch sides: use your left index finger and thumb to take a small strand from the outer left edge. Cross it over and add it to the inner side of the right section. Continue alternating sides, always taking from the outside edge and adding to the inside of the opposite section. The pattern creates a beautiful woven effect that becomes more defined as you progress. Keep your sections separate and tension consistent for the cleanest result.
Making fishtails look fuller
Fishtail braids naturally create a delicate appearance, but several techniques can make them look more substantial. The pancaking method works beautifully on fishtails – once complete, gently pull at the outer edges of each weave to loosen and expand the braid. Work systematically from bottom to top, pulling evenly to maintain the pattern while creating volume.
The size of sections you transfer dramatically impacts the final look. Tiny sections create an intricate, detailed braid perfect for formal occasions. Larger sections produce a chunkier, more casual appearance that works well for everyday styles. Experiment with different section sizes to find your preferred aesthetic. You can even vary section sizes within the same braid for an organic, effortless appearance.
Quick fishtail variations
Once you master the basic technique, try these creative adaptations:
Side Fishtail: Start at one ear and angle across your head for an asymmetrical style
Half-Up Fishtail: Braid only the top section of hair, leaving the rest loose
Fishtail Ponytail: Begin with a high ponytail for a sleek, polished variation
Messy Fishtail: Pull sections loose as you braid for an undone, romantic look
Double Fishtail: Create two parallel fishtails for a playful, youthful style
The fishtail technique also combines beautifully with other styles. Try starting with a French or Dutch braid at the crown, then transitioning to a fishtail once you’ve gathered all the hair. This hybrid approach creates interesting texture changes within a single style.
Securing and finishing fishtails
The delicate nature of fishtail braids requires thoughtful finishing to ensure they last. Clear elastic bands work best because they won’t distract from the intricate pattern. Wrap a small strand of hair around the elastic and secure with a bobby pin for a polished finish that hides the band completely.
Setting your fishtail ensures longevity, especially for special events. A light mist of flexible-hold hairspray maintains the style without creating stiffness. For a more lived-in look, skip the hairspray and allow the braid to naturally loosen throughout the day. Some women prefer to braid slightly damp hair, which sets the pattern more firmly as it dries. Consider your plans for the day when deciding how tightly to braid and whether to use finishing products.
Mastering Hair Braiding
Mastering these fundamental braiding techniques opens up endless possibilities for expressing your personal style. From the simple three-strand braid to the elegant fishtail, each technique you’ve learned builds upon the previous one, creating a solid foundation for hairstyling creativity. Remember that every expert braider started exactly where you are now – with clumsy fingers and uneven sections that gradually transformed into smooth, confident movements.
The key to braiding success lies not in perfection but in practice and patience with yourself. Your hands will develop muscle memory faster than you expect, and soon you’ll find yourself braiding while carrying on conversations or getting ready in dim morning light. Whether you’re preparing for a workout, a wedding, or just want to add variety to your daily routine, these braiding skills will serve you well for years to come. Pick up those hair ties, position yourself in front of a mirror, and start creating – your braiding adventure begins with the very first section you cross over.
Frequently Asked Questions
Q: How long does it take to learn basic braiding?
A: Most people can create a decent three-strand braid within a few practice sessions. French and Dutch braids typically take 2-3 weeks of regular practice to feel comfortable. Consistency matters more than natural talent.
Q: Why does my braid always turn out loose and messy?
A: Inconsistent tension is usually the culprit. Focus on maintaining even pressure throughout the braiding process. Also, ensure your hair has enough texture – very clean, slippery hair is harder to braid tightly.
Q: Can I braid very short hair?
A: Yes, though you’ll need to modify techniques. Hair should be at least 3-4 inches long for basic braids. Use more product for grip, work with smaller sections, and consider mini braids or braided accents rather than full-head styles.
Q: What’s the difference between French and Dutch braids?
A: French braids cross sections over each other, creating a braid that sits flat against the head. Dutch braids cross sections underneath, producing a raised, 3D effect that appears to sit on top of the hair.
Q: Should I braid wet or dry hair?
A: Generally, braid dry or slightly damp hair. Wet hair stretches and can break more easily. However, braiding damp hair can create beautiful waves when unraveled later. Very wet hair is difficult to manage and may not hold the braid well.
Q: How do I prevent arm fatigue while braiding?
A: Keep your elbows close to your body and work at shoulder height when possible. Take breaks every few minutes to shake out your arms. Sitting while braiding reduces strain compared to standing.
Q: Which braid style works best for thin hair?
A: Dutch braids create the most volume for thin hair due to their raised structure. Pancaking (gently pulling apart) any braid style also creates fullness. Add texture with dry shampoo or texturizing spray before braiding.
Q: How can I make my braids last longer?
A: Start with day-old hair for better grip. Use a texturizing product before braiding and finish with light hairspray. Sleep with a silk pillowcase or wrap hair in a silk scarf to reduce friction overnight.