Jewelry can transform an outfit from simple to stunning with just a few well-placed pieces. Layering different jewelry items creates depth, personal style, and visual interest that a single piece can’t achieve alone. This technique allows you to mix and match your favorite accessories for a look that’s totally your own.
Starting to layer jewelry doesn’t require a massive collection or expert knowledge. Begin with basics like a few thin necklaces of different lengths, stackable rings, or complementary bracelets. Try combining pieces you already own in new ways before buying additional items. The goal is to experiment freely while finding combinations that make you feel confident and stylish.
Building a versatile jewelry collection happens over time as you discover which pieces work well together. Focus on quality over quantity, adding items that coordinate with your existing pieces and wardrobe. Here’s specific strategies for mixing metals, creating perfect necklace stacks, styling wrist and finger jewelry, and finishing your layered look with earrings and other thoughtful touches.
Mixed Metal Masterclass: How to Combine Different Finishes

Mixing different metal finishes in your jewelry creates a modern, personalized look that breaks old fashion rules. Gold, silver, rose gold, and other metal tones can work beautifully together with a few simple techniques. The key is creating intention in your combinations so they look purposeful rather than random.
Rules for successfully pairing gold, silver and rose gold
The old “never mix metals” rule is outdated. Today, combining silver, gold, and rose gold adds visual interest and versatility to your jewelry collection. Start with a dominant metal (about 60% of your look) and add accent metals as secondary elements. This creates a cohesive foundation while still allowing for creative mixing.
What’s the easiest way to begin mixing metals? Try connecting pieces that already contain multiple metals. A two-tone watch or a pendant with mixed metal elements naturally bridges the gap between your gold and silver pieces.
Another useful strategy involves considering your skin’s undertones. While you can wear any metal, those with warm undertones might make gold their dominant metal, while those with cool undertones might focus more on silver. This subtle connection creates harmony between your jewelry and your natural coloring.
Creating depth with contrasting metal textures
Texture differences make mixed metals look intentional rather than mismatched. Pair high-polish silver with hammered gold or brushed rose gold with shiny yellow gold. These texture contrasts create visual dimension that elevates your jewelry game.
The interplay of different metal textures catches light in varied ways. A matte finish absorbs light while polished surfaces reflect it, creating a dynamic visual effect as you move. This technique works particularly well for stacked rings or layered bracelets where the textures sit close together.
Balancing proportions with different metal weights
The visual weight of each piece matters as much as its color. A chunky gold bracelet paired with delicate silver chains creates balance through contrast. Too many heavy pieces overwhelm, while too many delicate pieces lack impact.
Consider these principles when balancing your mixed metal jewelry:
The Rule of Three: Group jewelry in odd numbers (especially threes) for naturally pleasing arrangements.
Size Variation: Combine different sizes within each metal type for visual interest.
Graduated Scaling: Layer necklaces with gradually increasing or decreasing weights for a cohesive look.
Focal Point: Use one standout piece as an anchor, with supporting jewelry in different metals.
Unifying mixed metals through design elements
Common design features tie different metal pieces together beautifully. Look for shared shapes, patterns, or gemstones across your mixed metals. A similar geometric style or the same stone type creates a connection between otherwise different pieces.
Think about your overall aesthetic too. Are your pieces mostly minimalist? Vintage-inspired? Having a consistent style direction helps varied metals work together cohesively. A collection of mixed metals all featuring pearl accents, for example, will feel intentionally curated despite their different metal tones.
Tips for maintaining visual cohesion
Strategic placement helps mixed metals make sense together. Try creating zones with different metals—gold necklaces with silver earrings, or rose gold rings with gold bracelets. This approach creates balance while allowing different metals to shine in their own space.
Don’t overlook the power of a connecting piece. A tri-color ring or pendant containing all the metals you’re wearing can make the whole look feel purposeful. These “bridge pieces” signal to viewers that your mixing is intentional, not accidental.
Consider your clothing when mixing metals too. Neutral outfits provide a clean canvas for mixed metals to shine. Metallic threads or buttons in your clothing can also serve as natural extensions of your jewelry’s color story, creating a thoughtfully coordinated appearance from head to toe.
The Perfect Necklace Stack: Layering for Every Neckline
The perfect necklace stack transforms ordinary outfits into personalized fashion statements. Your neckline serves as the frame for these jewelry compositions, with different cuts calling for specific layering approaches. A thoughtfully arranged necklace collection complements your natural features while highlighting your clothing’s best elements.
V-neck and scoop neck necklace combinations
V-necks and scoop necks practically beg for layered necklaces. These open necklines create a natural space where graduated chains can nestle perfectly. A classic approach pairs three necklaces of increasing length: a shorter piece at collarbone level, a mid-length chain, and a longer pendant that falls into the V.
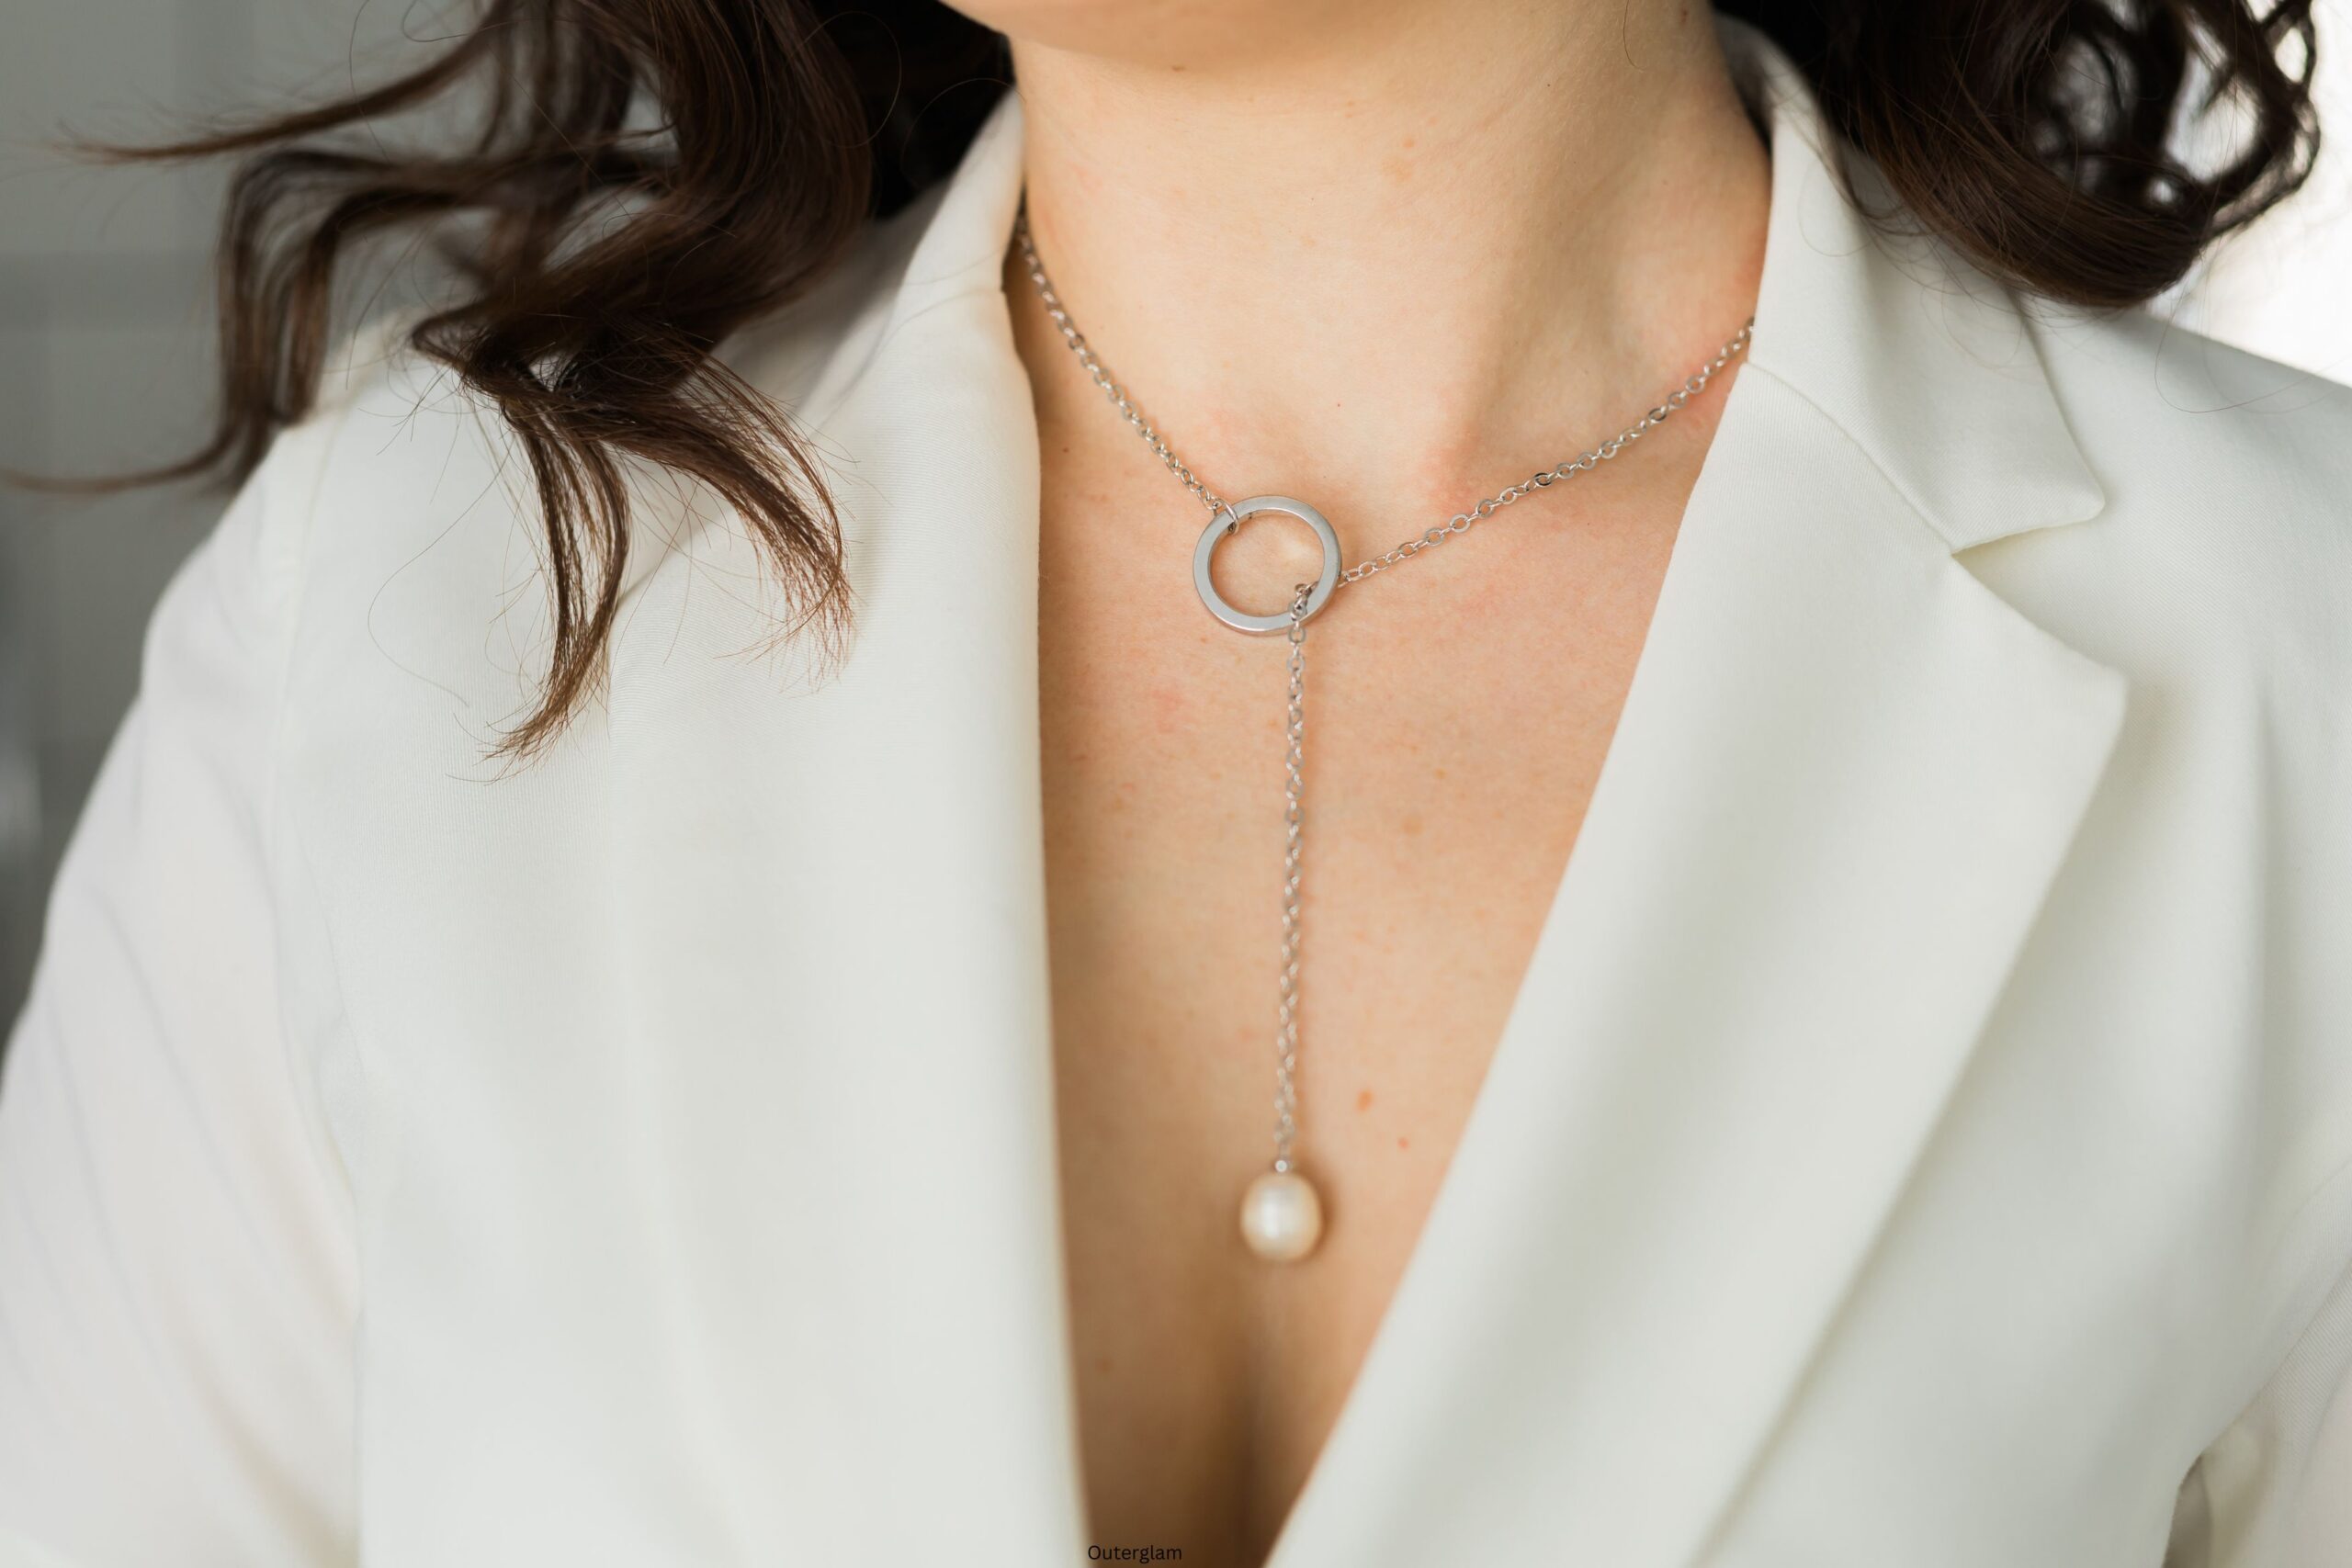
Why do these necklines work so well with layered pieces? The curved or angled opening mimics the natural cascading shape of layered chains. The negative space created by the neckline gets filled beautifully with the visual interest of your jewelry. For V-necks specifically, try a Y-shaped necklace that echoes and extends the V shape of your top.
Styling chokers and pendants for high necklines
High necklines require a different approach. With turtlenecks, crew necks, and button-ups, longer pendants take center stage. A single long chain with an eye-catching pendant can elongate your silhouette while avoiding competition with the high neckline itself.
Don’t shy away from chokers with high-necked clothing. A choker paired with a much longer pendant creates striking vertical lines that add height visually. This high-low combination works particularly well with monochromatic outfits where your jewelry becomes the focal point.
For business attire with collared shirts, a shorter necklace that sits just at or above the collar opening maintains professionalism while adding a touch of personality. Just check your combination while sitting down – pendants that swing forward during movement might tangle with buttons or knock against desks.
Off-shoulder and strapless outfit pairings
Off-shoulder and strapless styles offer an expansive canvas for necklace creativity. With bare shoulders and décolletage, you can experiment with dramatic collar necklaces or elaborate bib styles that might overwhelm other necklines. These substantial pieces balance the openness of the outfit.
For summer wedding events or formal gatherings, a strapless dress pairs beautifully with a shorter, more substantial chain plus a delicate longer pendant. This combination draws attention upward toward your face while still highlighting the elegant line of your shoulders.
Asymmetrical necklaces work wonderfully with one-shoulder tops. The uneven layout of the jewelry complements the asymmetry of the clothing, creating a harmonious yet interesting visual connection between fabric and accessory.
Creating balance with varied chain lengths
The secret to a polished necklace stack lies in thoughtfully varied chain lengths. These specific spacing guidelines help avoid tangling while creating visual harmony:
Two-inch rule: Aim for approximately two inches between each necklace length for clear definition.
Focal point positioning: Place your most eye-catching piece at the center of your stack.
Weight distribution: Alternate heavier and lighter chains for balance and movement.
Length extremes: Include at least one notably short piece and one significantly longer one for dimensional contrast.
Multi-chain techniques for maximum impact
Creating complex multi-chain looks requires specific techniques. Start with a foundation chain – usually your shortest piece – and build outward. Add each additional necklace individually, checking in a mirror to adjust spacing before adding the next.
Consider connection points as your collection grows. Necklaces with adjustable clasps allow for customized lengths, solving the common problem of chains clustering at standard lengths. Another helpful trick involves using small, clear silicone stoppers (available at craft stores) to hold pendants in specific positions along your chains, preventing them from sliding together.
The multi-chain look truly shines when you mix different chain styles within the same metal family. Try combining cable links with box chains, rope patterns with herringbone designs. These textural variations add sophistication while maintaining harmony across your layered collection. Positioning each necklace just right transforms separate pieces into what appears to be a single, custom-designed creation that perfectly frames your face and complements your chosen neckline.
Wrist and Finger Styling: Bracelets and Rings That Work Together
Your hands speak before your words do. They gesture, type, touch, and showcase your personal style through carefully chosen adornments. Bracelets and rings create a distinctive visual story when thoughtfully paired, drawing attention to your movements in subtle yet captivating ways.
Creating the perfect bracelet stack
The art of bracelet stacking begins with a focal piece – perhaps a cuff with special meaning or a bangle with eye-catching details. This anchor item sets the tone for everything else on your wrist. From there, add complementary pieces that vary in width, texture, and visual weight.
A balanced stack includes both structured and fluid elements. Rigid bangles pair beautifully with flexible chain bracelets or beaded designs. This contrast creates movement and prevents your wrist from looking too uniform or static.
How many bracelets make an ideal stack? Three to five pieces typically create visual interest without overwhelming your arm. Odd numbers often create more appealing groupings, though this guideline can be adjusted based on the size of your wrist and the width of your chosen pieces.
Watch for proportion as you build your collection. A petite wrist might be overwhelmed by too many chunky pieces, while very thin bracelets might look insubstantial on a larger frame. The goal is harmony between your physical attributes and your jewelry choices.
Incorporating watches into your wrist layers
Watches deserve special consideration in your bracelet strategy. As functional accessories with significant visual presence, they anchor one wrist while allowing the other to carry a different story. Your timepiece can serve as the centerpiece of your bracelet stack or stand alone on one wrist while bracelets occupy the other.
For those who prefer wearing watches and bracelets together, try these proven strategies for success:
Buffer Zone: Place thin, soft bracelets (like cord styles) between your watch and metal bangles to prevent scratching.
Size Graduation: Position smaller bracelets next to your watch, with larger pieces further up your arm.
Material Matching: Echo your watch’s metal tone in at least one bracelet for cohesion.
Negative Space: Leave breathing room between pieces rather than crowding everything together.
Ring stacking techniques for multiple fingers
Ring stacking transforms basic bands into customized finger art. Start with a foundation ring – typically a simple band or solitaire – then build around it with complementary pieces. Many women find success by anchoring their stack with a significant ring (like an engagement or heirloom piece) and adding smaller supporting bands.
Distributing rings across multiple fingers creates balance. A heavily adorned index finger might be balanced by a single delicate band on your pinky. This asymmetrical approach feels modern and intentional rather than haphazard.
Knuckle rings (those worn above the middle knuckle) add dimension to your hand styling, creating unexpected visual interest in new places. These pieces work particularly well on longer fingers where the additional adornment doesn’t feel cramped.
Mixing statement and subtle pieces effectively
A successful hand styling strategy balances bold and quiet elements. One oversized cocktail ring paired with several minimalist bands creates a focal point without overwhelming your hands. Similarly, a chunky cuff bracelet might be softened by thin chain bracelets nearby.
The key question: where do you want to direct attention? If you’re wearing an elaborate ring, consider more restrained bracelets. Conversely, a dramatic bracelet stack pairs nicely with simpler rings. This push-pull between statement and subtle creates visual interest while maintaining sophistication.
Negative space plays a crucial role too. Leaving some fingers bare or creating space between bracelet groupings allows each piece to shine. Without these visual breaks, even the most beautiful pieces can lose their impact.
Coordinating your hand jewelry with your outfit
Your clothing provides context for your hand jewelry. Casual outfits with rolled sleeves naturally showcase bracelets, while formal attire with long sleeves might better highlight rings. The overall color palette matters too – gold jewelry pops against navy, while silver complements cool grays and blues.
Texture connections strengthen the relationship between clothing and jewelry. Rough-hewn wooden bracelets complement linen fabrics, while polished metals echo the sheen of silk. These subtle material dialogues create cohesion throughout your entire look.
Activity level should influence your selections as well. Typing all day? Perhaps fewer rings or more comfortable bands. Attending an evening event? More elaborate pieces may be practical for a few hours of limited hand use. Your hand jewelry should support your daily activities rather than hindering them.
Completing Your Layered Look: Earrings and Final Touches
Earrings frame your face while completing the story your layered jewelry tells. As the final chapter in your accessory narrative, ear adornments add personality and polish to your overall look. They’re also often the first pieces people notice during conversation, making their selection particularly important.
Multi-earring styling for different face shapes
Face shape influences which earring styles and arrangements flatter you most. Round faces gain definition from angular earrings and asymmetrical arrangements that create visual lines. Conversely, angular face shapes often benefit from curved or circular earrings that soften sharp features. The key is creating gentle contrast with your natural bone structure.
Multiple piercings allow for creative expression through curated ear designs. For those with several ear piercings, consider a gradient approach: larger pieces near the lobe transitioning to smaller studs higher up. This creates a visual journey that draws the eye upward in an appealing way. How many earrings work well together? There’s no strict rule, but odd numbers (three or five pieces) typically create the most visually pleasing arrangements.
Balancing your earring stack with other jewelry
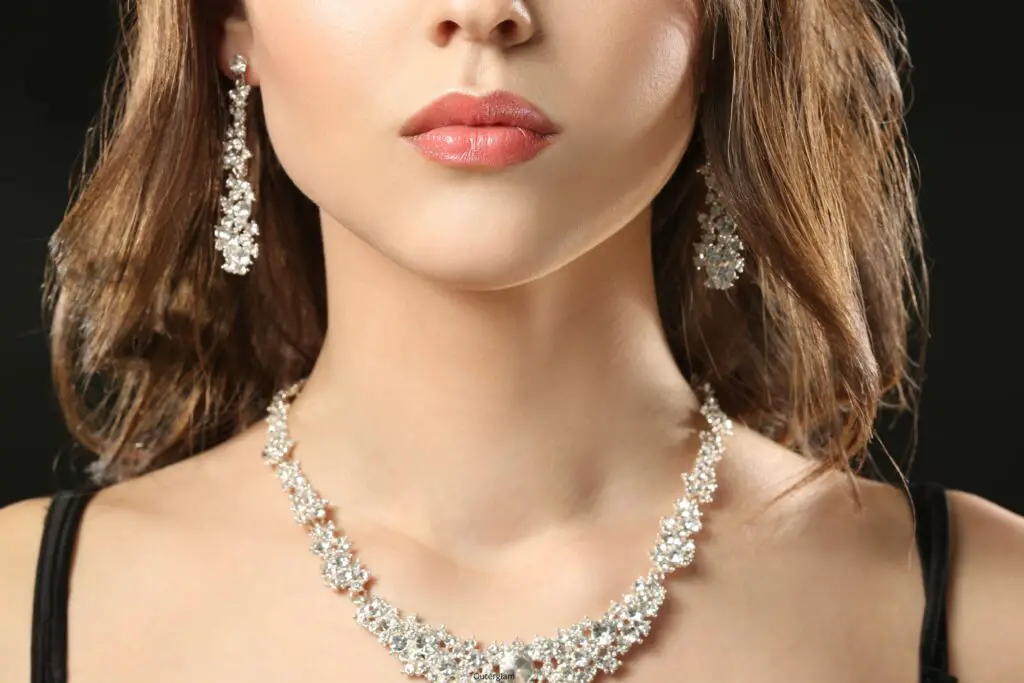
The relationship between your earrings and other jewelry requires thoughtful attention. Heavy, elaborate necklace stacks generally pair better with simpler ear adornments. Similarly, dramatic multi-finger ring arrangements might suggest more restrained earring choices. Think of your jewelry as participants in a conversation – if everything speaks loudly simultaneously, no single element gets properly heard.
Your earring selection should take into account the overall distribution of visual weight in your outfit and accessories. These strategic considerations help achieve visual harmony:
Focal Point Planning: Decide whether earrings or another jewelry area (like necklaces) will serve as your primary attention-getter.
Color Distribution: Echo metals or gemstone colors across different jewelry areas for cohesion.
Scale Consistency: Match the scale of your earrings to your overall jewelry approach – delicate chains pair with refined ear studs.
Negative Space Value: Allow for “breathing room” between jewelry areas rather than adorning every possible space.
Creating cohesion across all jewelry elements
Cohesion doesn’t require matching sets. Rather, it means creating visual connections that make separate pieces feel intentionally chosen together. One effective approach uses a unifying element – perhaps a particular metal finish, gemstone type, or design motif – that appears across different jewelry pieces.
Texture serves as another powerful connector. Hammered metals, twisted wire techniques, or specific surface treatments can link visually disparate pieces together. Even when shapes and sizes vary dramatically, shared textures create an underlying unity that feels purposeful.
Color stories create cohesion naturally. This doesn’t mean everything must be identical – mixing cool-toned metals (silver, platinum, white gold) or warm-toned options (yellow gold, rose gold, brass) creates harmony while maintaining visual interest. The key is having enough repetition that connections form while allowing for enough variation to keep the eye engaged.
Adjusting layers for different occasions
Your jewelry layering approach shifts with context. Workday combinations might feature fewer, more subtle pieces that won’t distract or interfere with tasks. Meanwhile, evening events invite more elaborate arrangements where multiple earrings, stacked necklaces, and layered bracelets create dramatic visual interest.
Activity level should influence your selections. Physical activities suggest more minimal, secure jewelry choices, while sedentary social events allow for more elaborate combinations. The ideal layered jewelry look complements your activities rather than hindering them.
Troubleshooting common layering challenges
Tangling presents the most common challenge with layered jewelry. For necklaces, magnetic clasps or small clear silicone stoppers can help maintain proper spacing. With earrings, spacing multiple pieces appropriately prevents backing crowding and discomfort.
Does your jewelry make noise? Metal pieces clinking together can become distracting. Strategic placement of softer elements – like a fabric cord necklace between metal chains – often solves this issue. Similarly, adding small rubber or silicone backings to dangly earrings prevents unwanted sounds during movement.
Comfort remains paramount with any jewelry combination. A gorgeous arrangement that causes discomfort won’t be worn often. Test your combinations by wearing them around your home first. Move naturally, sit, stand, and check for any pinching, pulling, or irritation. The most successful jewelry layers feel so comfortable you forget you’re wearing them – until someone compliments your thoughtfully curated look.
Your Signature Jewelry Symphony
Layered jewelry transforms your personal style from a single note into a rich, multi-dimensional composition. The way you combine metals, position necklaces along necklines, arrange bracelets and rings, and finish with thoughtful earring selections creates a visual language that’s distinctly yours. This personalized approach to accessorizing allows you to express different facets of your personality through thoughtful combinations rather than single statement pieces.
The most rewarding aspect of jewelry layering comes from experimentation and discovery. Your perfect combination might break traditional rules while creating something fresh and personal. Start with pieces you already love, add new elements gradually, and pay attention to how different arrangements make you feel. The confidence that comes from wearing a thoughtfully layered jewelry collection extends beyond aesthetics – it’s about wearing pieces that tell your story and highlight what makes you feel most authentically yourself.
Frequently Asked Questions
Q: Can I mix gold and silver jewelry together?
A: Yes, you can absolutely mix gold and silver jewelry. Start with a dominant metal (about 60% of your look) and add the other as an accent. Using pieces that already contain multiple metals helps create a natural bridge between your gold and silver items.
Q: How many inches should be between layered necklaces?
A: Aim for approximately two inches between each necklace length. This spacing prevents tangling while creating clear visual definition between pieces. For example, pair an 18-inch chain with a 20-inch and a 22-inch for a well-balanced stack.
Q: How many bracelets make an ideal stack?
A: Three to five bracelets typically create visual interest without overwhelming your wrist. Odd numbers often create more appealing groupings, though this can be adjusted based on your wrist size and the width of your chosen pieces.
Q: How do I wear a watch with bracelets without scratching it?
A: Place thin, soft bracelets (like cord styles) between your watch and metal bangles to create a buffer zone. You can also wear smaller bracelets next to your watch with larger pieces further up your arm, or wear your watch on one wrist and bracelets on the other.
Q: Which fingers are best for stacking rings?
A: The index finger and ring finger typically offer the most comfort for ring stacks. Start with a foundation ring (like a simple band) on one finger, then add complementary pieces. Distribute rings across multiple fingers for balance rather than concentrating them all on one or two fingers.
Q: How should I choose earrings based on my face shape?
A: Round faces benefit from angular earrings that create definition, while angular face shapes are flattered by curved or circular earrings that soften sharp features. Create gentle contrast with your natural bone structure for the most flattering effect.
Q: Should my earrings match my necklace?
A: Your earrings don’t need to match your necklace exactly, but they should feel connected through a unifying element like metal type, gemstone, or design motif. If you’re wearing a dramatic necklace stack, consider simpler earrings to maintain balance.
Q: How do I keep my layered necklaces from tangling?
A: Use magnetic clasps or small clear silicone stoppers to maintain proper spacing between chains. Necklace lengths that differ by at least two inches also help prevent tangling. For storage, hang necklaces separately or use jewelry organizers with individual compartments.
Q: How should I adjust my jewelry layers for different occasions?
A: Workday combinations should feature fewer, more subtle pieces that won’t distract from tasks. Evening events allow for more elaborate arrangements with multiple earrings, stacked necklaces, and layered bracelets. Always consider your activity level when selecting jewelry combinations.