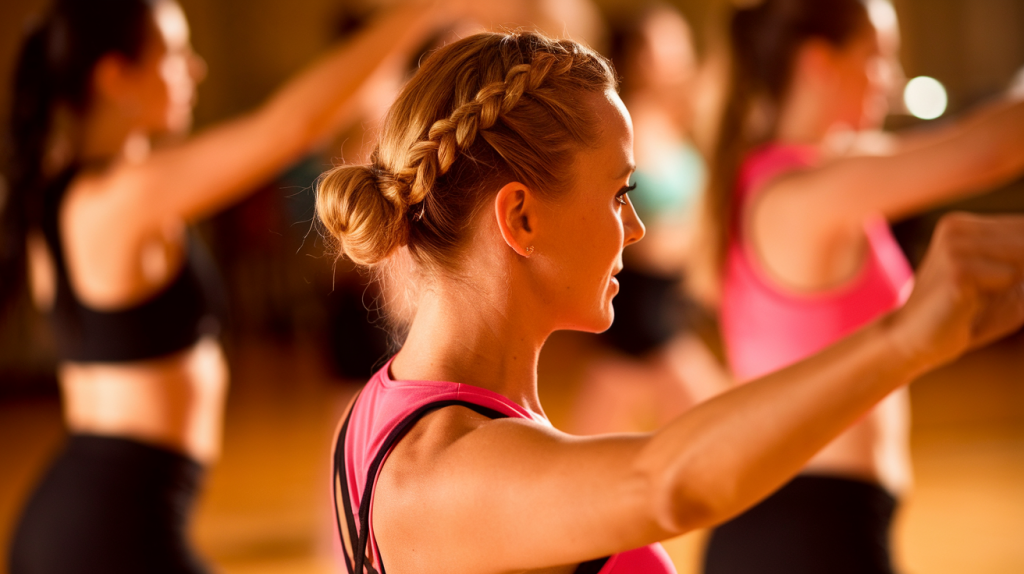
Finding the right hairstyle for Zumba can feel like solving a puzzle while dancing to Latin beats. Your hair needs to stay secure through salsa steps, merengue moves, and countless hip swings, all while you’re working up a serious sweat. The wrong hairstyle can turn your energetic dance session into a constant battle with flyaways, fallen ponytails, and hair sticking to your face at the worst possible moments.
Braided hairstyles offer the perfect solution for Zumba enthusiasts who want to focus on their moves rather than their misbehaving hair. These styles combine practicality with style, keeping every strand in place while you master those choreographed routines. Beyond just staying put, braids protect your hair from the friction and pulling that happens during high-energy workouts, reducing breakage and maintaining your hair’s health even through multiple classes per week.
The following sections will guide you through five braided hairstyles specifically chosen for their ability to withstand Zumba’s dynamic movements. Each style has been tested in real dance studios, proven to last through entire sessions without requiring mid-class adjustments. Whether you have fine hair that slips out of regular ponytails or thick hair that feels heavy when loose, you’ll find options that work for your specific needs. Let’s discover which braided style will become your go-to look for conquering the dance floor.
Why Braided Hairstyles Are Ideal for Zumba Classes
The physics of Zumba movements creates unique challenges for your hair that regular gym hairstyles can’t handle. Every spin, jump, and shoulder roll puts stress on traditional ponytails and buns, causing them to loosen, shift, or completely fall apart mid-routine. Braids distribute this tension evenly throughout the hair structure, creating a stable foundation that moves with you rather than against you.
How braids prevent hair damage during intense movement
Your hair experiences significant stress during dance workouts, particularly at the roots where regular elastic bands create pressure points. Braided styles spread this pressure across multiple anchor points, reducing the concentrated pulling that leads to breakage. The interwoven structure also minimizes tangling that occurs when loose strands rub against each other during rapid movements.
Think about what happens to your hair during a typical Zumba class. You’re constantly changing directions, your head moves in every possible angle, and the momentum from these movements pulls your hair in unpredictable ways. Without proper securing, this creates friction between hair strands, leading to split ends and frizz. Braids lock each section of hair into a protective pattern that prevents this damaging friction.
Sweat management and scalp health benefits
Perspiration during Zumba isn’t just uncomfortable – it can actually weaken your hair’s hold in traditional styles. Moisture causes elastic bands to slip and bobby pins to lose their grip. Braided styles work differently, actually becoming more secure as your workout progresses. The texture created by braiding provides natural grip that doesn’t rely solely on accessories to stay in place.
Time-saving aspects of pre-styled braids
Morning class attendees know the struggle of styling hair before dawn. Creating a braided style the night before means you can literally roll out of bed and head straight to the studio. Many braided styles actually look better after sleeping in them, as the slight loosening creates a more relaxed, lived-in appearance that still maintains its structure through your workout. This time-saving benefit extends beyond just the pre-class routine – you won’t need to completely restyle your hair after class either.
Confidence boost from secure hairstyles
Nothing disrupts your flow quite like hair falling into your face during a challenging sequence. When you trust your hairstyle to stay put, you can fully immerse yourself in the music and movements. This confidence translates directly into better performance and more enjoyment of your workout. You’ll find yourself attempting more challenging moves when you’re not worried about your hairstyle falling apart.
Secure braids also photograph well, which matters more than you might think. Many Zumba classes incorporate social elements, with group photos and videos becoming part of the experience. Knowing your hair looks intentional and put-together, rather than disheveled from movement, helps you feel camera-ready even after an intense session.
Longevity through multiple workout sessions
A well-executed braided style can last through several workout sessions with minimal touch-ups. This durability makes braids particularly valuable for people who attend multiple classes per week or combine Zumba with other activities. Instead of completely restyling between each workout, you might only need to smooth a few flyaways or tighten a hair tie.
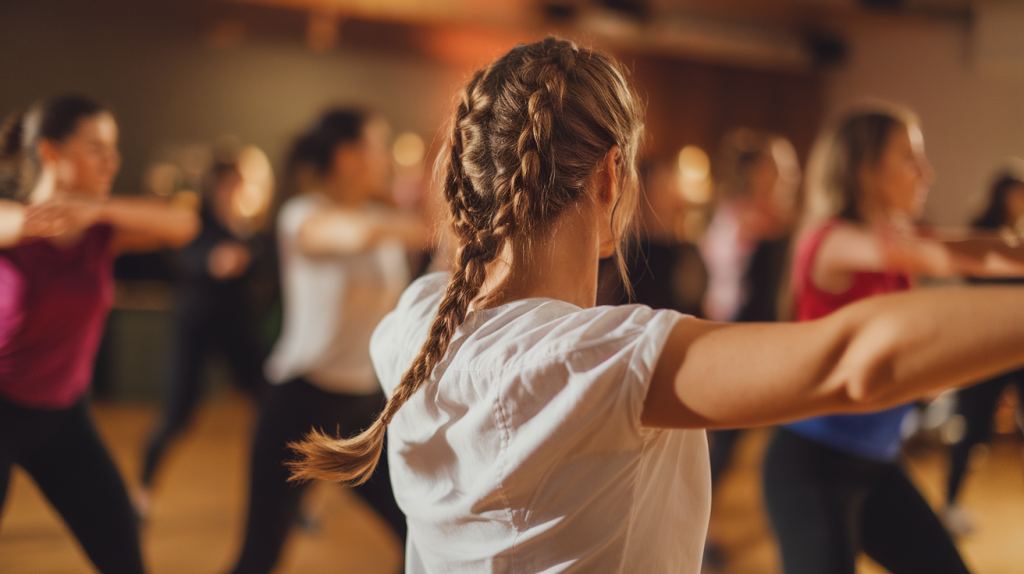
The Classic French Braid Ponytail Combo
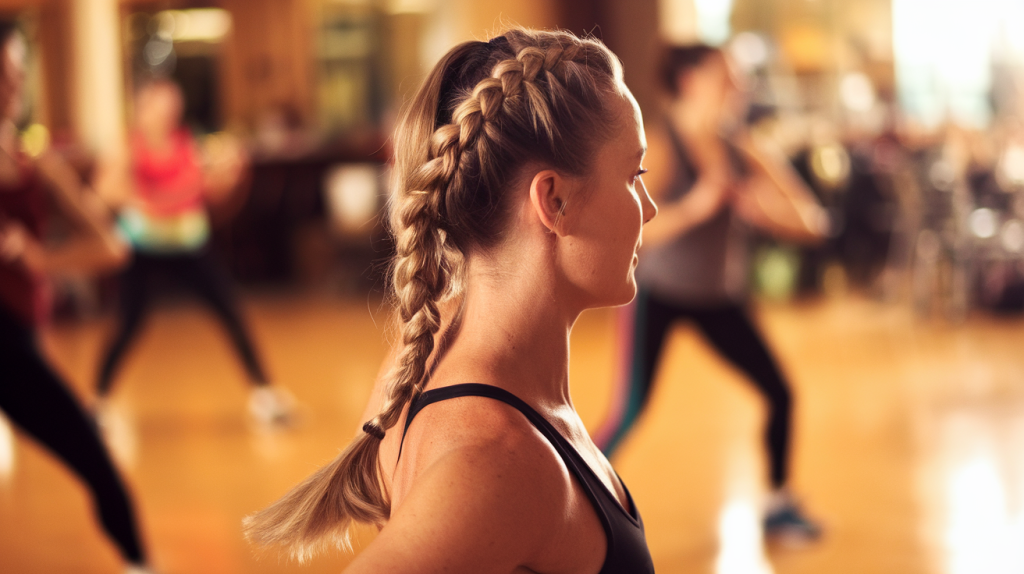
This timeless style combines the security of a French braid with the movement-friendly nature of a ponytail, creating a look that’s both functional and polished. Starting at your crown and transitioning into a high ponytail, this hybrid style keeps hair completely off your face while allowing some movement in the ponytail section. The combination works particularly well for medium to long hair that needs extra control at the roots but benefits from some freedom at the ends.
Step-by-step creation process
Begin with completely dry hair for the best grip and longevity. Section off the top portion of your hair from temple to temple, creating a horseshoe shape on your crown. Start your French braid at the hairline, incorporating small sections as you work backward toward your crown. Keep the braid tight but not painful – you want security without creating a headache halfway through class.
Once you reach the crown area where you want your ponytail to sit, stop adding new sections and complete a regular three-strand braid for about two inches. Gather all remaining hair, including the braid, into a ponytail at your desired height. The braid naturally creates lift at the crown, giving your ponytail extra volume and preventing that flat, pulled-back look that can happen with regular ponytails.
Best hair types for this style
Medium-density hair responds beautifully to this technique, as it has enough weight to maintain the braid’s structure without becoming too heavy in the ponytail. Fine hair benefits from texturizing spray applied before braiding, which adds grip and prevents slipping. Those with very thick hair might want to create two parallel French braids instead of one central braid to better distribute the weight.
Hair texture plays a role in how this style performs too. Straight hair might need extra product for grip, while wavy or curly textures often hold the style naturally. If your hair is freshly washed and slippery, consider using a small amount of dry shampoo at the roots before starting. This adds the texture needed for the braid to grip properly without making your hair look dirty.
Securing techniques for maximum hold
The transition point where braid meets ponytail requires special attention to prevent loosening. Use a clear elastic to secure the braid first, then a stronger elastic for the full ponytail. This double-securing method prevents the weight of the ponytail from pulling the braid loose. Some dancers prefer wrapping a small section of hair around the elastic to hide it, securing with a bobby pin that matches their hair color.
Bobby pins can reinforce areas that tend to loosen during movement. Place them strategically where the braid meets your scalp, angling them to follow the direction of the braid. For extra security during particularly energetic routines, a light misting of hairspray over the finished style helps everything stay in place without creating stiffness that looks unnatural.
Variations for different face shapes
Round faces benefit from leaving a few face-framing pieces loose, softening the pulled-back effect. Create gentle waves in these pieces so they don’t stick to your face when you sweat. Heart-shaped faces look great with the braid starting slightly off-center, creating asymmetry that balances facial proportions. For oval faces, the classic center braid works perfectly, though adding height at the crown creates an elongating effect that’s universally flattering.
Maintenance tips between classes
After your Zumba session, resist the urge to immediately redo the entire style. Often, simply tightening the ponytail elastic and smoothing any flyaways with a bit of water on your palms refreshes the look completely. If you plan to wear the style for multiple days, protect it while sleeping by loosely wrapping the ponytail in a silk scarf or using a silk pillowcase to reduce friction.
For second-day wear, focus on refreshing the front sections that show the most wear. A small amount of edge control gel smoothed along the hairline covers any frizz that developed overnight. The beauty of this particular style lies in its ability to look intentionally relaxed as it loosens slightly, maintaining its essential structure while appearing effortlessly casual.
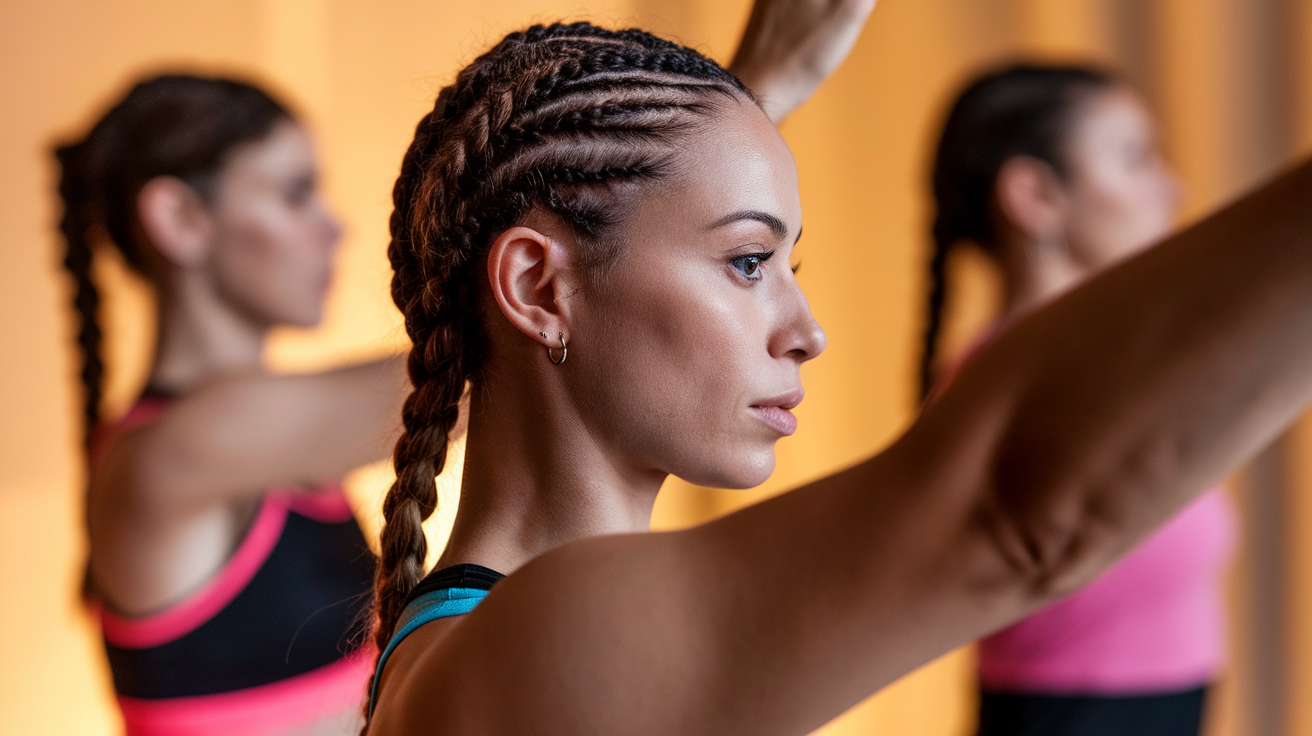
Double Dutch Braids with a Twisted Bun

Dutch braids create a raised, three-dimensional effect that looks intricate while providing exceptional hold during dynamic movements. When combined with a twisted bun at the nape, this style offers complete hair control with zero chance of strands escaping during even the most enthusiastic Zumba session. The raised nature of Dutch braids also creates a cooling channel along your scalp, helping with temperature regulation during intense cardio sequences.
Preparation and sectioning methods
Start by creating a precise center part from your forehead to the nape of your neck. This part determines the symmetry of your final look, so take time to get it straight. Use the pointed end of a rattail comb for accuracy, checking in a mirror to ensure the part runs straight down the back of your head. Clip one side completely out of the way while working on the first braid.
The key to successful Dutch braids lies in maintaining consistent tension throughout the braiding process. Each section you add should be roughly the same size, creating uniform bumps along the braid. Begin at your hairline with three small sections, crossing the outer strands under the middle strand rather than over, which creates the signature raised effect.
Creating symmetrical Dutch braids
Work your way down one side of your head, adding hair to the outer strands before each cross-under motion. Keep your hands close to your scalp and maintain firm tension without pulling painfully. The angle at which you hold your hands affects the braid’s direction – keep them parallel to your part for straight braids that follow your head’s curve.
Achieving symmetry between both braids requires practice and patience. Count the number of sections you add to the first braid, then match that number on the second side. If one braid appears looser than the other, gently tug on the edges of the tighter braid to even them out. This technique, called pancaking, also adds volume to the braids, making them appear fuller and more prominent.
Transitioning braids into a secure bun
Once both braids reach the nape of your neck, continue braiding without adding new sections until you reach the ends of your hair. Secure each braid with a clear elastic. Now comes the creative part – transforming these braids into a bun that won’t budge during your workout. Instead of a traditional bun, create a twisted style by wrapping the braids around each other first, then coiling this twisted rope into a bun shape.
Position the bun slightly higher than the nape of your neck to prevent it from interfering with floor work or exercises that require lying on your back. Secure with bobby pins inserted at various angles, creating a crisscross pattern that locks the bun in place. Here’s your security checklist for the bun:
Base Layer: Pin the initial coil against your head
Middle Support: Add pins where braids overlap
Outer Security: Insert final pins around the bun’s perimeter
Bottom Anchor: Place two crossed pins underneath for anti-gravity support
Adding grip without damaging hair
The products you use can make or break this style’s longevity. Apply a lightweight mousse to damp hair before blow-drying for initial grip and volume. Once dry, a texturizing powder at the roots provides additional hold without the stickiness of traditional gels. These products work together to create a grippy texture that helps the braids stay tight without requiring excessive tension that could damage your hair.
For those with slippery or fine hair, consider using spiral bobby pins instead of regular ones. These corkscrew-shaped pins grip better and distribute pressure more evenly, reducing the likelihood of dents in your braids. They’re particularly useful at the bun’s anchor points where the most stress occurs during movement.
Quick fixes during water breaks
Even the most secure style might need minor adjustments during an intense class. Keep a small emergency kit in your gym bag containing a few bobby pins, a travel-size hairspray, and an extra elastic. During water breaks, quickly check your bun’s security by gently pressing on it – if it moves, add another pin or two at the loose spots.
Sometimes a few baby hairs escape around your hairline despite your best efforts. Instead of trying to incorporate them back into the tight braids, smooth them down with a damp finger or a tiny bit of gel. These small touches take seconds but make a significant difference in how polished you look throughout your workout.
Side-Swept Fishtail into Low Braid
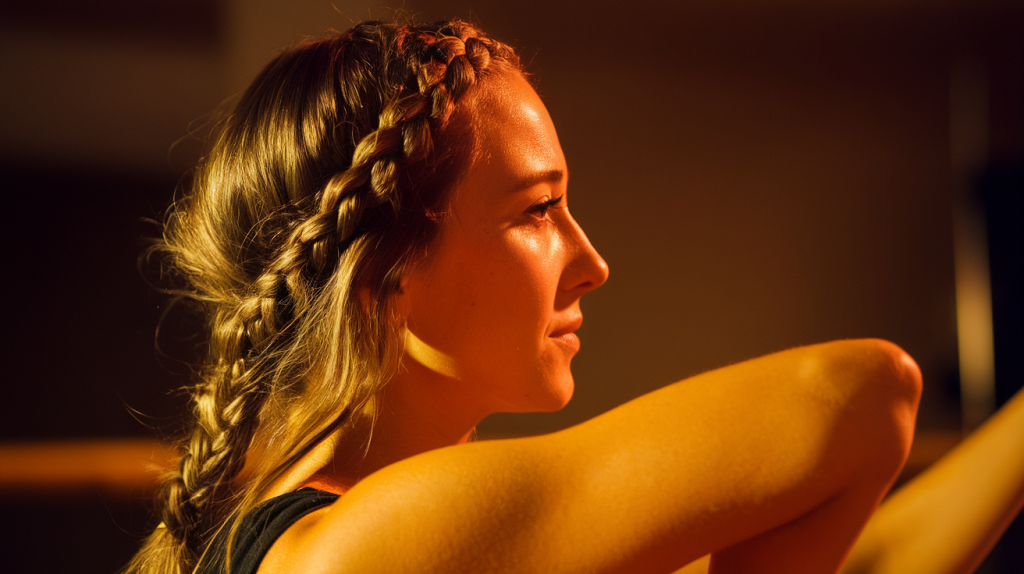
The fishtail braid brings an unexpected elegance to workout wear while providing the security needed for lateral movements and quick direction changes common in Zumba choreography. This side-swept version keeps hair controlled while creating a softer, more relaxed appearance than traditional athletic styles. The gradual transition from fishtail to regular braid makes this style achievable even for those still mastering the fishtail technique.
Starting position for optimal movement
Position your hair over one shoulder, choosing the side that feels most natural for your dominant hand to work with. The braid should start just behind your ear, allowing it to curve naturally around your neck without pulling during head movements. This placement prevents the braid from swinging into your face during spins while keeping it visible in mirrors for that added confidence boost.
Gather all your hair to your chosen side and divide it into two sections rather than the traditional three. The fishtail technique involves taking small pieces from the outside of each section and crossing them over to join the opposite section. This creates the intricate, woven appearance that makes fishtail braids so visually interesting.
Fishtail braiding technique simplified
The secret to a quick fishtail lies in finding the right balance between section size and speed. Taking extremely small sections creates a more intricate look but takes forever to complete. For workout purposes, aim for sections about the width of your pinkie finger – small enough to show the pattern but large enough to finish in a reasonable time.
As you work down the braid, maintain even tension to prevent loose spots that could unravel during your workout. After every few crosses, gently pull the braid tighter by tugging on the two main sections. This redistribution of tension helps maintain security without creating painful pulling at your scalp.
About halfway down the length of your hair, transition to a regular three-strand braid. This switch serves two purposes: it speeds up the braiding process and creates a more secure end section that’s less likely to unravel. The transition point doesn’t need to be perfect – a slightly messy merge actually adds to the style’s casual appeal.
Securing methods for lateral movements
Zumba’s signature hip movements and body rolls create unique challenges for side-swept styles. To prevent your braid from swinging wildly or hitting you in the face, secure it at multiple points. Use a clear elastic at the end, then add another elastic about four inches up from the bottom. This double-securing method controls the braid’s movement without making it look stiff.
For additional security during particularly energetic songs, you can temporarily pin the braid to your shirt collar using a small safety pin. This invisible anchor point prevents excessive swinging while remaining completely removable when you want more freedom of movement. Choose a pin that matches your workout clothes for complete discretion.
Adapting thickness for hair volume
Those with thin hair often worry that fishtail braids will look sparse and wimpy. Combat this by gently tugging at the edges of your completed braid, a technique that creates the illusion of fuller hair. Start at the bottom and work your way up, pulling small sections outward to create volume and texture. This loosening process, done strategically, actually makes the braid more secure by creating friction between hair strands.
Thick hair presents different challenges, mainly the weight of the braid pulling uncomfortably on one side of your head. Solve this by creating a looser fishtail that distributes weight more evenly. You might also consider starting with a half-up style, fishtail braiding only the top section before incorporating the rest of your hair into a regular braid. This reduces the overall weight while maintaining the decorative element.
Refreshing the style post-workout
After an intense Zumba session, your fishtail might look a bit worse for wear. Rather than completely redoing it, try these quick refresh techniques. Smooth any flyaways with slightly damp hands, which reactivates any styling products in your hair. If the braid has loosened significantly, undo just the regular braid portion at the bottom and re-braid it tightly – this often tightens the entire style without starting over.
The lived-in look of a slightly messy fishtail actually works in your favor for post-workout activities. Whether you’re grabbing coffee with friends or running errands, the style transitions seamlessly from gym to street. A quick spritz of dry shampoo at the roots absorbs any excess oil and adds volume, making you look put-together rather than post-workout.
Crown Braid with Tucked Ends
A crown braid creates a regal halo effect while keeping every strand securely in place, making it perfect for Zumba’s jumping jacks, burpees, and high-energy cardio sequences. This style works like a built-in headband, eliminating the need for additional accessories that might slip during your workout. The fully enclosed design means absolutely no hair touches your neck or face, providing maximum comfort during sweaty sessions.
Sectioning strategy for even distribution
Creating a successful crown braid starts with strategic sectioning that ensures even hair distribution around your entire head. Begin by parting your hair horizontally from ear to ear across the back of your head. Clip the top section up temporarily. This lower section will form the foundation of your crown braid, so ensure it contains enough hair to create a substantial braid that won’t look thin or sparse.
Next, create a vertical part on one side, running from your horizontal part up to your temple. This marks your starting point. The trick to avoiding gaps or thin spots lies in taking consistent-sized sections as you work around your head. Think of your head as a clock face, and aim to take sections at regular intervals – this mental mapping helps maintain evenness even in areas you can’t see directly.
Braiding around the head technique
Start your Dutch braid at the marked point near your temple, working horizontally around your head rather than downward. The direction you braid – clockwise or counterclockwise – depends on your dominant hand and personal preference. Most right-handed people find it easier to braid counterclockwise, but experiment to find what feels natural for you.
As you braid around the curve of your head, adjust your hand position to maintain comfortable angles. When you reach the back of your head, you’ll need to work by feel rather than sight. This is where consistent tension becomes crucial – if you’ve maintained even tightness throughout, the back section will naturally fall into place. Don’t hesitate to use a hand mirror to check your progress in these blind spots.
The most challenging part comes when you complete the circle and need to connect the end of your braid to the beginning. Leave a small gap initially where you started, which you’ll use to tuck and hide the braid’s end. This creates a seamless, continuous crown effect that looks like it has no beginning or end.
Hiding and securing loose ends
The final few inches of your braid require special attention to achieve that polished, endless look. Once you’ve braided all available hair, continue with a regular braid for several inches. This tail needs to be tucked under the crown braid’s beginning, hidden completely from view. Use bobby pins that match your hair color, sliding them under the braid so they’re invisible.
For extra security, employ the bobby pin sandwich technique: insert one pin from above and another from below at the same spot, creating an X-shape that locks the tucked end in place. Add additional pins every inch or so along the tucked section, ensuring nothing will pop out during vigorous movement.
Working with different hair lengths
Shoulder-length hair presents unique challenges for crown braids, as you have less length to work with when completing the circle. The solution involves creating a slightly looser braid that sits lower on your head, more like a halo than a crown. This positioning requires less length while still achieving the desired effect. You might also leave some shorter layers loose, creating a soft, romantic frame around your face.
Very long hair, conversely, creates excess length that needs creative handling. After completing your crown, you’ll have a significantly long tail to tuck. Instead of trying to hide it all under the initial braid, spiral it around your head a second time, creating a double crown effect. This not only looks intentional but also distributes the weight more evenly, preventing headaches from concentrated pressure points.
Preventing slippage during jumps
High-impact movements test any hairstyle’s staying power, but crown braids face particular challenges during jumping movements. The key to prevention lies in creating anchor points around your head. Before starting your braid, apply a light layer of styling wax to your hair, focusing on the sections that will form the braid’s base against your scalp.
Strategic pin placement makes all the difference in stability:
Temple Anchors: Place pins at both temples where the braid naturally wants to lift
Behind-Ear Security: Add pins behind each ear where the braid curves
Nape Protection: Insert pins at the nape where the braid sits lowest
Crown Stabilizers: Place pins at the highest point where gravity pulls strongest
Test your crown braid’s security by doing a few practice jumps before leaving for class. If you notice any lifting or loosening, add extra pins at those specific points. Remember that bobby pins should be inserted in the direction of hair growth for maximum hold – pushing them against the grain causes them to work loose more quickly.
Bubble Braid High Ponytail
The bubble braid transforms a basic ponytail into a playful yet practical style that bounces along with your Zumba moves without losing its shape. This technique creates distinct sections that look like a string of bubbles down your ponytail, each secured individually to prevent the entire style from collapsing if one section loosens. The segmented structure also prevents that uncomfortable whipping sensation that long, loose ponytails create during spins and turns.
Creating the base ponytail foundation
Your bubble braid’s success depends entirely on a rock-solid ponytail foundation. Position it high on your crown – think where a crown would sit – for maximum movement without interference. Brush all hair smoothly upward, using a boar bristle brush to catch every strand without creating static. For extra grip at the base, wrap a small section of hair around the elastic and secure with a bobby pin, which prevents the elastic from sliding down during your workout.
The elastic you choose matters more than you might think. Avoid traditional rubber bands that pull and break hair. Instead, opt for thick, fabric-covered elastics that distribute pressure evenly. For added security without added damage, use two elastics at the base – a clear one first for grip, then a thicker decorative one over it for strength and style.
Before creating your bubbles, ensure your ponytail is completely smooth and free of bumps. Run a fine-tooth comb through the length, removing any tangles that could interfere with even bubble formation. This initial preparation saves time and frustration as you work down the ponytail.
Spacing bubble sections evenly
The visual appeal of a bubble braid relies on consistent spacing between sections. Measure using your own hand as a guide – each section should be roughly the width of your palm. This creates proportional bubbles regardless of your hair length. Mark these intervals mentally or with tiny clear elastics placed loosely where each bubble will end.
Start with the first bubble closest to your head. Place an elastic at your predetermined spot, then gently push it up toward the base while pulling the hair above it outward. This push-pull motion creates the bubble effect. The amount you pull determines the bubble’s fullness – start conservatively, as you can always make them bigger but can’t easily make them smaller without starting over.
Adding volume without loosening hold
Creating full, rounded bubbles without compromising security requires a delicate balance. After securing each section with an elastic, use your fingers to gently tug at the edges of the bubble, working around its entire circumference. This technique, similar to pancaking in regular braids, creates volume while actually increasing security by creating friction between hair strands.
For fine hair that struggles to hold volume, try this professional trick: before starting your bubble braid, backcomb very lightly at the spots where each elastic will sit. This creates invisible volume pockets that help each bubble maintain its shape. Just remember to be gentle when brushing out your hair later to avoid damage.
Accessory options for extra security
While the basic bubble braid uses only elastics, strategic accessories can add both security and style. Spiral hair ties placed between regular elastics create interesting texture while providing backup security. Small decorative clips at alternating bubbles add visual interest while functioning as additional anchor points.
For maximum workout security, consider incorporating thin elastic thread (available at beauty supply stores) wrapped around each bubble’s base. This nearly invisible addition prevents the elastics from sliding without adding bulk or changing the style’s appearance. Simply wrap the thread twice around each elastic and tie a small knot.
Some dancers prefer adding a thin ribbon woven through their bubbles, which serves the dual purpose of decoration and security. Thread the ribbon through each bubble before pulling them out to full size, then tie it at the bottom. This creates an internal support structure that prevents the bubbles from completely deflating even if an elastic breaks.
Adjusting tension for comfort
The segmented nature of bubble braids allows for customized tension at different points, a major advantage during long workout sessions. You might want tighter security at the base where most movement originates, but looser tension toward the ends to prevent headaches. This graduated approach provides security where needed without unnecessary discomfort.
Pay attention to pressure points, particularly behind your ears and at your temples. If you feel pulling in these sensitive areas after creating your bubbles, gently massage the scalp at the base of your ponytail to redistribute tension. You can also slightly loosen the elastic at your ponytail’s base without compromising the overall style.
During your first few attempts at this style, make notes about which tension levels work best for your hair type and workout intensity. Fine hair might need tighter elastics to prevent slipping, while thick hair might require looser tension to prevent headaches. Finding your perfect balance takes experimentation but results in a go-to style you can create quickly and confidently.
Your Braided Zumba Hair Journey
After exploring these five braided hairstyles, you now have a complete arsenal of workout-ready looks that won’t let you down when the music starts pumping. Each style offers its own advantages, from the classic security of the French braid ponytail to the playful bounce of bubble braids. The best part about mastering these techniques is that they become quicker and easier with practice, eventually becoming second-nature additions to your pre-workout routine.
Your perfect Zumba hairstyle might be one of these exactly as described, or you might discover your own hybrid combining elements from different styles. Maybe you’ll start with Dutch braids but finish with a bubble ponytail, or perhaps you’ll add a fishtail detail to your crown braid. The techniques you’ve learned provide building blocks for endless creativity while maintaining the security your workout demands. The investment you make in learning these braiding techniques pays dividends beyond just Zumba classes, giving you polished looks that transition seamlessly from studio to street.
Frequently Asked Questions
Q: How far in advance can I braid my hair before a morning Zumba class?
A: You can safely braid your hair the night before for most styles. Crown braids and Dutch braid buns actually benefit from overnight wearing, as they settle and mold to your head shape. Just protect them with a silk scarf or pillowcase while sleeping.
Q: Will these braided styles work for very short hair that barely reaches my shoulders?
A: Yes, with modifications. Focus on styles that work closer to your scalp like crown braids or Dutch braids. You might not achieve long bubble ponytails, but you can create mini bubbles or combine braiding with strategic pinning for equally secure results.
Q: What’s the best way to remove elastics without damaging my hair after class?
A: Cut them out with small scissors rather than pulling them. Keep nail scissors in your gym bag specifically for this purpose. The few cents spent on replacement elastics is worth avoiding the breakage from yanking them out.
Q: Can I wash my hair while keeping these braided styles intact?
A: Some styles like Dutch braids and crown braids can survive a gentle scalp washing if you focus shampoo only on your roots and avoid disturbing the braid structure. However, for hygiene and hair health, it’s better to fully wash and restyle every 2-3 days maximum.
Q: Which braided style is fastest to create when I’m running late to class?
A: The bubble braid ponytail takes less than five minutes once you get the hang of it. It requires no braiding skills, just the ability to space elastics evenly and pull out sections for volume.
Q: How do I prevent my baby hairs from sticking up during sweaty Zumba sessions?
A: Apply edge control gel or pomade to baby hairs before braiding, then tie a silk scarf around your hairline for a few minutes while you get dressed. This sets them in place with staying power that lasts through perspiration.
Q: What if I can’t braid my own hair behind my head?
A: Start with styles you can see, like side-swept fishtails or front French braids that transition to ponytails. Practice the behind-the-head movements with rope or ribbon first to build muscle memory without the pressure of actual styling.
Q: Do these styles work for all hair textures, including very curly or coily hair?
A: Absolutely, though preparation might differ. Curly and coily hair often holds braids better naturally but might benefit from stretching (through blow-drying or banding) first for length and manageability.